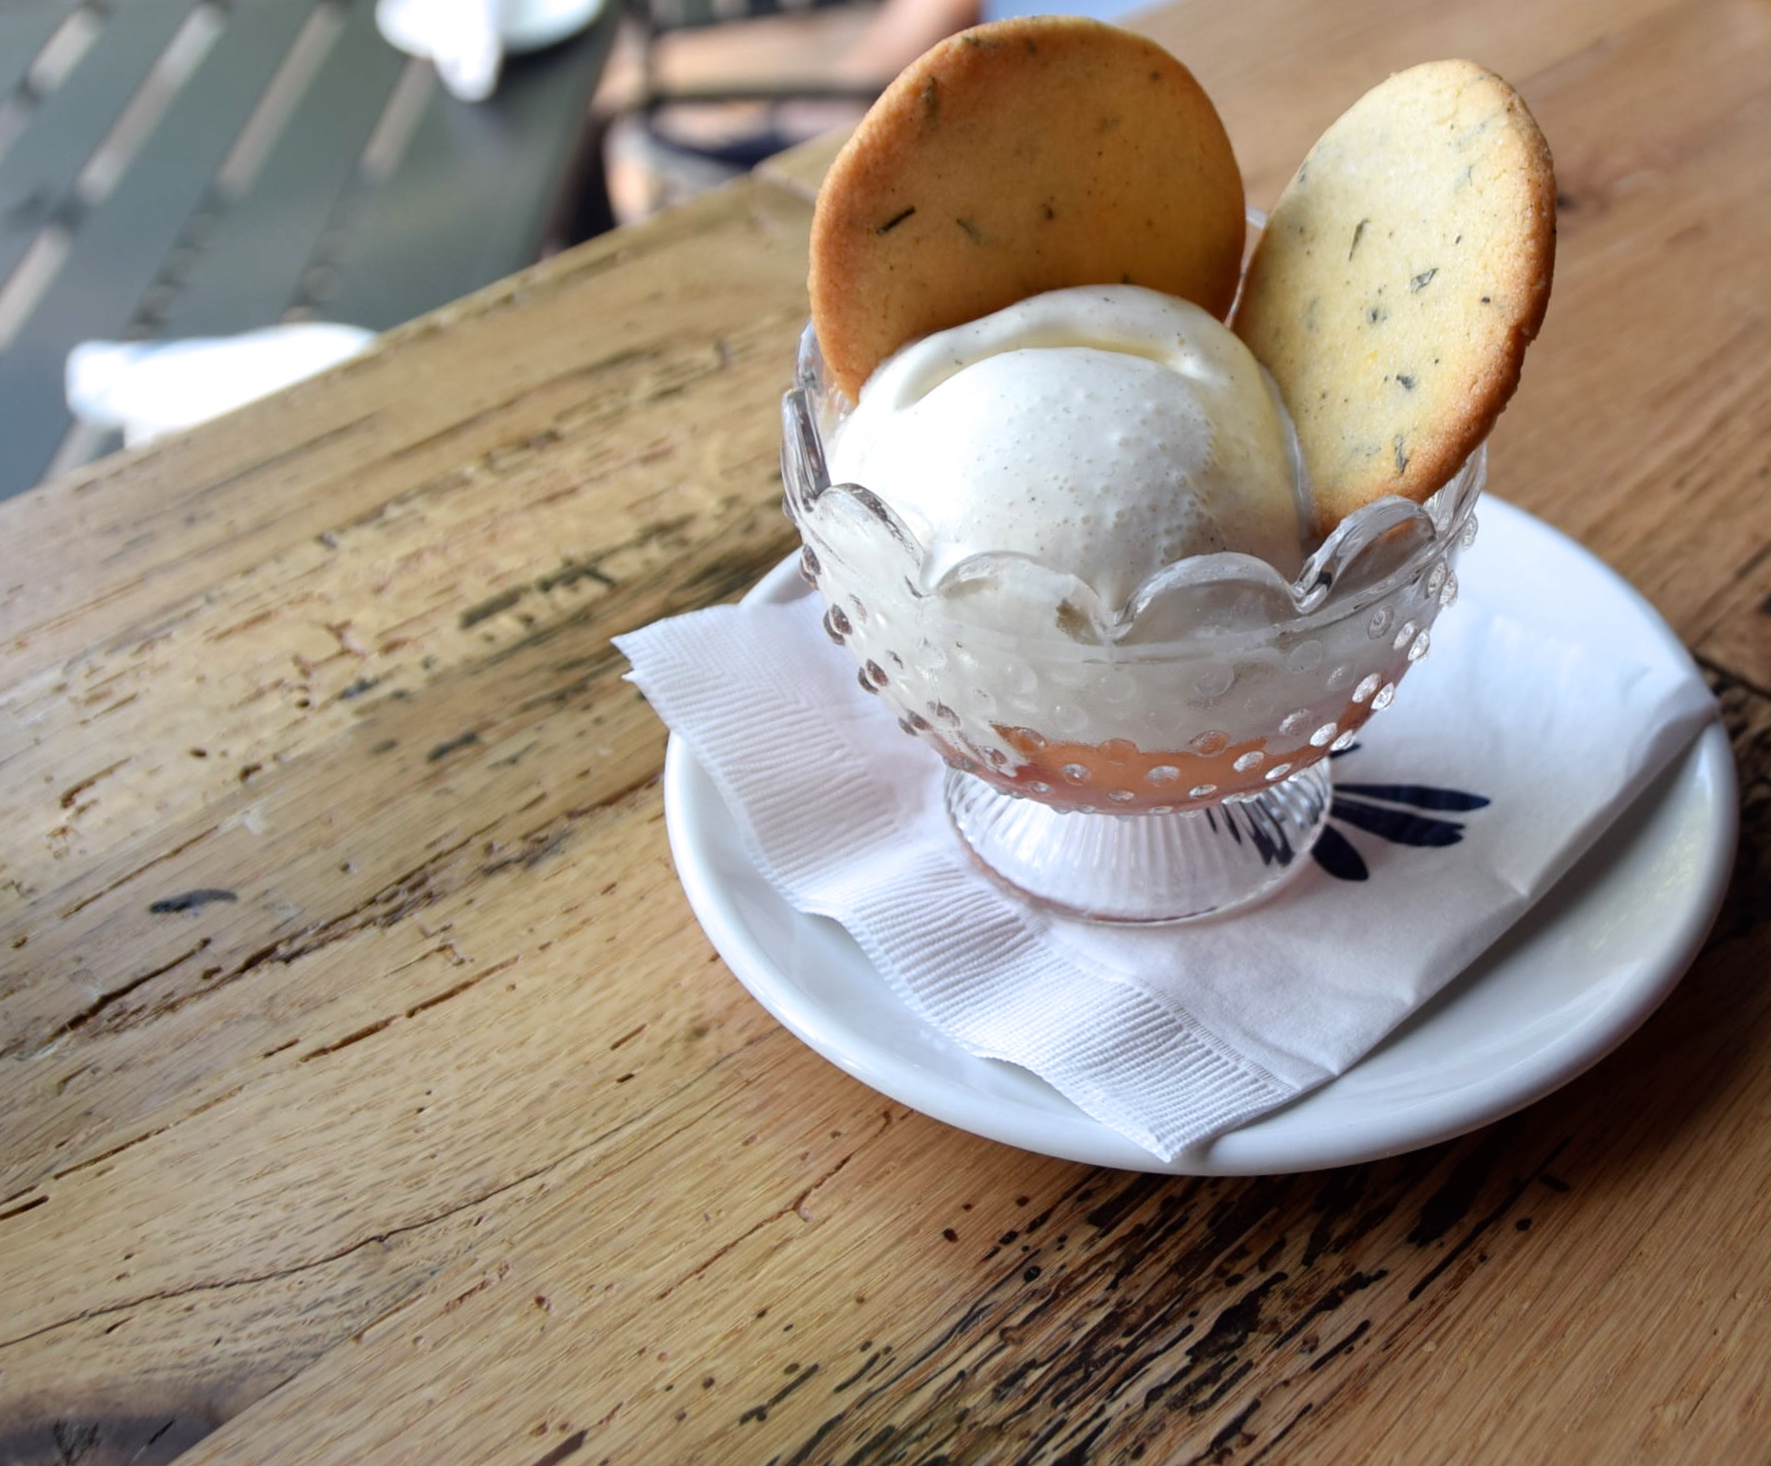
Rosemary Lemon Cookies

Rosemary Lemon Cookies

This time of year, I always look out on our back deck to the pots of herbs I planted and think “Woah. We need to use these herbs.” Our rosemary, basil, and lavender plants all tripled in size while we were in Florida. Oh, I didn’t tell you we went to Florida? That’s because I had no clue we were going! For my 30th birthday, Neil whisked me away on a surprise trip to our favorite place: Seaside. My family has been vacationing there since I was about 4, Neil and I had our honeymoon there, and we just love everything about it. White sandy beaches, crystal clear water, oysters galore, and no need to drive while we’re there. If you’ve seen “The Truman Show,” they filmed in Seaside.

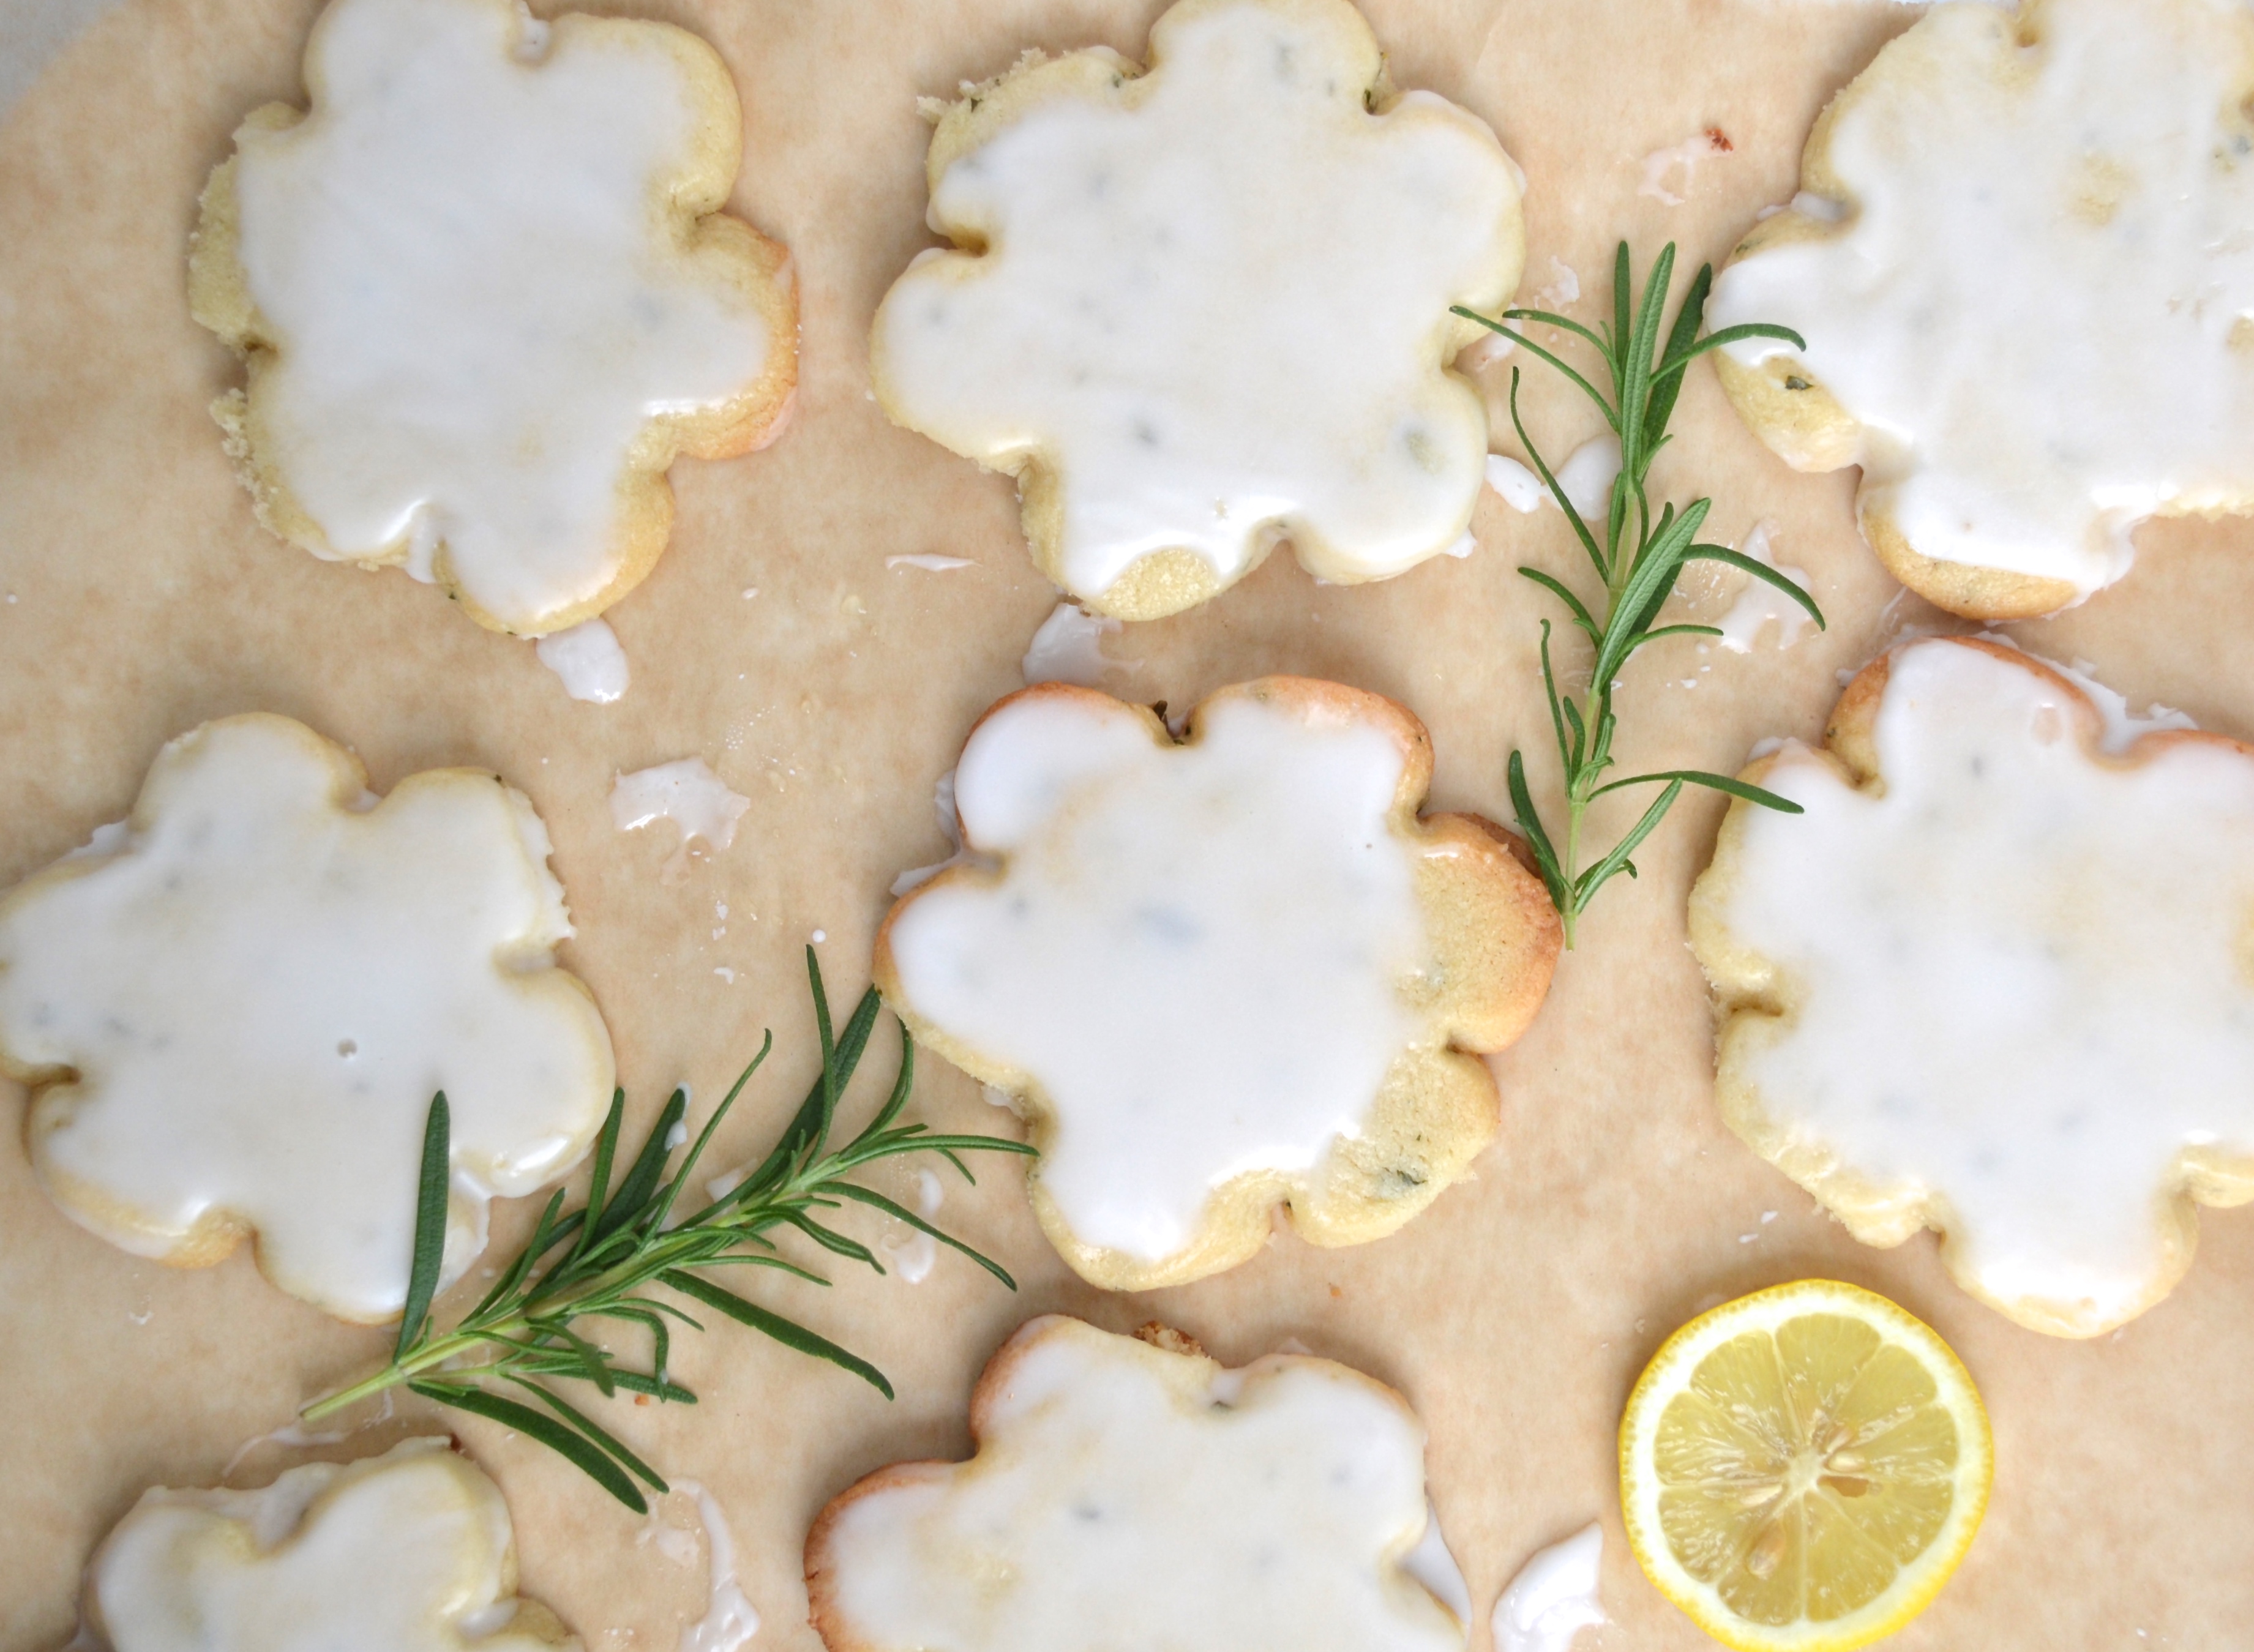
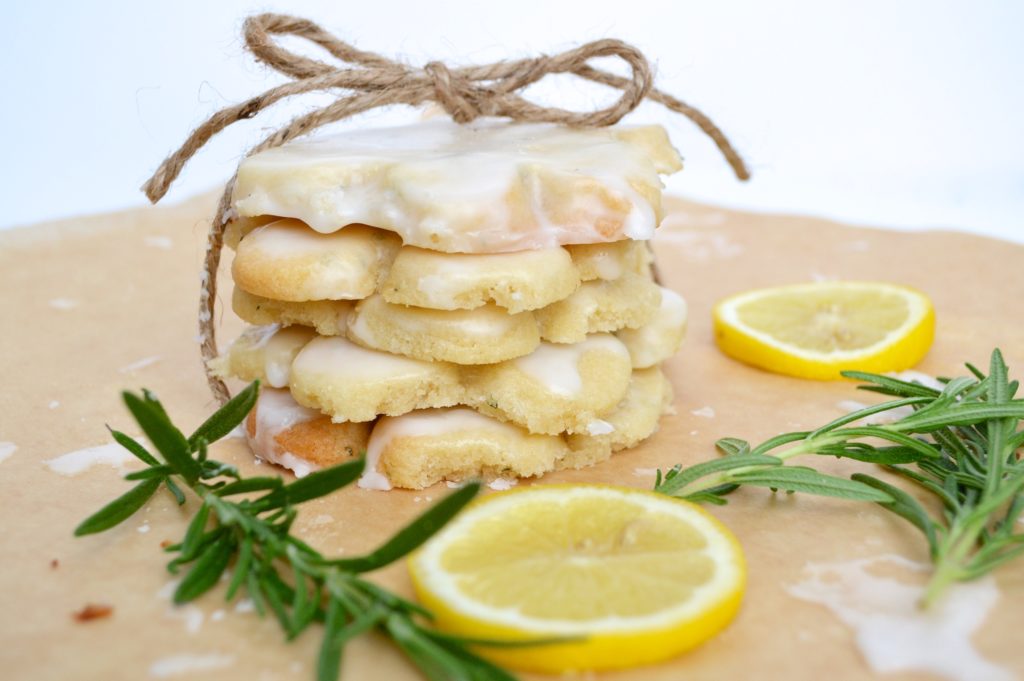
Anyhow, my lovely mother watered our flowers and herbs while we were gone and we came home to herbs that were ready to be used! I love the flavor combination of rosemary and lemon, but honestly if overused I think rosemary can come across a little too strong, especially in desserts. I like the amount we went with for this recipe. These cookies are chewy, buttery, and the lemon frosting (side note: do you call it “frosting” or “icing”? please comment below…) adds a nice punch of sweet, tangy flavor. These cookies are perfect to serve alongside an icy beverage while you sit on the back deck and reminisce about vacation (update: they’re also delicious with a cup of coffee in the morning).

image1
Rosemary Lemon Cookies

Prep Time: 15 minutes Chill Time: 1 hour Cook Time: 15 min.

Makes 24 cookies

Recipe adapted from Martha Stewart

Ingredients:

For the Cookies:

2 sticks butter, softened

2 cups sugar

1 egg

1 tablespoon vanilla

2.5 cups all-purpose flour

2 tablespoons fresh rosemary leaves, chopped

1/2 teaspoon fine kosher salt

For the Icing:

2 cups powdered sugar

2 lemons, juiced

2 tablespoons water

Preparation:

In a large bowl, cream butter and sugar together until fluffy. Add the egg and vanilla and continue to mix. Add flour, rosemary, and salt. Mix until all ingredients are well combined.

Halve the dough and form two large discs. Cover each disc in plastic wrap and refrigerate for an hour.

Preheat oven to 375°. Remove one disc from the refrigerator and place on a floured surface. Lightly flour a rolling pin and roll dough to 1/2″-3/4″ thick. Cut cookies with a 3-4″ round cookie cutter. Work quickly, while dough is still chilled. Place cookies on a sheet pan lined with parchment paper. Bake for 13-15 minutes, until the edges are just about to turn golden. Remove from the oven and place on a wire rack to cool. Repeat with remaining dough.

As cookies are cooling, make the icing. Whisk together the powdered sugar and lemon juice. If desired consistency is not achieved, add water 1 tablespoon at a time. Ours was perfect with the juice plus 2 tablespoons of water. While cookies are still warm, dunk the top of each cookie in the icing and shake to let some of the icing drip back down into the bowl. Place on a plate and serve.

Store cookies in an airtight container for up to one week.


Snarf’s

Disclosure: This post is sponsored by ALIVE Influencer Network. The Newlywed Chefs were compensated for this blog post as well as provided with food and drink at the sponsored event. As always, all opinions are our own.

Last night, we were invited to attend a grand opening Twitter party at the new location of Snarf’s Sandwiches at Skinker and McPherson. We have both heard of Snarf’s, but have never been, so we were super excited to try some delicious sandwiches and check out this new location. We were greeted by the fabulous employees of ALIVE influencer network who introduced us to the Snarf’s team and offered us a drink. As I was deciding what to get, I couldn’t help look all around the restaurant- vibrant colors, funky art, tons of natural light and brightly colored metal chairs. The vibe was eclectic and fun.

DSC_1268
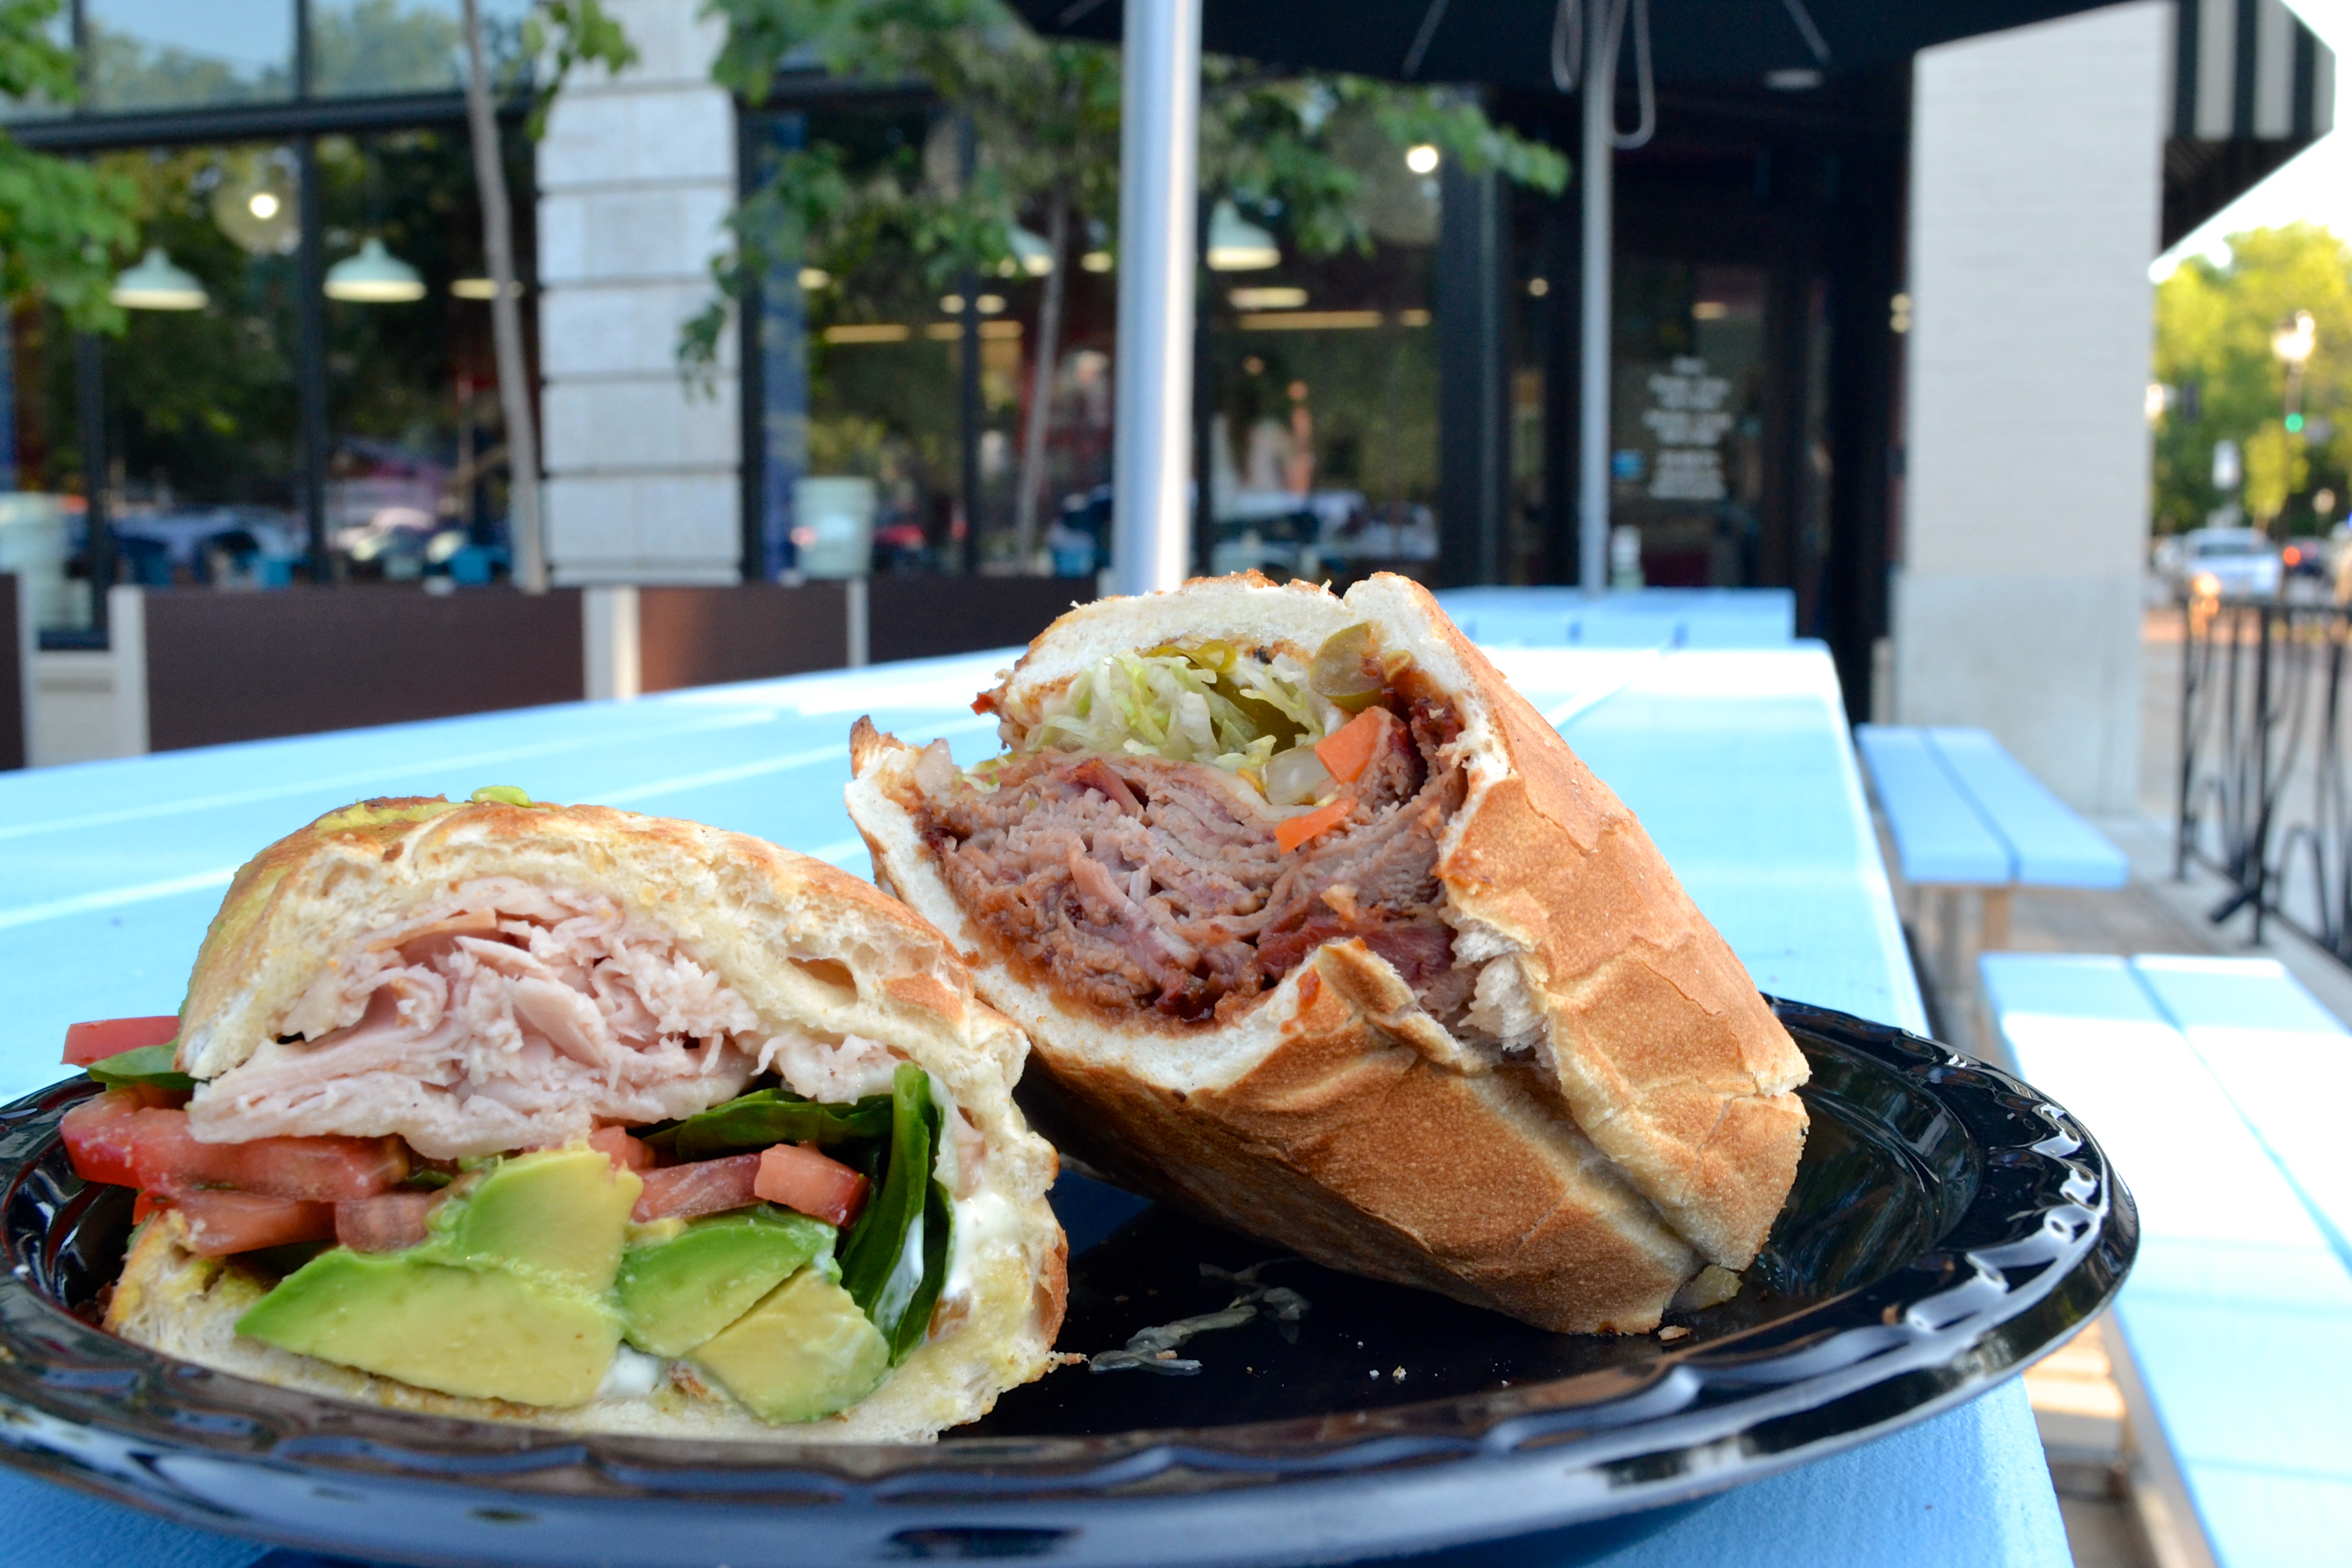
I love when St. Louis restaurants feature other local products, and that’s what they do here: Fitz’s root beer, Urban Chestnut beer, and other local beverages to pair nicely with your sandwich. We learned that the owners go to local farmers’ markets to try out new cheeses and other ingredients for their sandwiches. We both decided to try the new Urban Chestnut beer, the Perdedor Lager. First sandwich up to taste was a brisket sandwich, dripping with BBQ sauce, bacon, cheese, hot peppers, and more.

DSC_1235
Delicious! Warning: you’ll need an abundance of napkins eating Snarf’s sandwiches, and I mean that in the very best way. They pack them full of delicious ingredients and you’ll be licking your fingers clean so not to miss any flavorful drip. One thing I really like about this location is that is has a patio! It’s located right on Skinker so you can sit and watch the world go by. The blue picnic tables are a fun, inviting place for the whole family to have an “urban picnic.”

DSC_1240
Back to the food! To me, good bread makes or breaks a sandwich. Their bread was toasty and warm with a crispy crust on the outside, but soft and chewy as you bite into the sandwich- just like a good toasted sub should be. The juicy, flavorful meat is sliced impeccably thin and they really pile it on their sandwiches. I was so full after sampling just a few! (Okay, I DID go back for seconds on this turkey/avocado/spinach sandwich)

DSC_1272
Yep. I snarfed. Vegetarians! Fear not the snarf! They have a tasty feta and artichoke sandwich that will make even your most carnivorous friend jealous.

DSC_1242
On one side of Snarf’s you’ll see a collection of these hot pepper buckets! I think they go through a lot of these, and you can even buy a jar to take home.

DSC_1262
Just when we thought we couldn’t snarf any more, I heard someone say four words that set my heart a-racing (especially on a hot summer day): “they have ice cream.” I had a birthday cake shake (appropriate timing) and Neil had this chocolate peanut butter ice cream in a cup. It was a refreshingly sweet way to end a great meal.

DSC_1278
Go check out this new location of Snarf’s, people! It’s conveniently located on your way to Forest Park, the Loop, Wash U, and the Central West End. Fast service, friendly staff, a funky atmosphere, local ingredients, and sweet patio. We’ll be back to snarf again soon!

UncommonGoods

DSC_0200
This post is sponsored by UncommonGoods. We (The Newlywed Chefs) were provided with the products in this blog post as compensation. As always, all opinions are our own.

This summer, Neil and I will have been married for SEVEN YEARS. What the what! I can’t believe that it’s already been that long. Usually, on anniversaries, we buy something for the two of us that is really… well… practical.

“That tree needs to come down in the back yard! Happy Anniversary!”

“I really need a new work bag! Happy Anniversary!”

“My computer died and I need a new one STAT. Happy Anniversary!”

However, we DO like to buy gifts year round that really make us think of each other. It doesn’t have to be Christmas, a birthday, or anniversary. Lucky for us, we have a great place to get some gift giving ideas year-round from a place that is open 24/7: UncommonGoods. On their site, you will find unique jewelry, designer decor, tabletop items, and handcrafted gifts created without harm to animals or people.

There are many things I love about this company, but here are a few highlights (information directly from the UncommonGoods one sheet):

  • UncommonGoods is independently owned, which gives them the freedom to support causes they believe in and impact the world in a positive way. With every purchase you make, they donate $1 to the non-profit of YOUR choice. Since they’ve started this Better to Give program 12 years ago, they’ve donated over one million dollars to charities around the world. Awesome.
  • They are a B Corporation. That means they use the power of business to solve social and environmental problems. They meet a rigorous standard on a wide range of issues, including wage levels, environmental impact, and giving back to the community.
  • UncommonGoods CEO Dave Bolotsky is passionate about the role of business in implementing a fair minimum wage. They run all operations out of the historic Brooklyn Army Terminal, where the lowest-paid seasonal worker starts at 50% above the minimum wage.

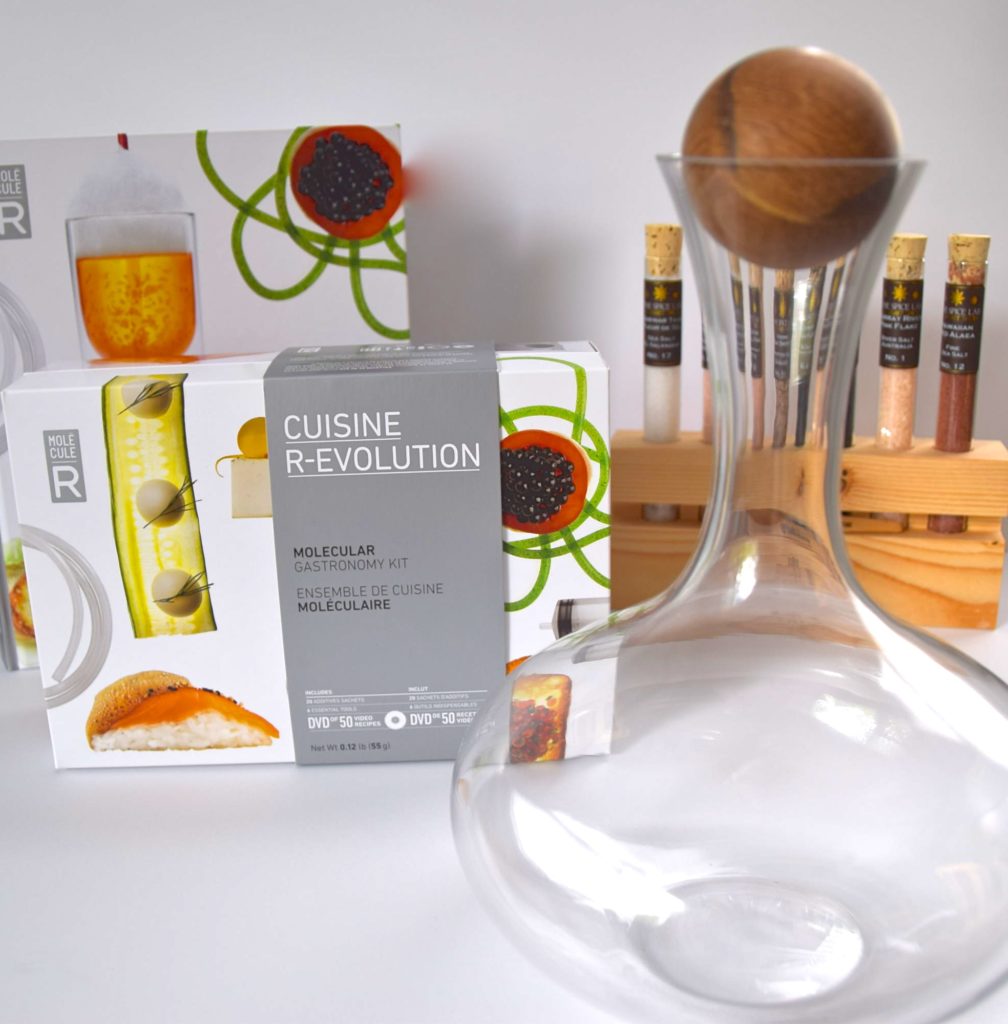
We ordered a few items from their anniversary gift line. You can check out gifts from that collection here. First, we ordered a beautiful Oval Oak Wine Carafe. Not only do we love using this to decant wine, but it also just makes for a great decoration around our kitchen when it’s not in use.

DSC_0211
This carafe is also listed on their “Anniversary Gifts for Him” page which you can find here. (Is it just me, or is buying gifts for guys harder than buying gifts for girls? Glad they have some recommendations!)

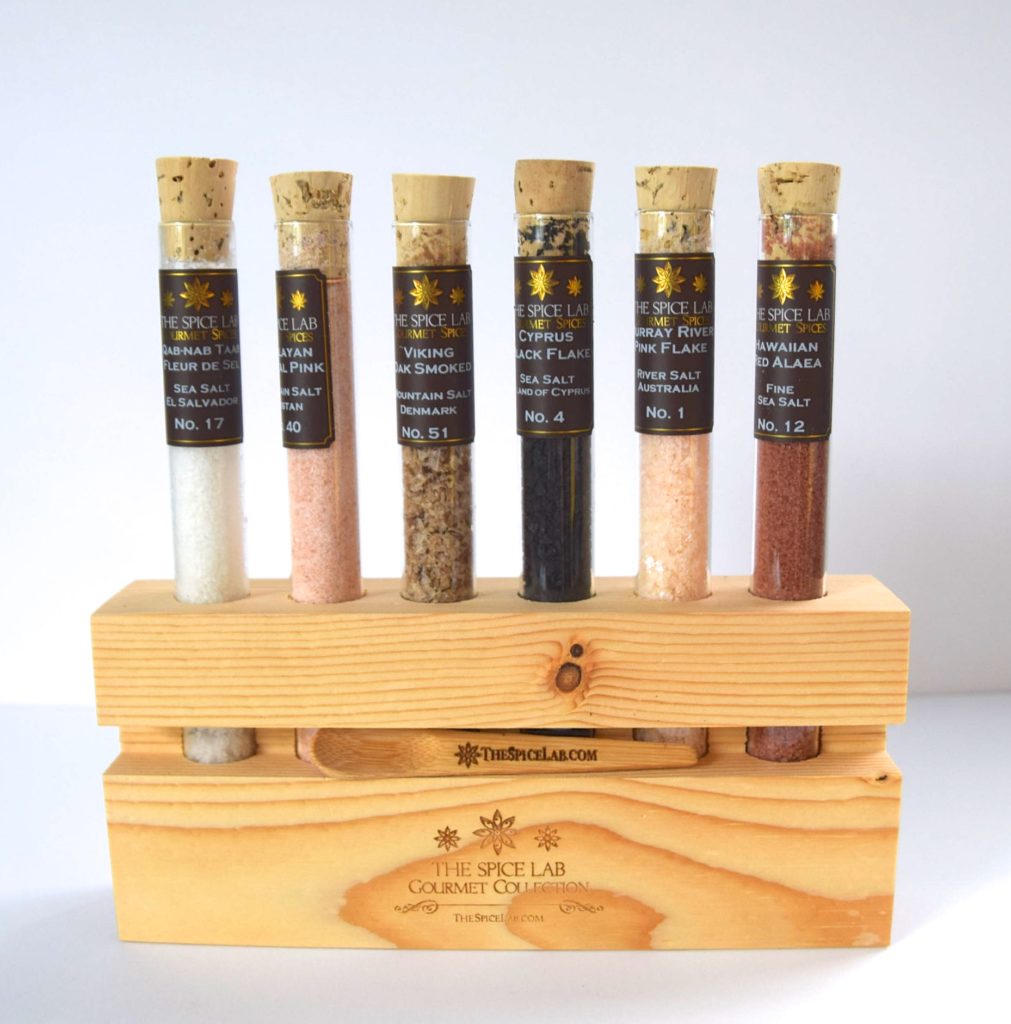
Next, we ordered a Salts of the World Test Tube Set. Since we’re foodies we loved exploring the salts in this collection. I also really enjoy reading the bios of each gift maker. For example, these salts were made by “Brett,” who has a compelling background featured on the gift webpage.

DSC_0218
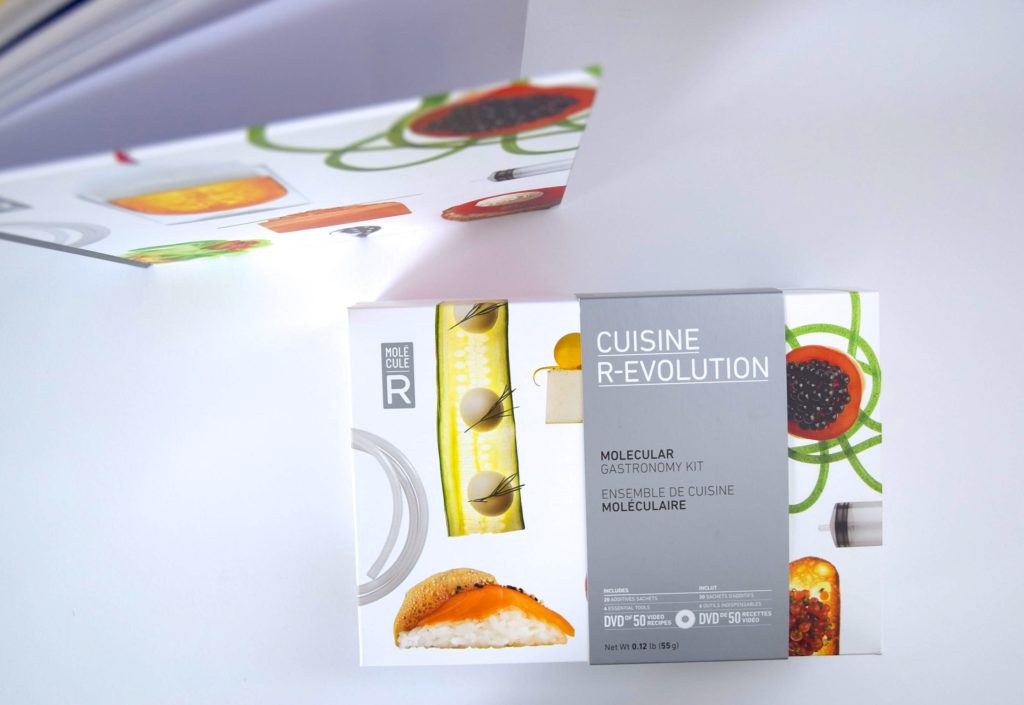
Finally, this next gift is perfect for people that like to play with their food. It’s a Molecular Gastronomy Kit and cookbook featuring out of this world recipes and creative approaches to cuisine.

DSC_0227
You can find these and other creative gifts all on the UncommonGoods webpage. They also have personalized gifts to add a unique individualized touch here.

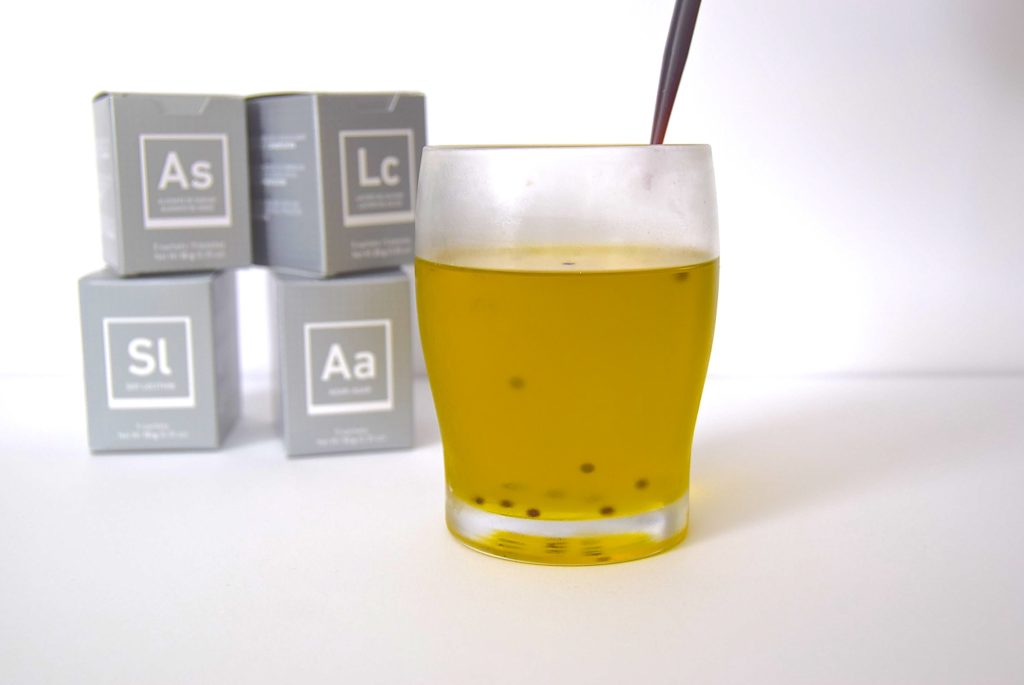
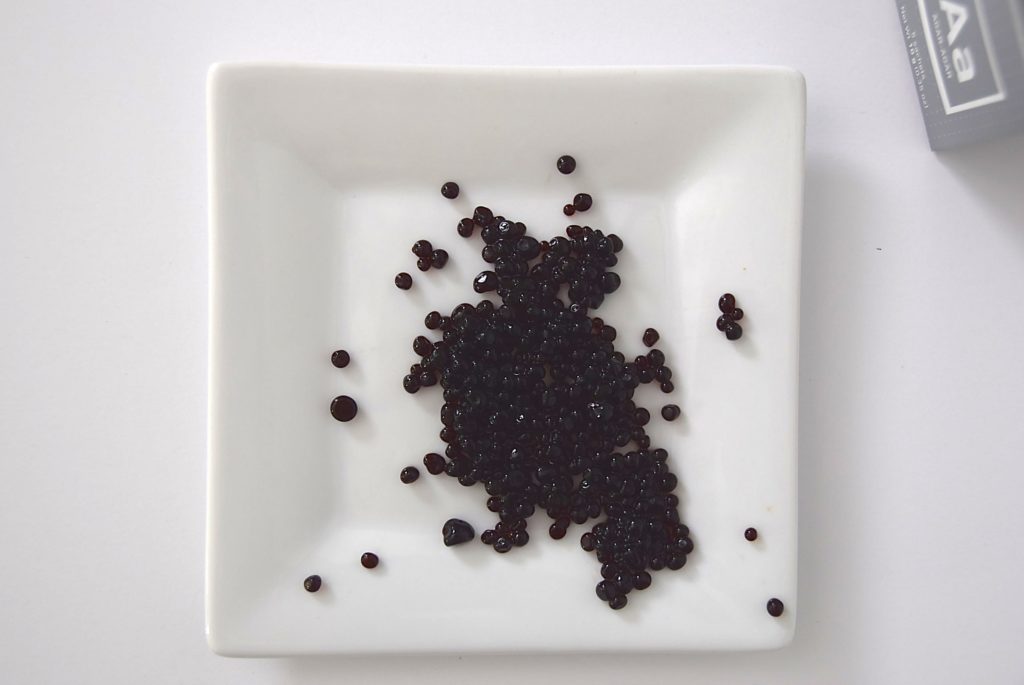
Using the Molecular Gastronomy Kit, we made balsamic vinegar pearls and are planning on using them this week to top a plate of fresh tomatoes, mozzarella, and basil. They were SO easy to make. We just froze oil for at least 30 minutes, boiled the balsamic vinegar with the provided agar agar, then piped the balsamic mixture into the oil.

DSC_0245
Spoon out the pearls, rinse with water, and voila! Balsamic vinegar pearls!

DSC_0257
Fancy!

DSC_0274
No matter if it’s your birthday, anniversary, or just a Tuesday, you can find unique, creative, individualized gifts at UncommonGoods. We’ll be frequenting this site much more often and recommending it to friends who are stumped when it comes to finding the perfect gift.

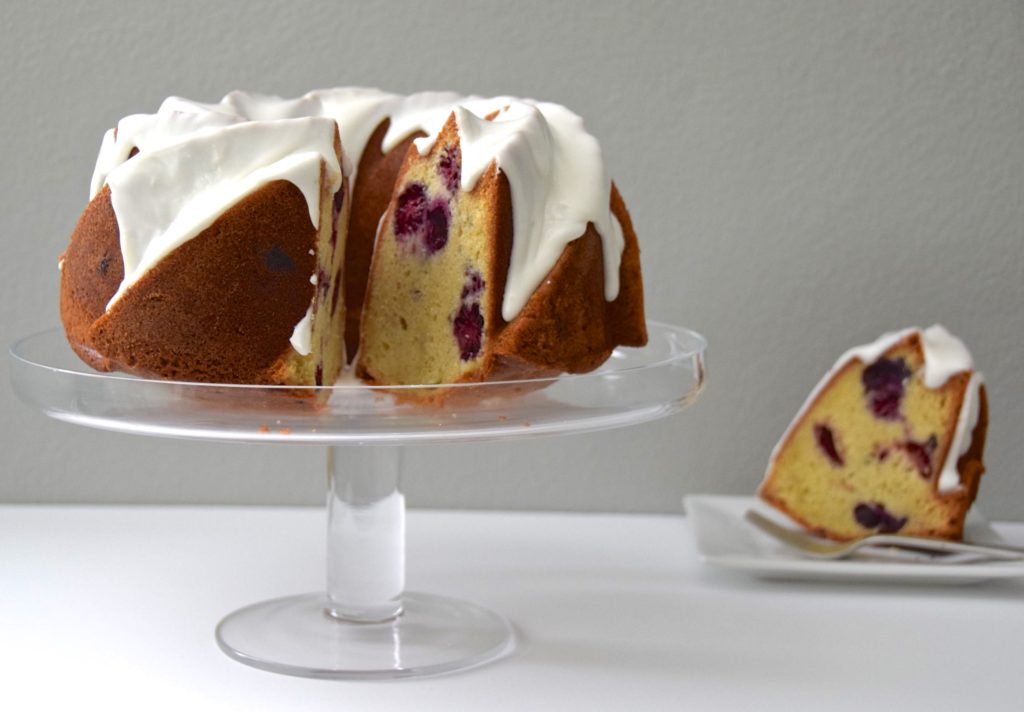
Mixed Berry Pound Cake with Lemon Frosting

Mixed Berry Pound Cake with Lemon Frosting

I have my dream job. Some of you already know this, but I’m am a board certified music therapist working in the public school system here in St. Louis with students who have special needs. Although the school year is wrapping up for me, I am looking forward to summer break. I plan to do the following (hold me to these people): go to the pool, go to Florida, get better at food photography, spend more time on the blog, learn bass guitar, learn ukulele, go to the pool, repeat.

Anyhow, with all the business the end of the year brings, it’s important not to let the growing to-do list bog you down, and find ways to practice self-care. For me, self-care equals cooking (lucky you) and blogging about it. So, after a very busy Tuesday, I came home, put my bag down, and put my apron on.

DSC_1564

This pound cake is deeeeeense, but I like it. If you’re looking for a light and fluffy cake, look elsewhere. We’re talkin’ two sticks of butter, six eggs, thick icing, and berries bursting with summer flavor. We seem to always have leftover berries that don’t get eaten quite fast enough, and this is a great recipe to use them.

For those of you currently in school or who work for a school, you got this! Finish the year strong and celebrate your achievements with a big ol’ slice of this cake. You deserve it.

DSC_1584

Mixed Berry Pound Cake with Lemon Frosting

Prep Time: 30 min. Cook Time: 70 min.

Ingredients:

For the Cake: 

2 sticks butter, softened

2.5 cups sugar

2.5 cups + 2 tablespoons flour

2 lemons, juiced and zested

1 teaspoon baking soda

1/2 teaspoon salt

1 teaspoon vanilla extract

1/2 cup milk

6 eggs

2 cups mixed berries, roughly chopped

For the Frosting:

3 cups powdered sugar

4 tablespoons milk

1 lemon, juiced

1 teaspoon vanilla extract

Preparation:

Preheat oven to 350°. Butter a bundt pan very well (get every nook and cranny!) and set aside. Combine 2.5 cups flour, baking soda, and salt together in a bowl and set aside. In the bowl of an electric mixer, cream the butter and sugar together until fluffy. Add the eggs, vanilla, lemon zest, lemon juice, and milk and continue to mix.

Add the dry ingredients to the wet and mix on low until well combined. Using a spatula, fold in the berries. Pour batter in the bundt pan and spread evenly. Bake for 60-70 minutes or until a knife inserted in the cake comes out clean.

Cool for at least 30 minutes in the pan, then flip the bundt over onto a cooling rack and cool the rest of the way (this could take an hour).

To make the frosting, whisk all frosting ingredients using an electric mixer until fluffy, scraping down the sides as needed. Generously spread frosting over cooled cake. Enjoy!

DSC_0061

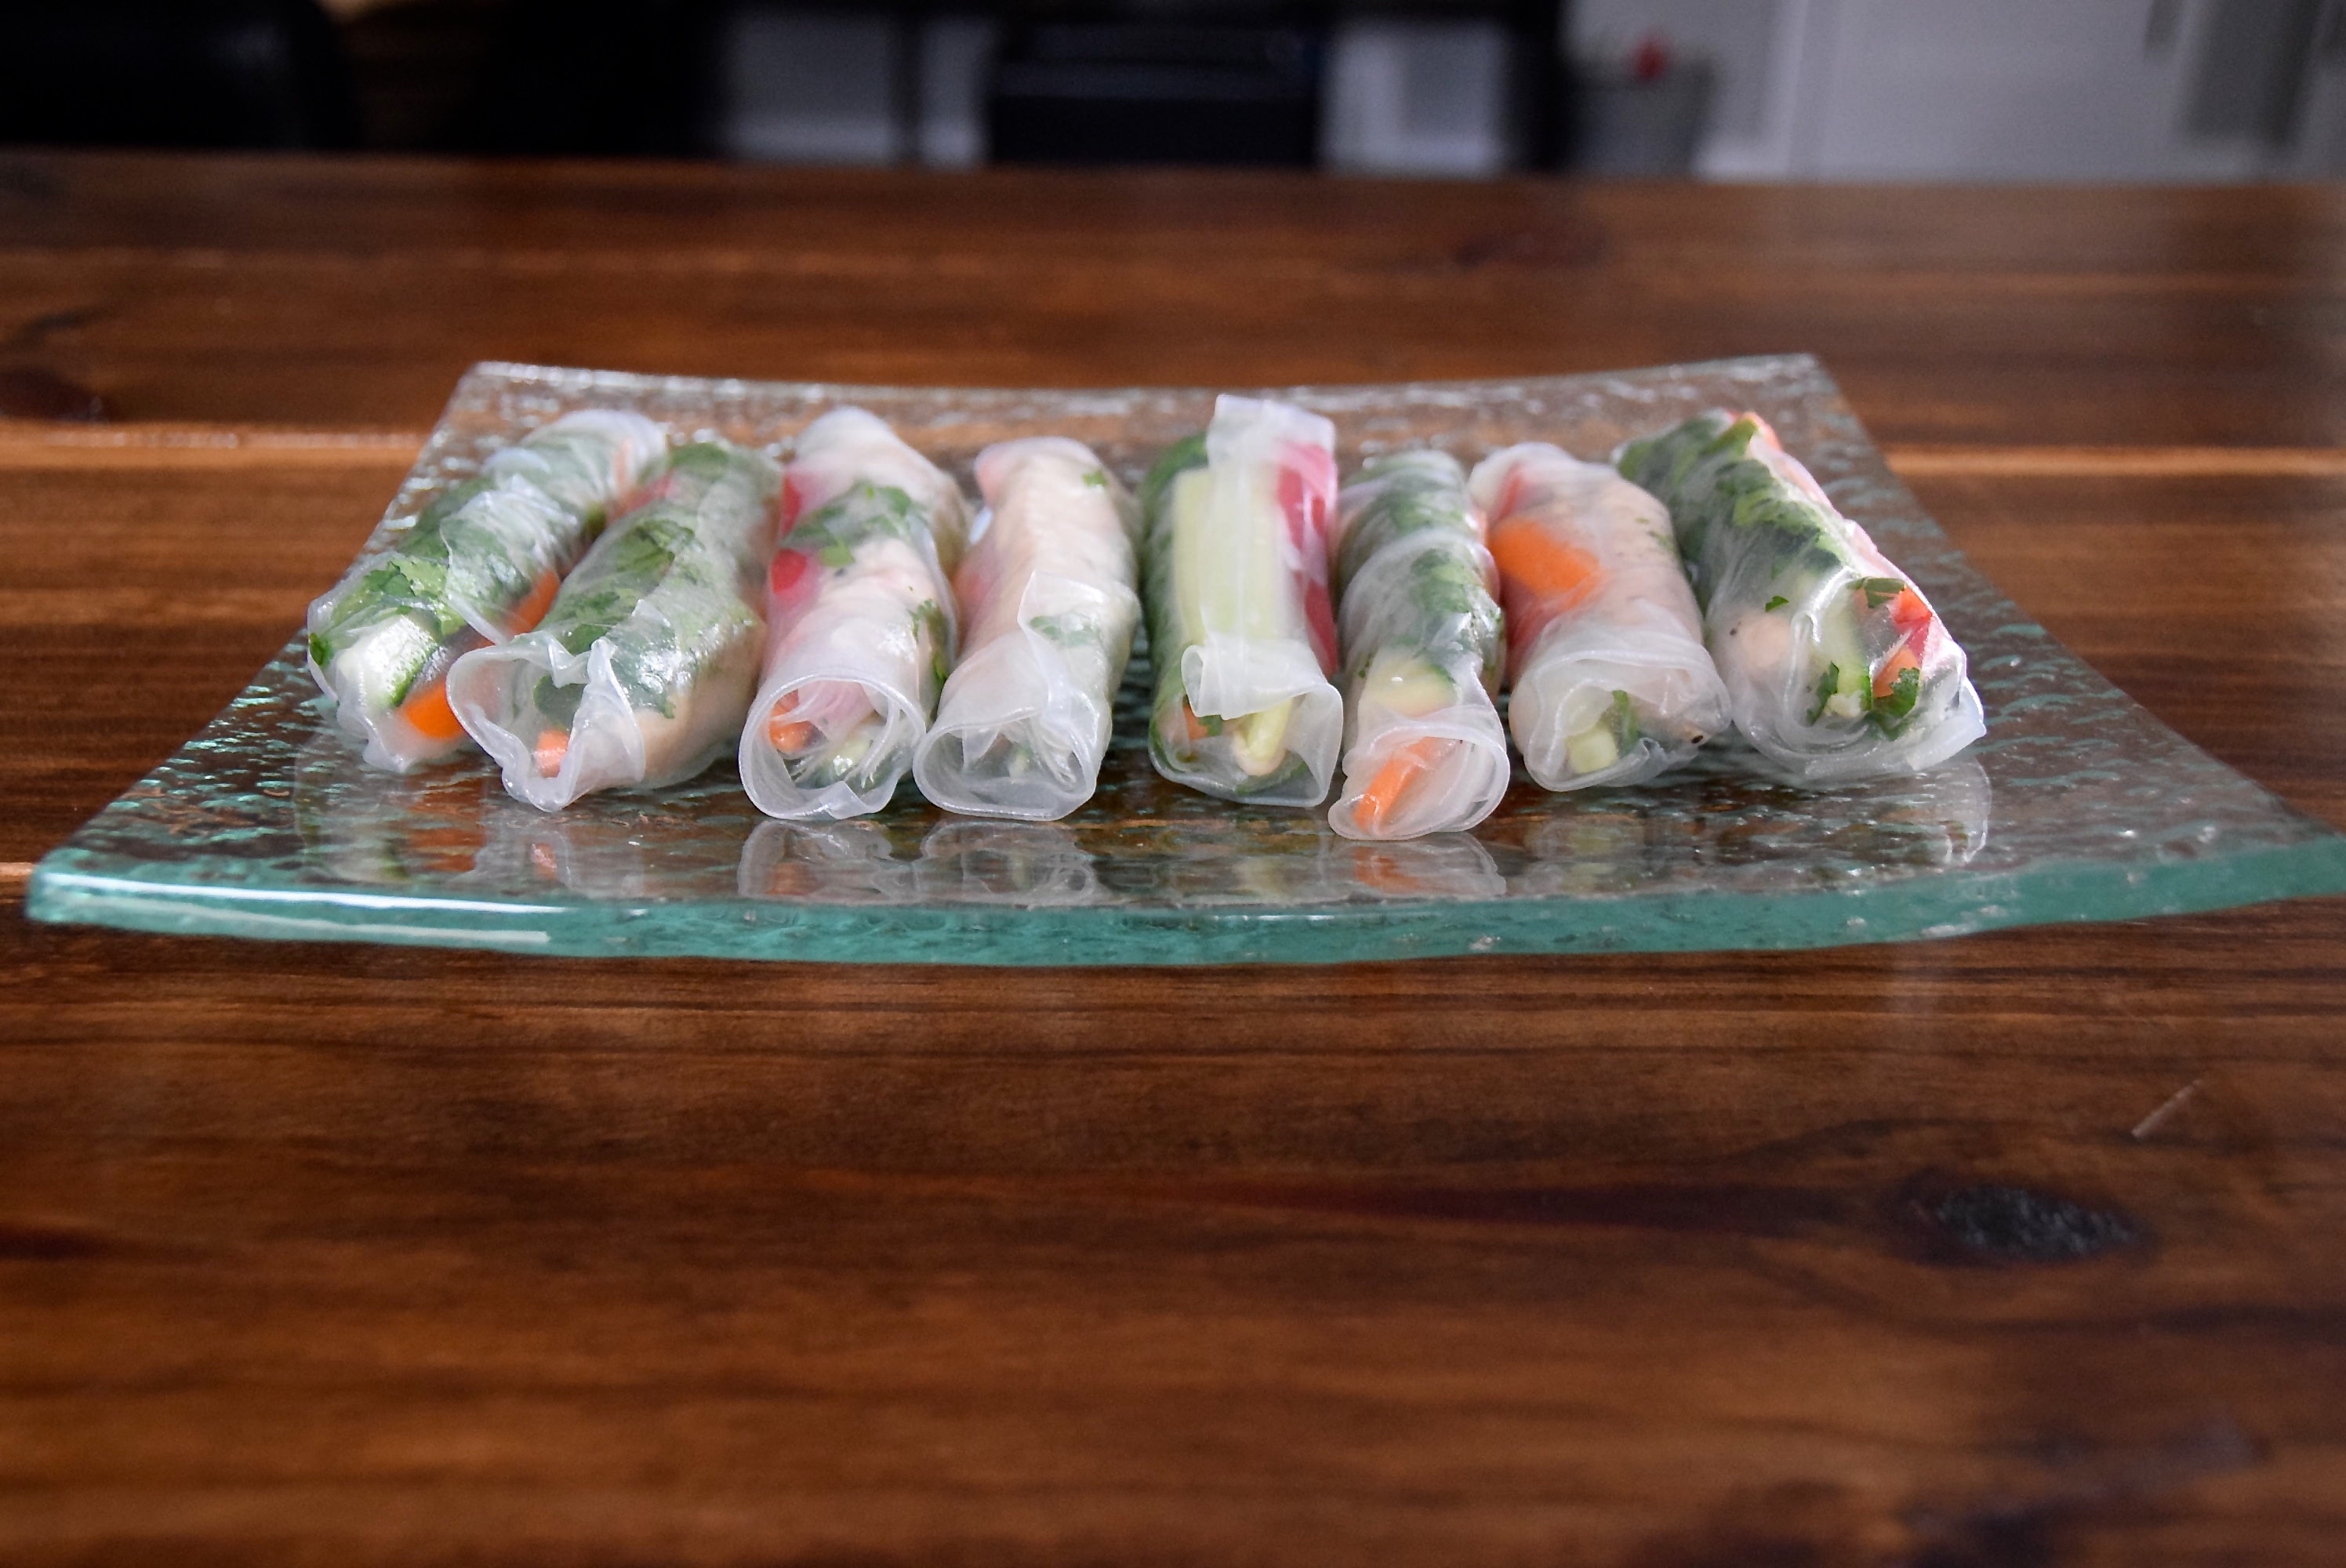
Fresh Spring Rolls + Peanut Sauce

Fresh Spring Rolls

Our buddy Leo is Filipino. Back when Neil and I were in college, Leo would welcome us to his house and cook an amazing homemade Filipino meal every time we visited. Some of the most memorable dishes were fried plantains, paella, and fresh spring rolls. I had spring rolls at Vietnamese restaurants, but never really understood the art and time that is poured into these beautiful rolls before meeting Leo. He taught that they’re not that hard to roll once you get the hang of it. First, you want to make sure your mise en place is set up properly. Hot water, rice sheets (found at most global or asian grocery stores stores), cooked chicken (or other protein), and plenty of veg.

DSC_1300

Place the rice sheet in a bowl and pour hot water over it. Let it soak for about one minute, using your fingers (don’t burn yourself!) to carefully loosen it up in the water.

DSC_1302

Once again, I should have gotten a manicure before shooting this post. Sorry, y’all.

DSC_1308

Next, lay the wilted rice paper out on a flat surface. I know, it looks weird, it feels weird, let’s just acknowledge it now and get over it.

DSC_1310

Okay! Moving on. Lay it out on a flat surface and begin to build your wrap.

DSC_1320

The sky is the limit here. We always include some sort of protein (most often chicken), and various crunchy veggies for a nice contrast in textures. The next few pictures could be presented in flip book format. (Ah, I used to LOVE flip books!) For this recipe we used chicken,

DSC_1321

red pepper,

DSC_1322

carrot,

DSC_1324

cucumber,

DSC_1326

… and cilantro. Again, the sky’s the limit. Kale, sprouts, roasted pork, bacon, sauces, whatever. Load it up!

DSC_1328

Then it’s time for the most technical part of the spring roll- WRAPPING. Welcome to How to Wrap 101. If you’re a perfectionist when it comes to holiday gift wrapping, you will be a pro at this. If not, well, keep practicing. Okay, starting at the bottom of the wrapper, bring it up to the middle of the wrap and around your fillings.

DSC_1329

Tuck it in tightly. If your wrapper is sticking, simply rub it with a bit more hot water to help it along.

DSC_1331

Next, grab each side corner of the wrap and bring them toward the middle, sticking them down as close to the middle as the filling will let you stretch.

DSC_1333

If you can, meet both sides in the middle and press gently so the rice paper sticks to itself.

DSC_1334

Finally, as you roll the spring roll over itself, tuck in the ingredients very tightly. Fold until all of the wrapper is rolled.

DSC_1340

Place each spring roll on a plate and cover each layer with a damp paper towel to separate and keep fresh. Serve with our peanut sauce. This sauce has been featured in a few of our recipes, and honestly, I could take a bath in it. It’s the perfect combination of creamy and sweet, finished with a hint of heat.

DSC_1376

Fresh Spring Rolls with Peanut Sauce

Ingredients:

For the Spring Rolls:

20 rice paper sheets

1 lb. chicken tenders

1 red pepper, 1/2″ thick strips

1 cucumber, 1/2″ thick strips

1 carrots, 1/2″ thick strips (shredded carrots work well also)

1 handful cilantro, chopped

For the Peanut Sauce:

1 cup smooth peanut butter

2 tablespoon soy sauce

1 teaspoon red pepper flake (optional)

1 lime, juiced

2 tablespoons light brown sugar

5-10 tablespoons hot water (until desired consistency is reached)

Preparation:

Preheat oven to 350°. Place all chicken tenders on a baking sheet. Drizzle with olive oil and sprinkle with salt and pepper. Cook 15-20 minutes until cooked through. Cool and cut into thin (1/2″-ish) strips.

Set up the mis en place (bowl of chicken, red pepper, cucumber, carrot, cilantro). Place one rice paper sheet in a shallow bowl and cover with hot water (about 150°) for one minute. Use your fingers to move the rice paper around and loosen the gluten. Once wilted, place on a flat surface (a cutting board works well).

Place chicken, red pepper, carrot, cucumber, cilantro, and any other toppings just below the center of the rice paper. To fold the roll, first bring the bottom of the roll to the center and around the ingredients. Tightly tuck the wrap under the ingredients. Next, bring outside left and right edges of the wrap to the center and gently press. Roll the wrap forward over itself to complete the wrapping process. Press all edges of the wrap to seal.

To make peanut sauce, place all ingredients except water in a food processor and blend. Add hot water one tablespoon at a time and continue to blend until desired consistency is reached. Some like a thicker sauce, some prefer a thinner sauce.

Dunk spring rolls in the sauce. Repeat. Makes about 20 spring rolls.

Sautéed Brussels Sprouts with Bacon, Lemon, and Parmesan

Sauteed Brussels Sprouts with Bacon, Parmesan, and Lemon

Look, Ma! We’re on TV! We had a really exciting week over here at The Newlywed Chefs. If you’ve been following our story on Snapchat you’ve seen seen some behind the scenes coverage of when Dana Dean, reporter for KSDK (the NBC station here in St. Louis), came to our house to shoot a segment for “Show Me St. Louis.” This was the first time our little blog has been featured on TV and it was such a fun experience.

We have so, so much respect for Dana. Not only is she an excellent reporter, but she also does all of the video, lighting, and creative work behind the scenes. We were expecting a huge crew to roll up to our house and try to all fit in our cozy kitchen. The fact that she does the entire story from beginning to end by herself makes the excellent show even more impressive in our eyes, and boasts the show’s all around great journalism.

IMG_4028

For the show, we made one of our go-to side dishes. It’s easy to make, features simple  ingredients, and will make a brussels sprouts believer out of anyone. All you have to do is prep the ingredients, make some delicious bacon (BACON!!), sauté the brussels sprouts in the bacon fat, and add the rest of the ingredients.

DSC_1488

We made this dish for the first time a few years ago for an Easter side and we just keep going back to it. You can watch our segment on KSDK here!

Sautéed Brussels Sprouts with Bacon, Lemon, and Parmesan

Prep Time: 10 min. Cook Time: 20 min.

Recipe Adapted From:  Simplebites.net

Ingredients:

1 lb brussels sprouts, stems removed and thinly sliced

Zest of 1 lemon

1/2 lemon, juiced

5 strips applewood smoked bacon, cut into 1/4″ pieces

1/2 cup parmesan cheese, grated

Salt and pepper to taste

Preparation:

Cook bacon over medium high heat in a large pan until crispy. Remove bacon and place on a plate with paper towels to rest, reserving bacon fat in pan. Add brussels sprouts to the bacon fat in pan and continue to cook over medium high heat until brussels sprouts are translucent and cooked through, about 8 minutes.

Turn off heat and add the lemon zest, lemon juice, and parmesan. Toss with tongs. Add the bacon and continue to toss. Add salt and pepper to taste. Serve with additional parmesan cheese.