Between now and the New Year, the hubby and I will travel roughly 4,000 miles between work, school, conferences, the holidays, and a wedding. When traveling, we tend to go all out on meals because it’s one of the most important ways for us to connect with a city. We go where the locals go, eat what the foodies eat, and order things we can’t get back home. Calories are (usually) not considered, just like on holidays. However, when we’re between trips, we’ll want something wholesome and fresh to balance our culinary splurges. Enter: this salad.
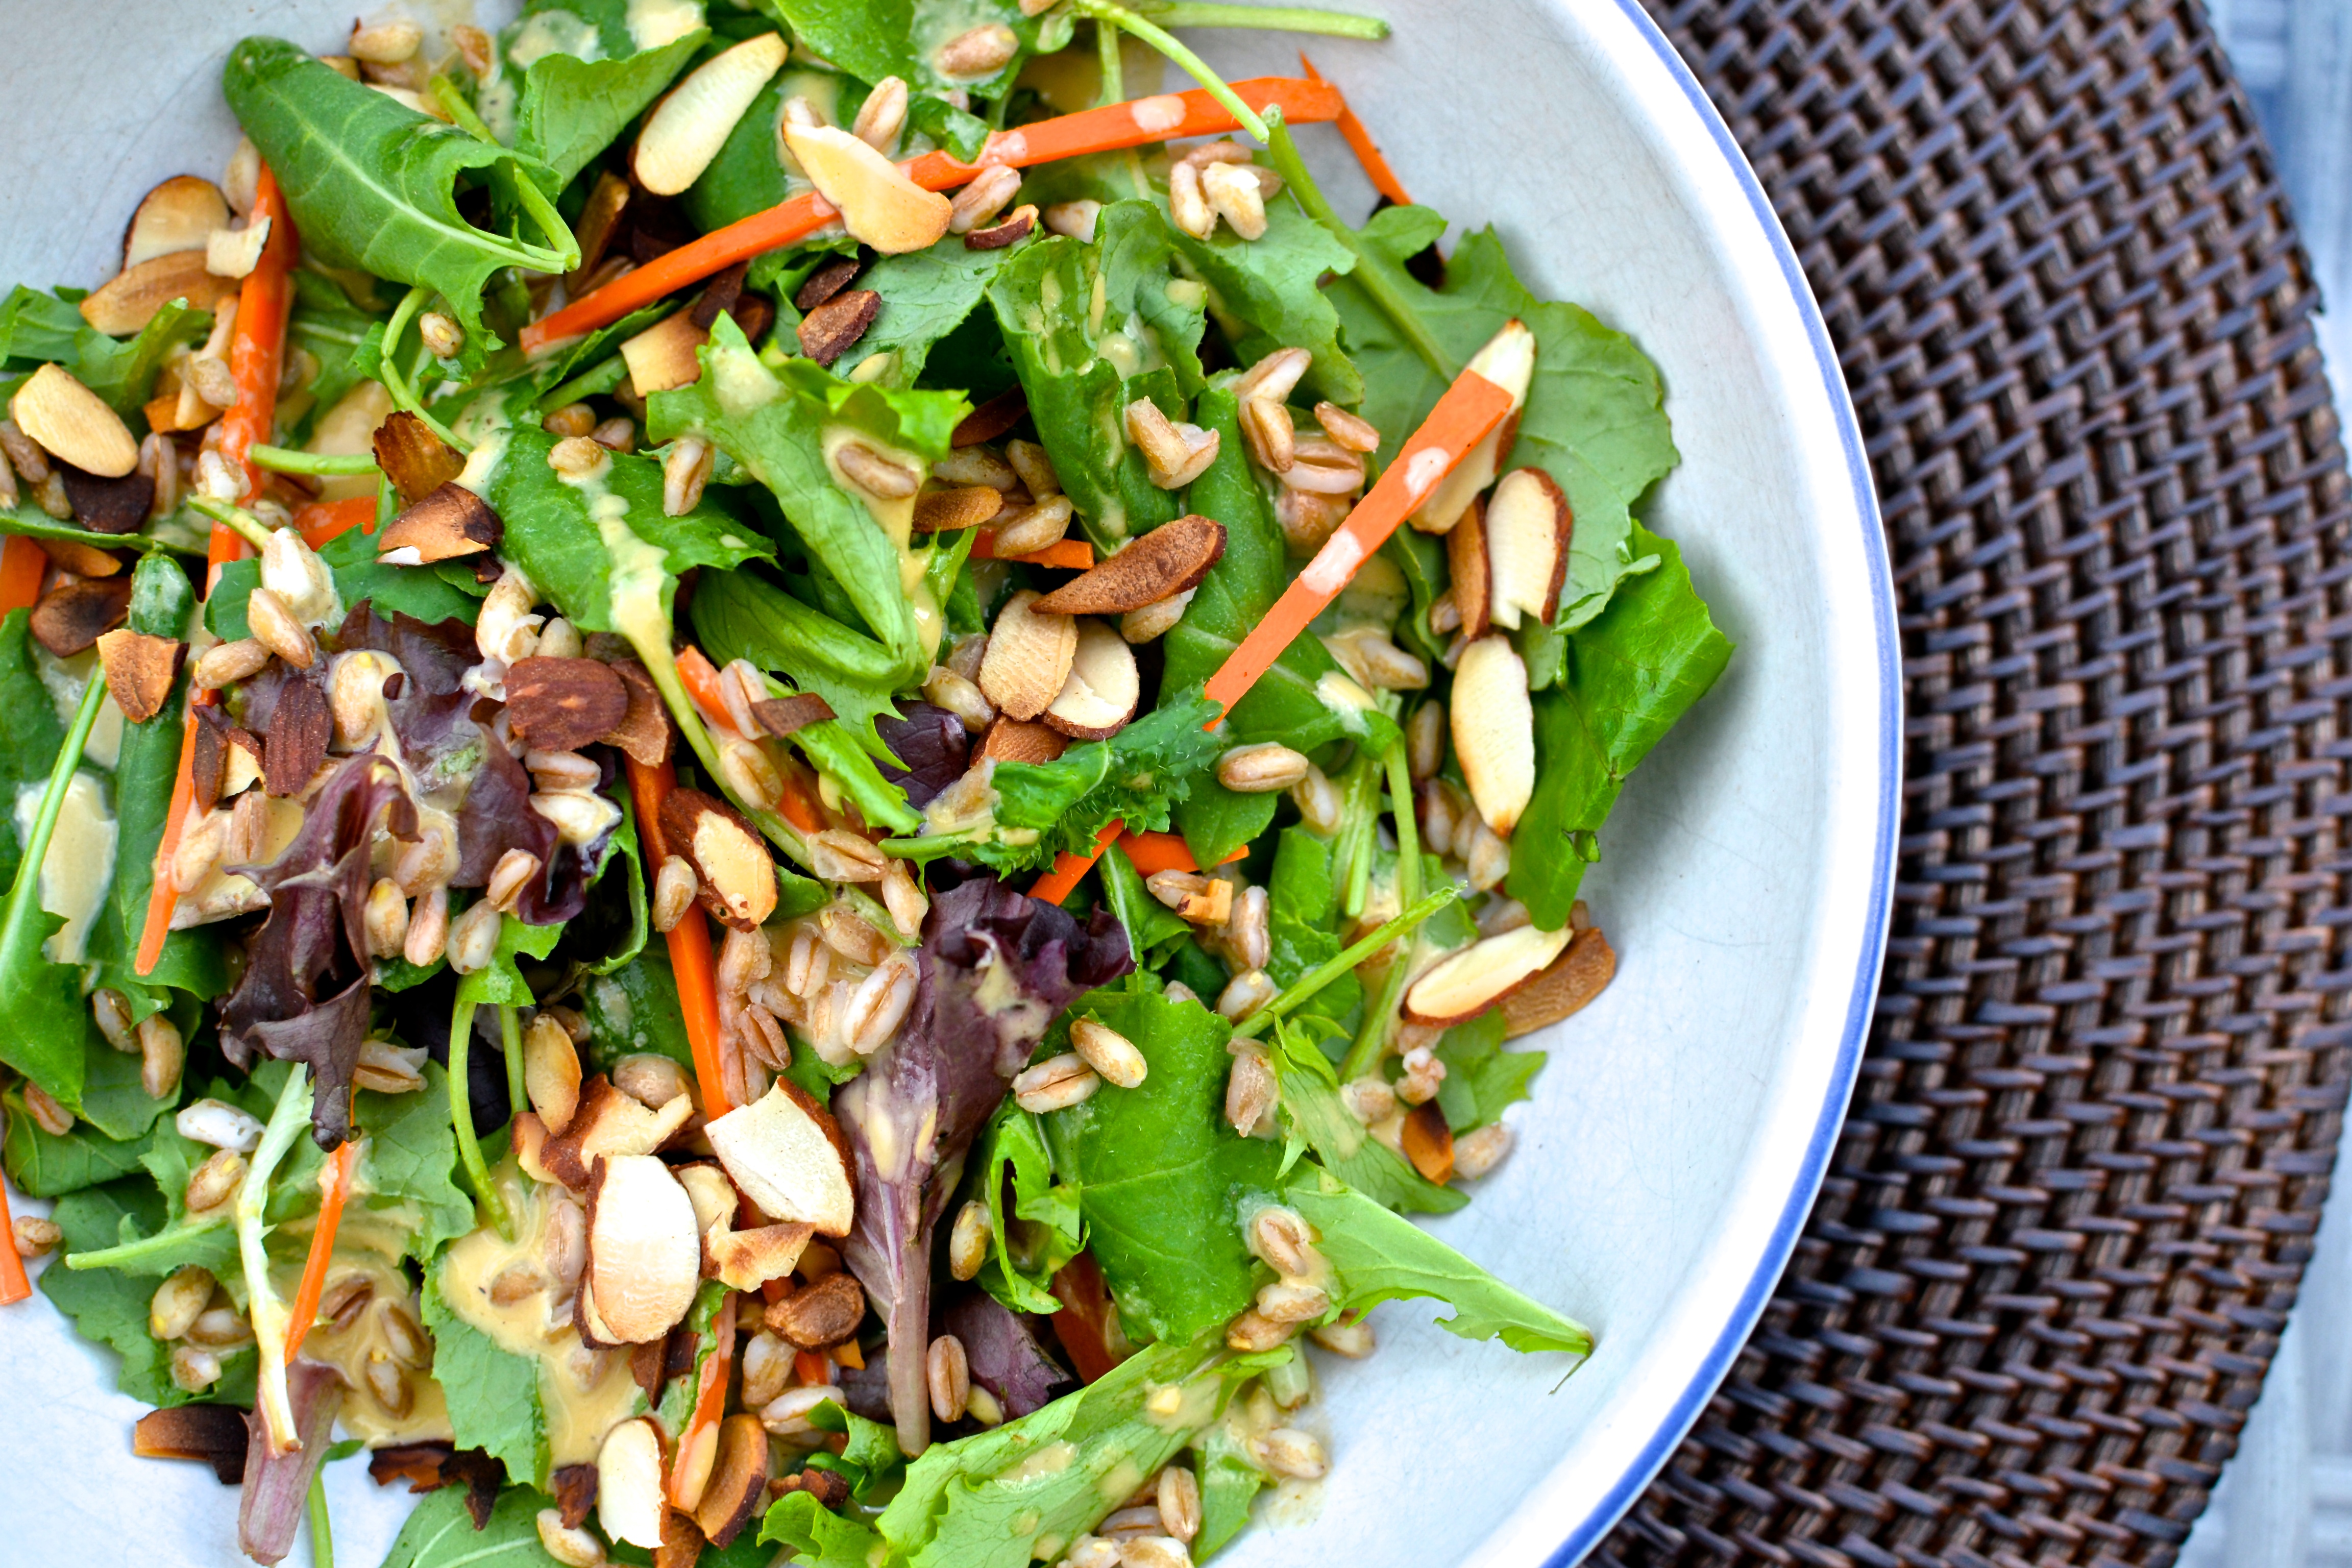
Farro is big on the food scene right now. I’ve seen this whole grain on food blogs, in culinary magazines, and starting to pop up in the aisles of grocery stores. It’s a grain that has a more bite than brown rice and is full of nutty flavor. I like how filling it makes this salad. I’m not a lettuce and dressing equals salad kind of girl. Give me the crunch, the variety, the layers of flavor when it comes to a salad. This healthy dish combines farro with toasted almonds and a tahini dressing, which is my best attempt to copy the flavors of Trader Joe’s “Goddess Dressing.” It’s savory, creamy, and will leave you wanting more. This salad will be a colorful addition to your dinner table, and just what I need between trips this season.
Toasted Almond and Farro Salad with Tahini Dressing
Prep Time: 10 min. Cook Time: 5 min.
Ingredients:
For the Dressing:
1/2 cup tahini
1 lemon, juiced
1/4 cup reduced sodium soy sauce
1/4 cup apple cider vinegar
1 cup olive oil
1/2 teaspoon kosher salt
1/2 teaspoon black pepper
For the Salad:
1/2 cup unsalted raw sliced almonds
1 bag mixed greens
1 carrot, cut into thin matchsticks
1 cup cooked farro, cooled
Preparation:
Combine all ingredients for the dressing in a food processor until smooth (if you like a thinner dressing, add a few drops of hot water until you reach desired consistency).
In a small pan over medium low heat, sauté the almonds until golden brown, about 5 minutes. Assemble each salad by combining a handful of greens, a few carrot sticks, 1/4 cup farro, and a drizzle of dressing on the plate. Top with almonds. Serve chilled.
Dressing recipe makes 1 cup, equal to about 16 side salads or 8 entrées.