Fresh Strawberry Cupcakes with Buttercream Frosting

Strawberry Cupcakes

I got to hang out with the most amazing, caring, generous, funny, wise, and beautiful person this weekend: my mom. We explored new places, shopped darling boutiques, perused interesting museums, laughed until we cried, and indulged in many delicious culinary treats. During her time here in North Carolina we went to a bakery in Greensboro called Maxie B’s. This is the most fabulous bakery I’ve visited. Featured in Southern Living as one of the South’s best bakeries, Maxie B’s is one of those places that you step in to and think for just a moment that perhaps you’re really dreaming.

Dozens of picture perfect cake domes line the front counter and wrap all around the back and sides of the place showing off their scratch-baked cakes. There is no menu displayed, so everyone waits in the long line and cranes their necks to read the small handwritten flavors tied onto the top of each cake dome. On this particular Sunday afternoon, the line was to the door.

Mom ordered a piece of their decadent Devil’s Food Cake. Layers of chocolate icing alternated with rich chocolate cake to make a simply perfect chocolate dessert. Neil got a the Brown Stone Front Cake, which was made from a very old recipe with layers of light chocolate cake and caramel frosting. I ordered their best seller: Fresh Strawberry Buttercream Cake, which is a cream cheese cake layered with fresh strawberries and covered in vanilla buttercream. I cannot find the words to convey the perfection of this cake. The buttercream is unlike any other I’ve tasted. Super buttery, the right amount of sweetness, and a smooth creamy texture.

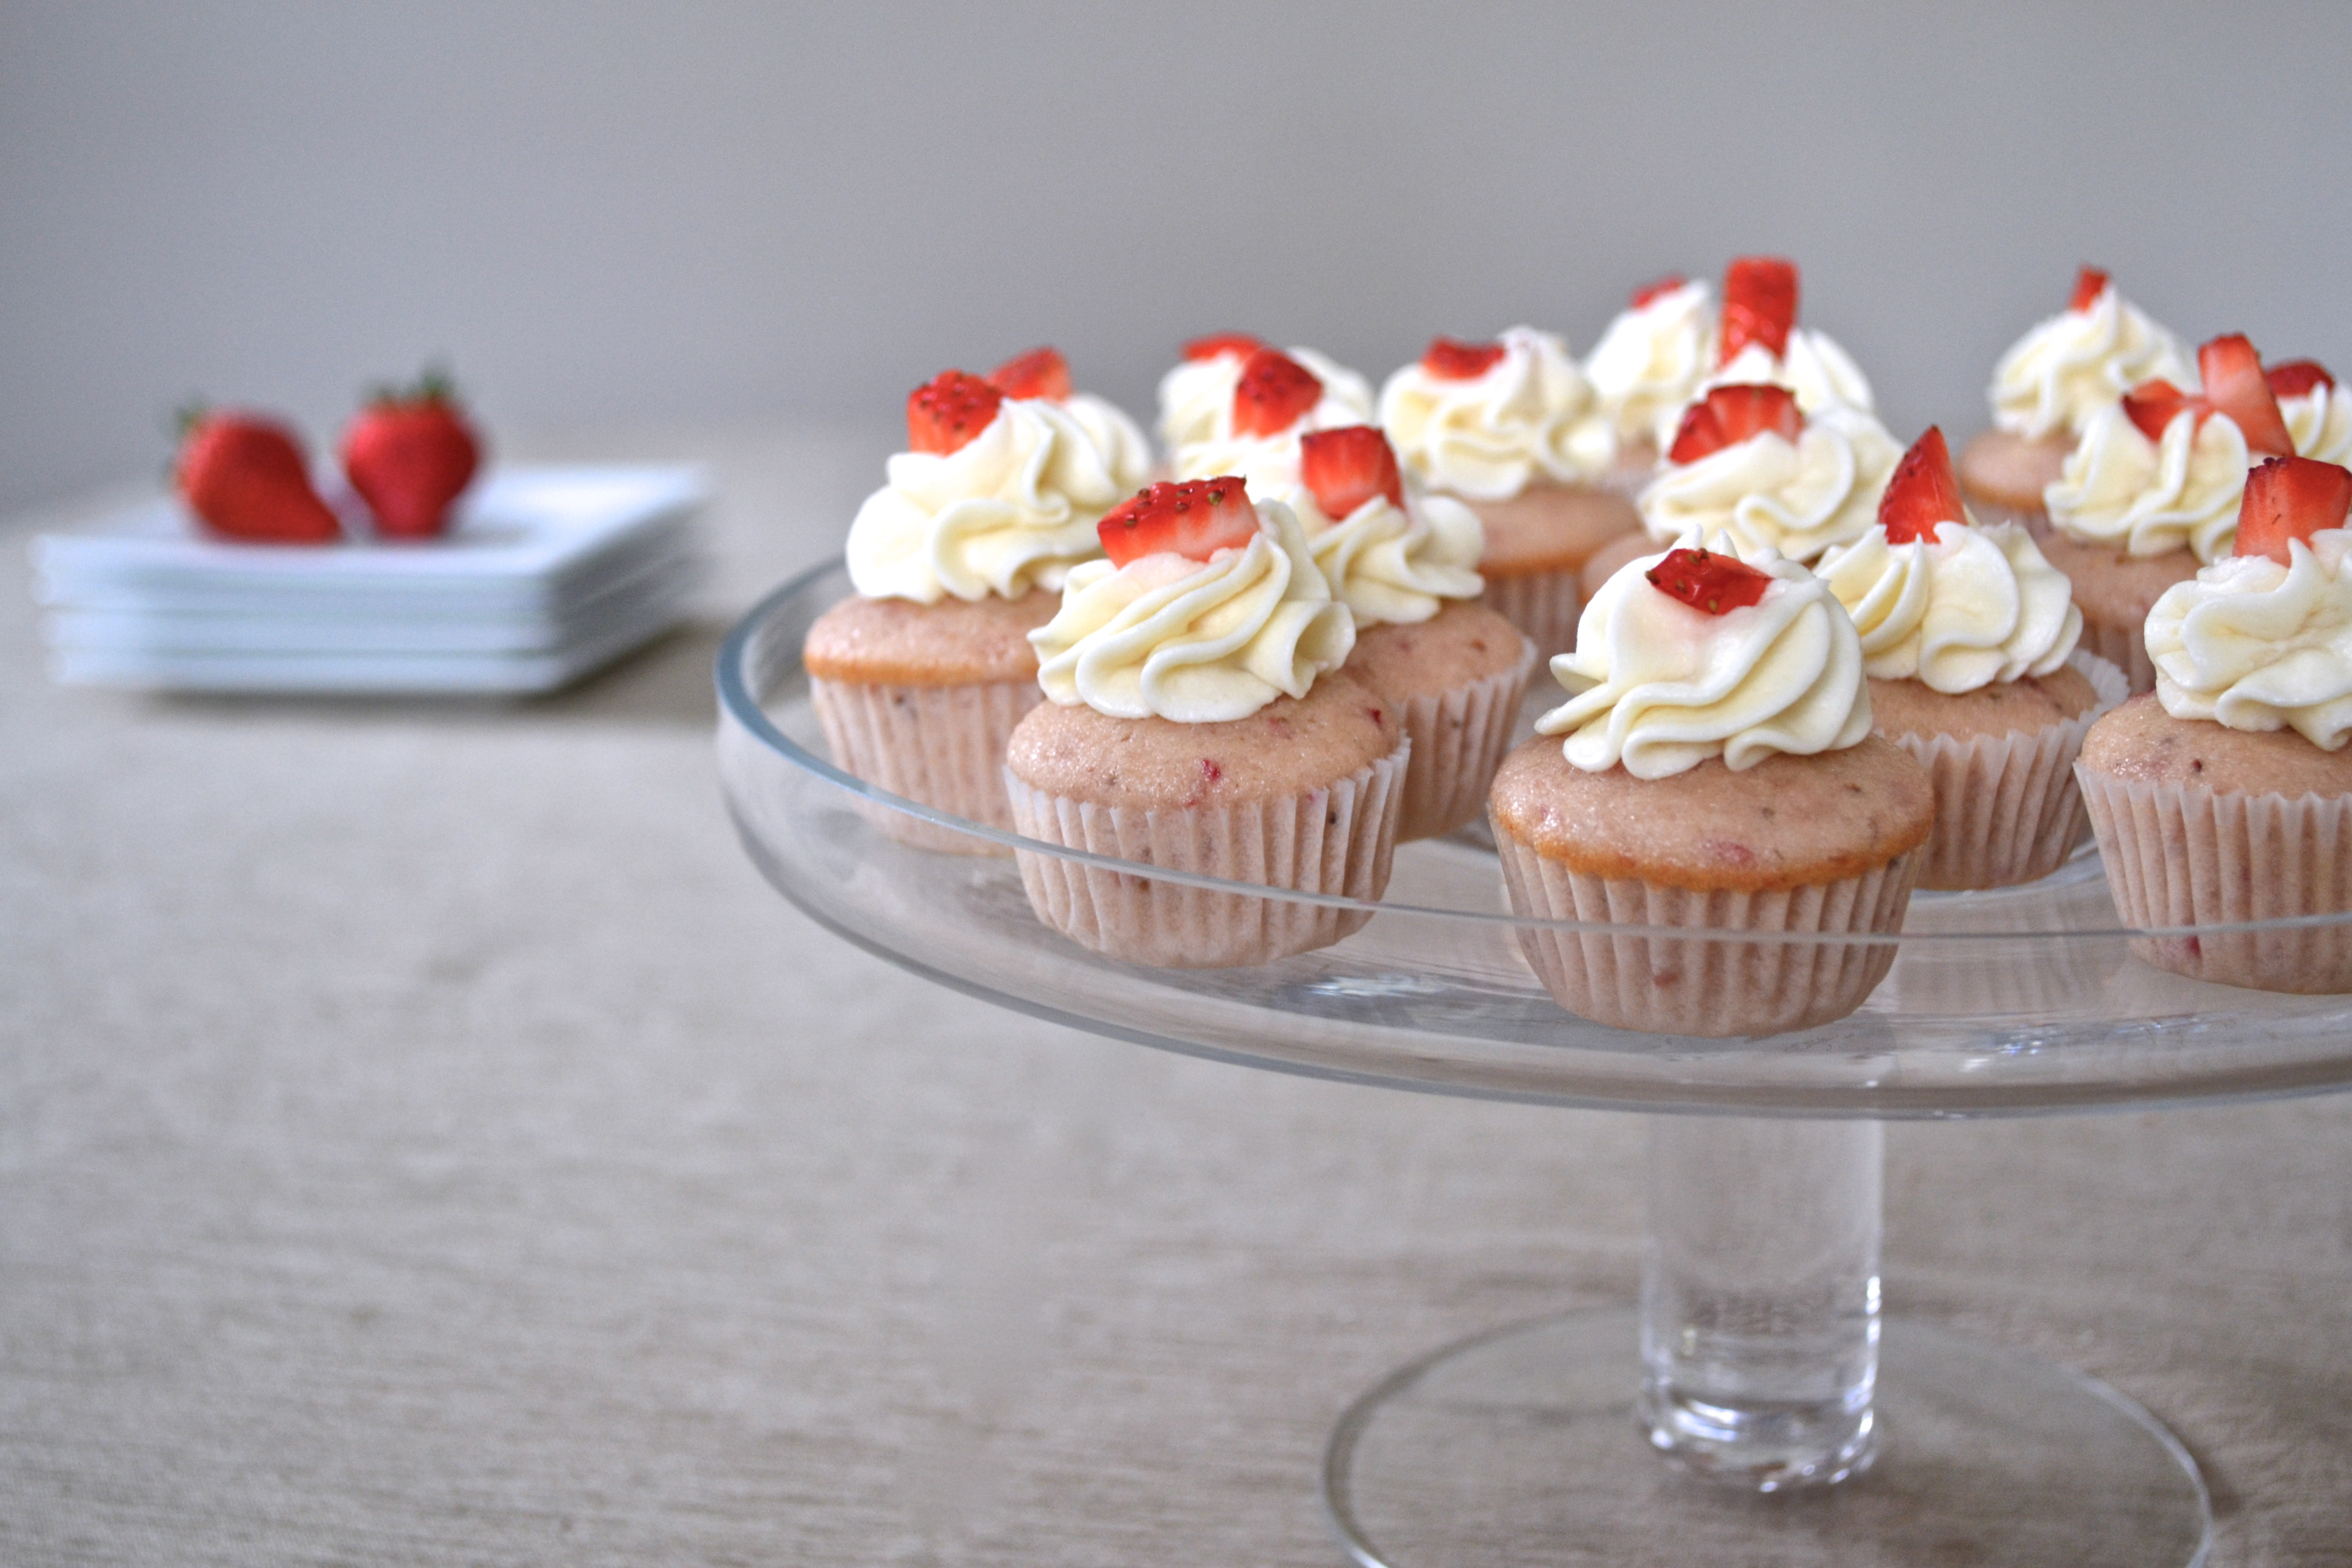
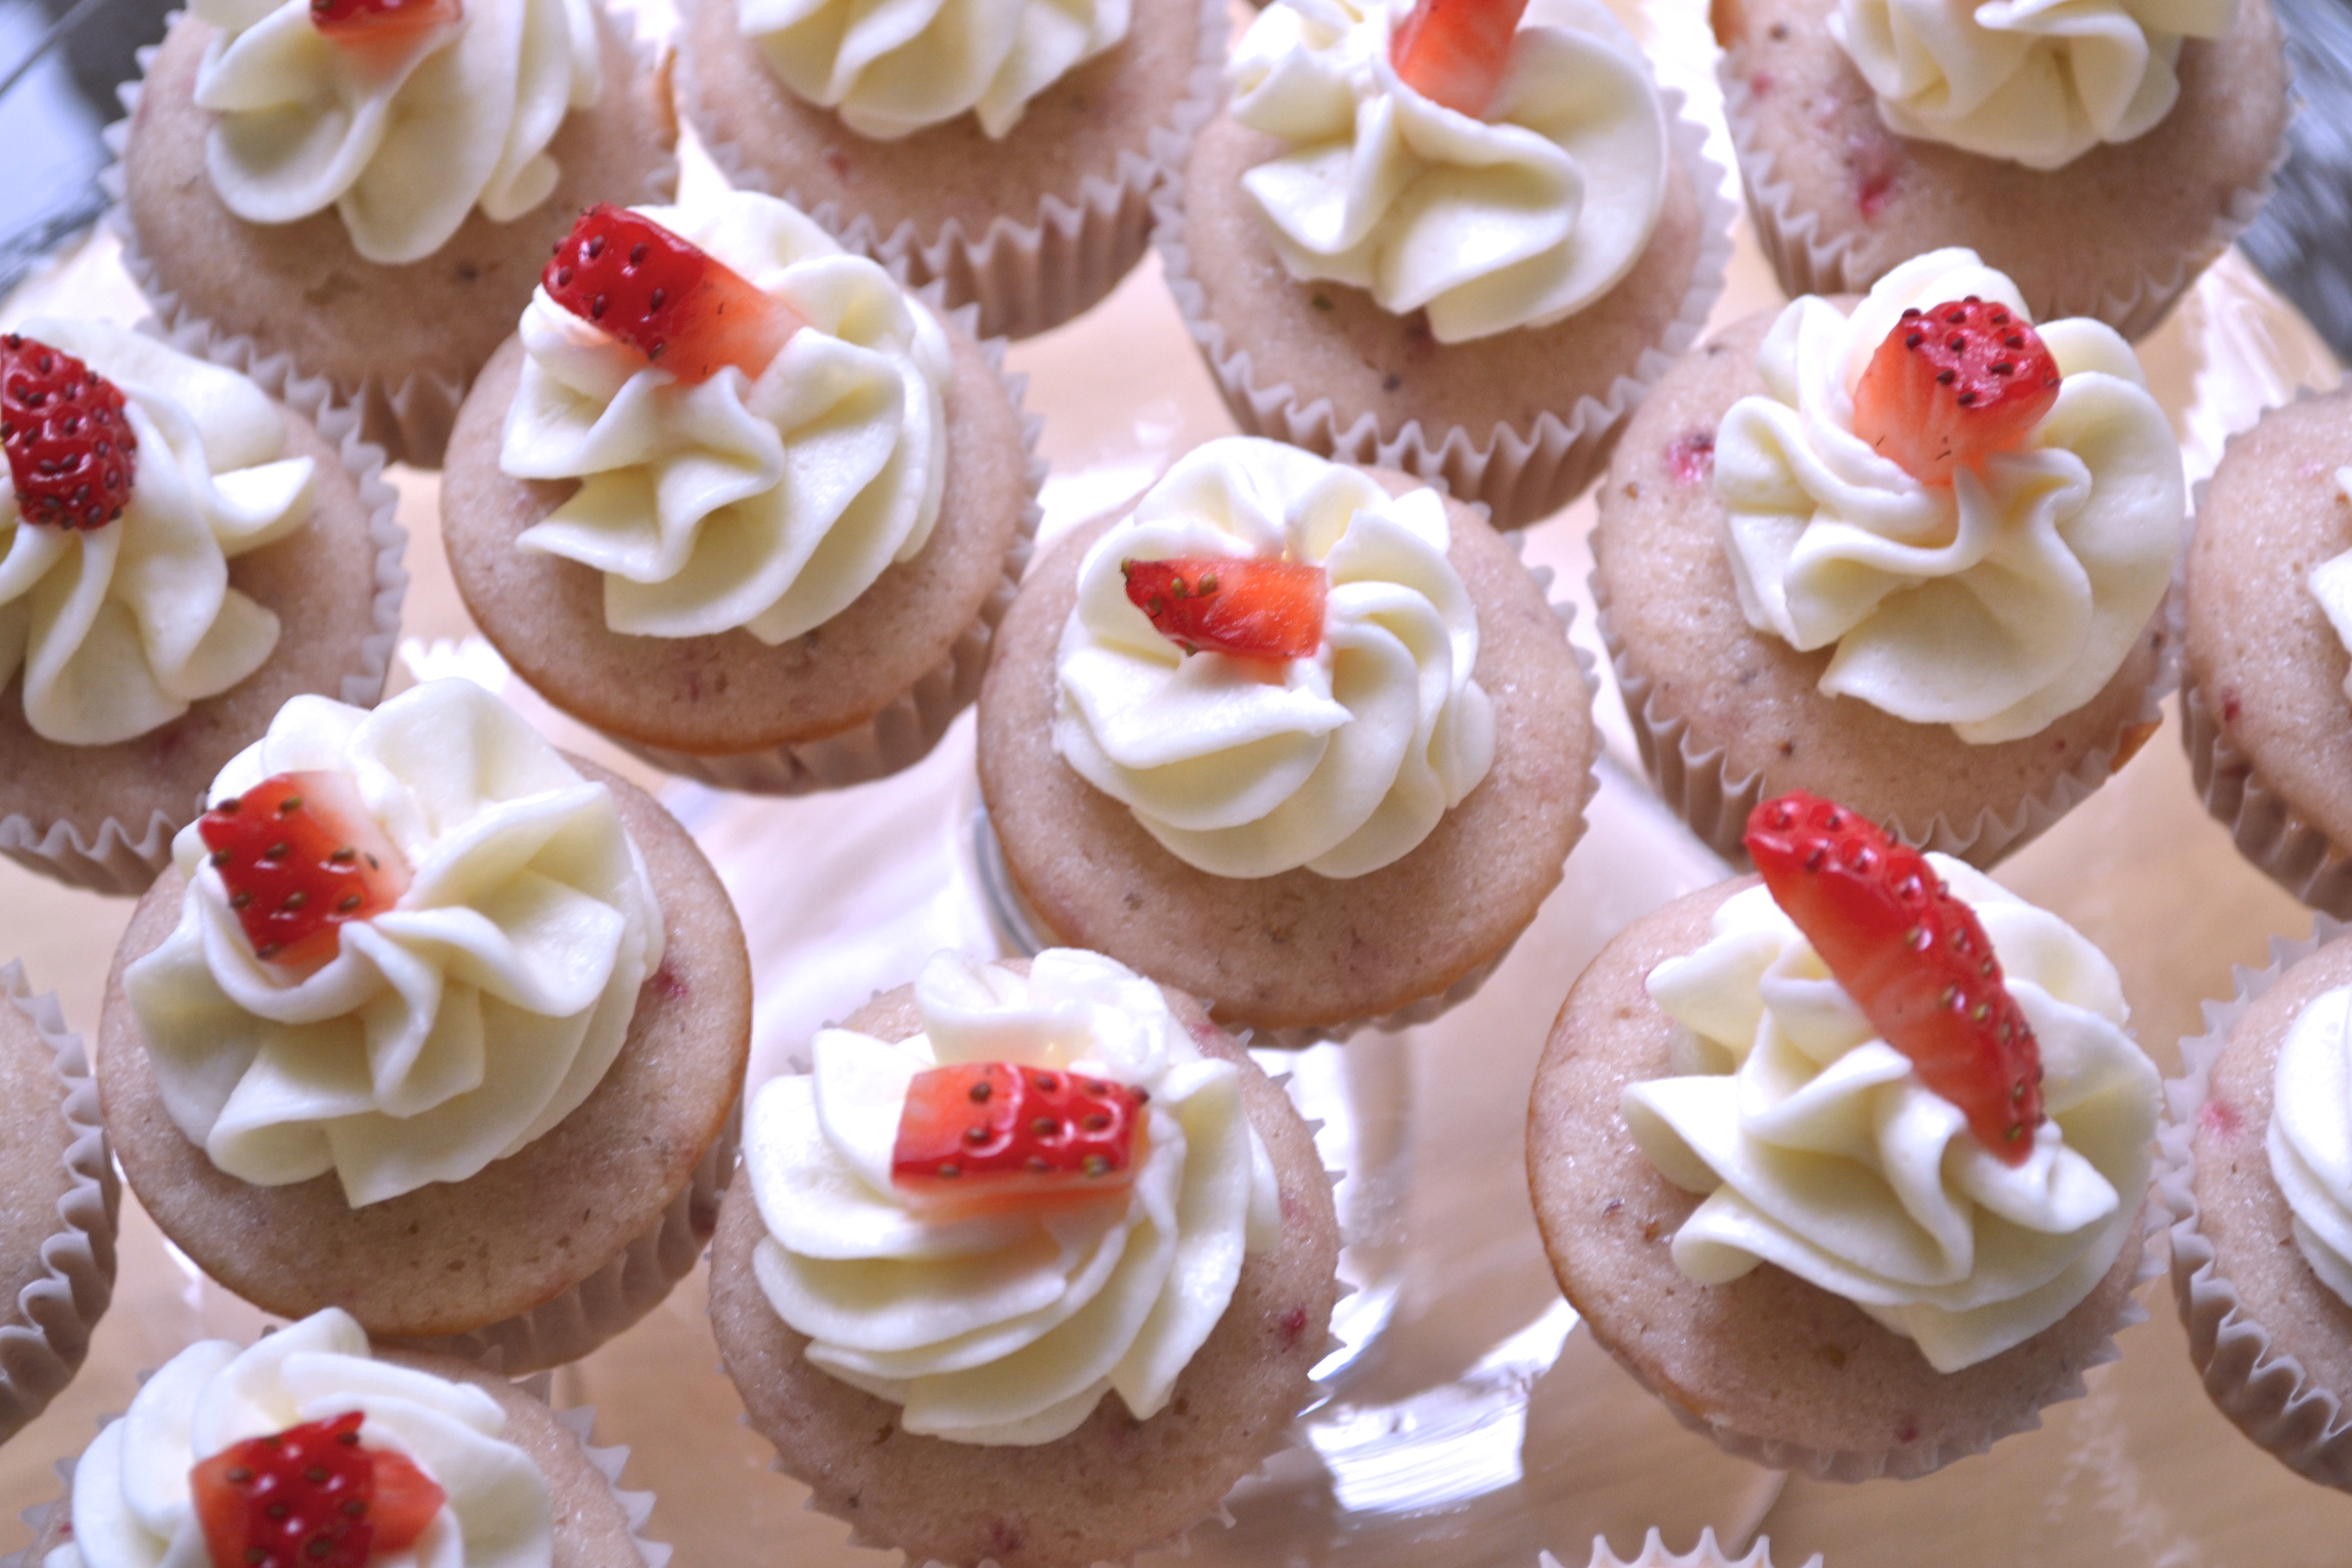
Totally inspired by this cake, I attempted to recreate the fresh strawberry taste and buttery icing. I’ve come to the conclusion that you simply can’t mess with Maxie B’s. It can’t be recreated. Or at least, I can’t recreate it. However, these mini cupcakes land somewhere in left field of the Maxie B’s ballpark and are still really, really good. Fresh strawberries really make the difference in bringing out an authentic strawberry flavor.

DSC_0543

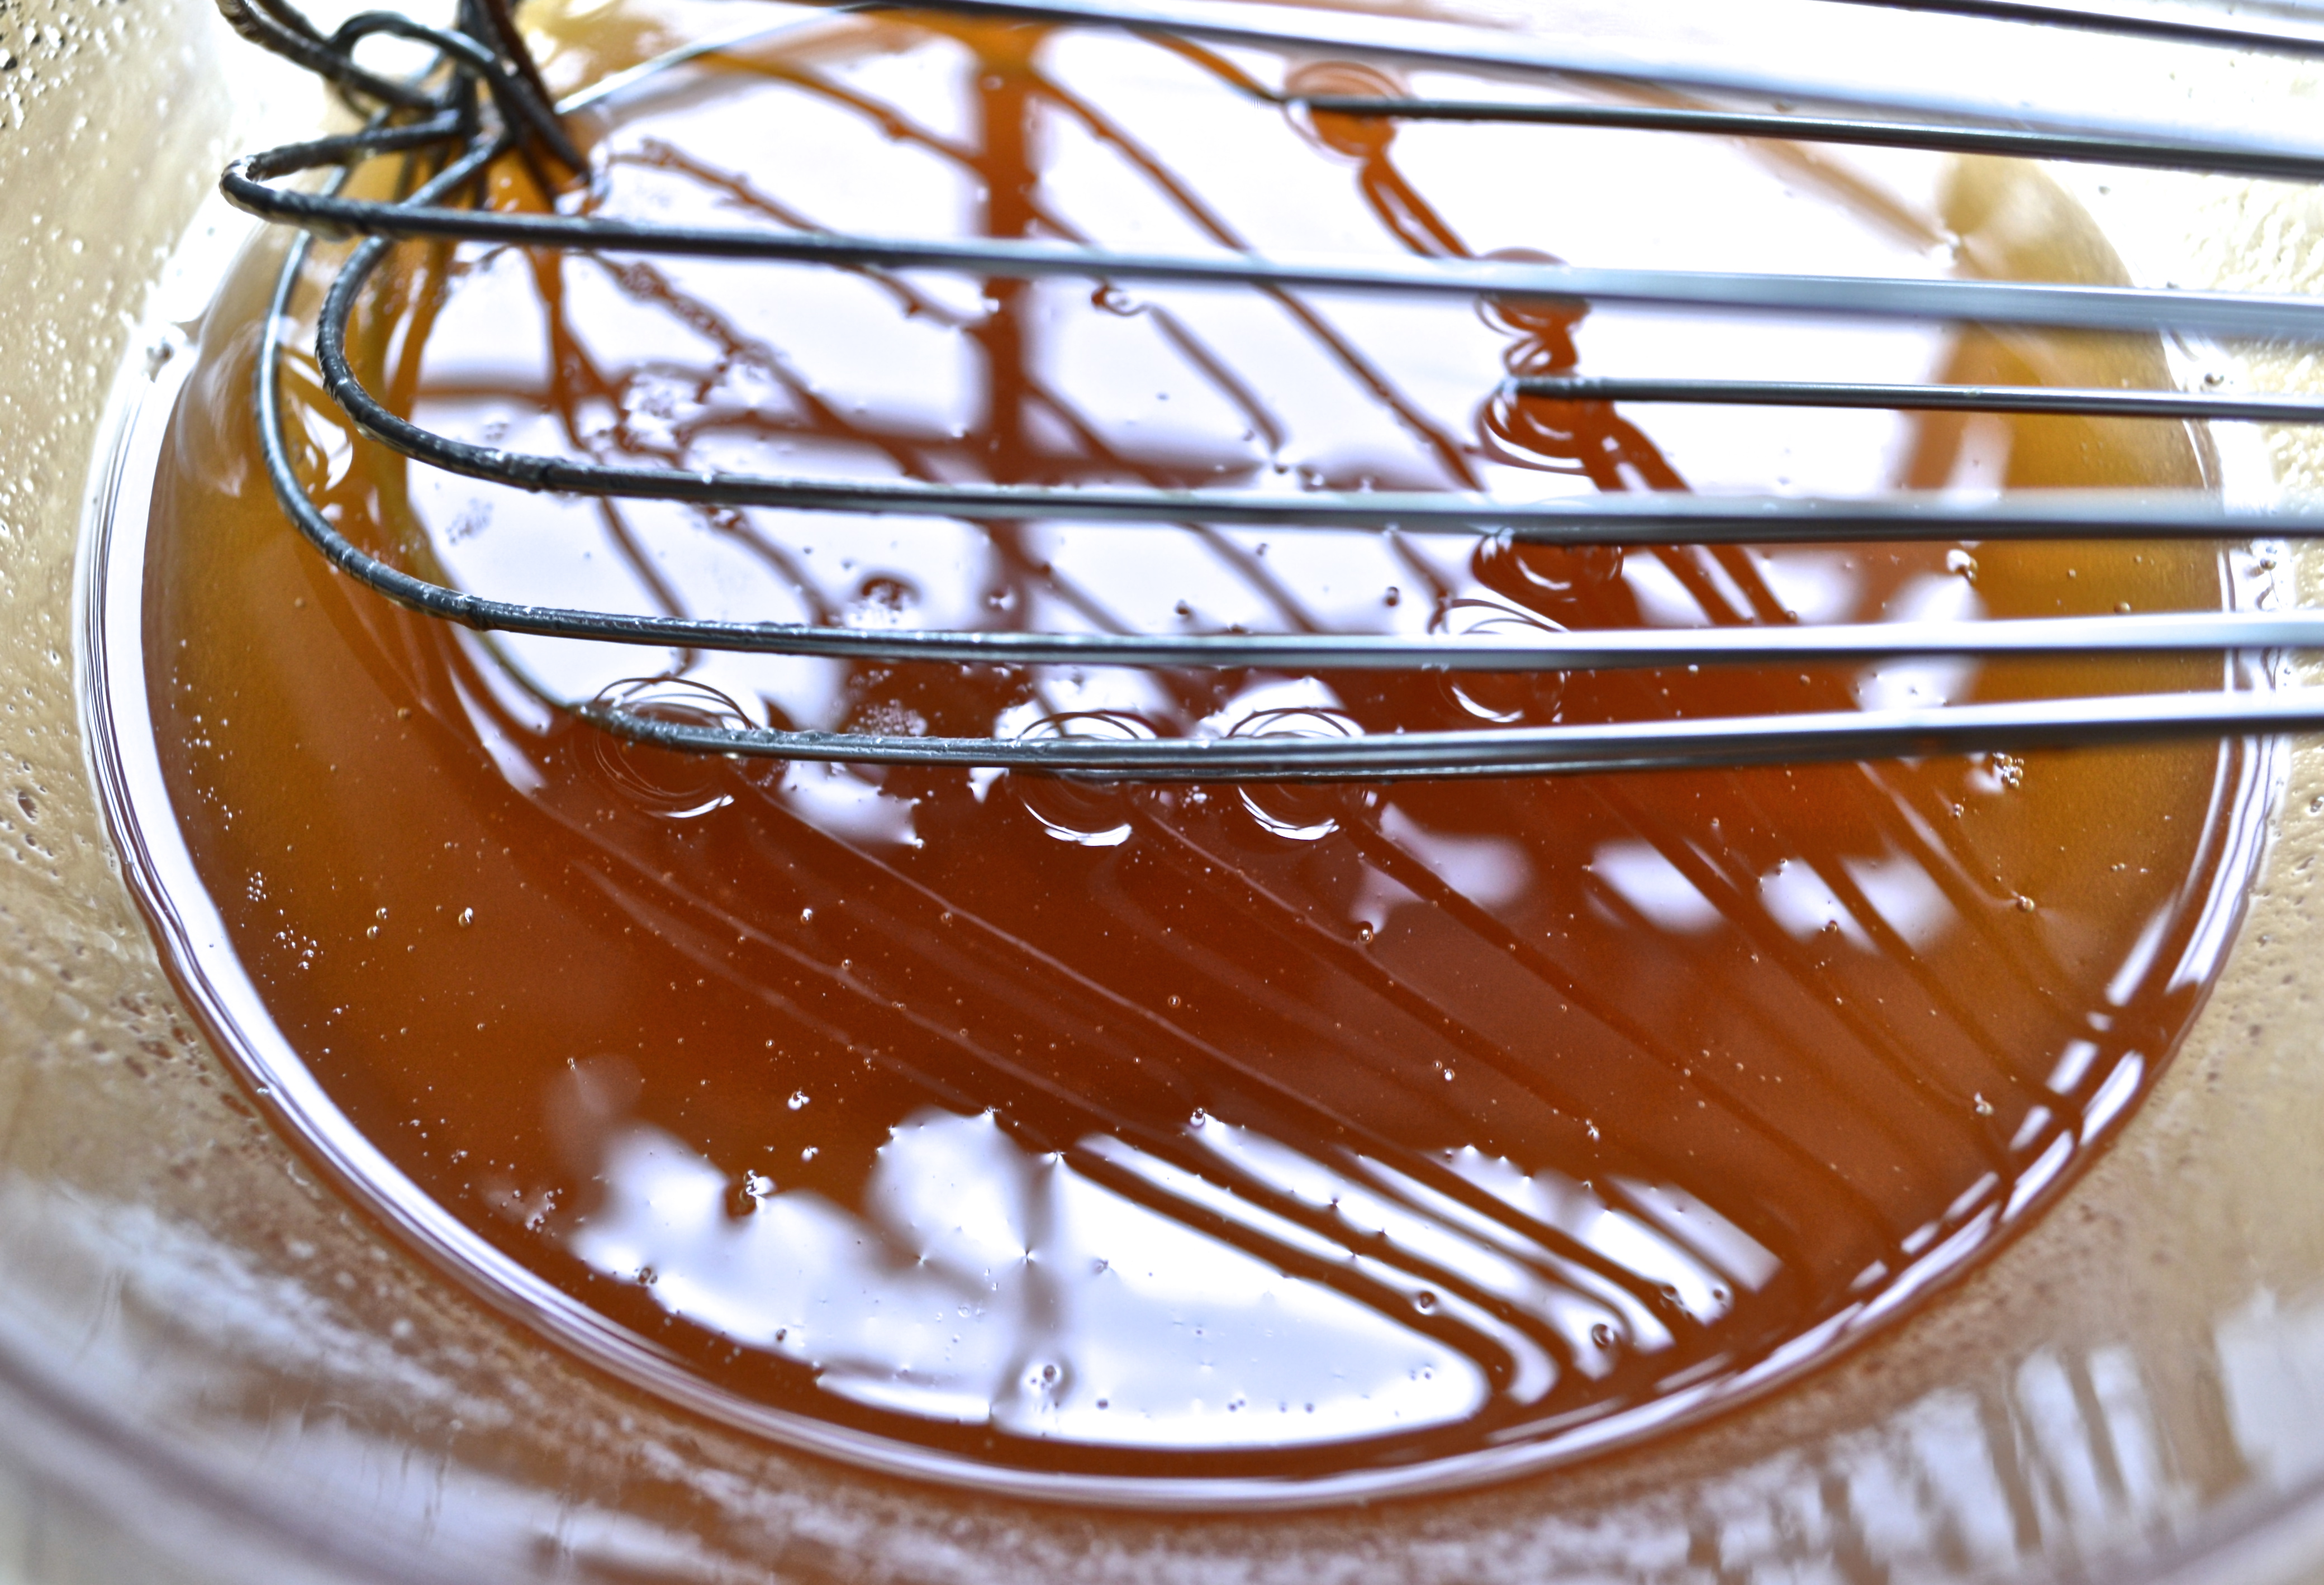
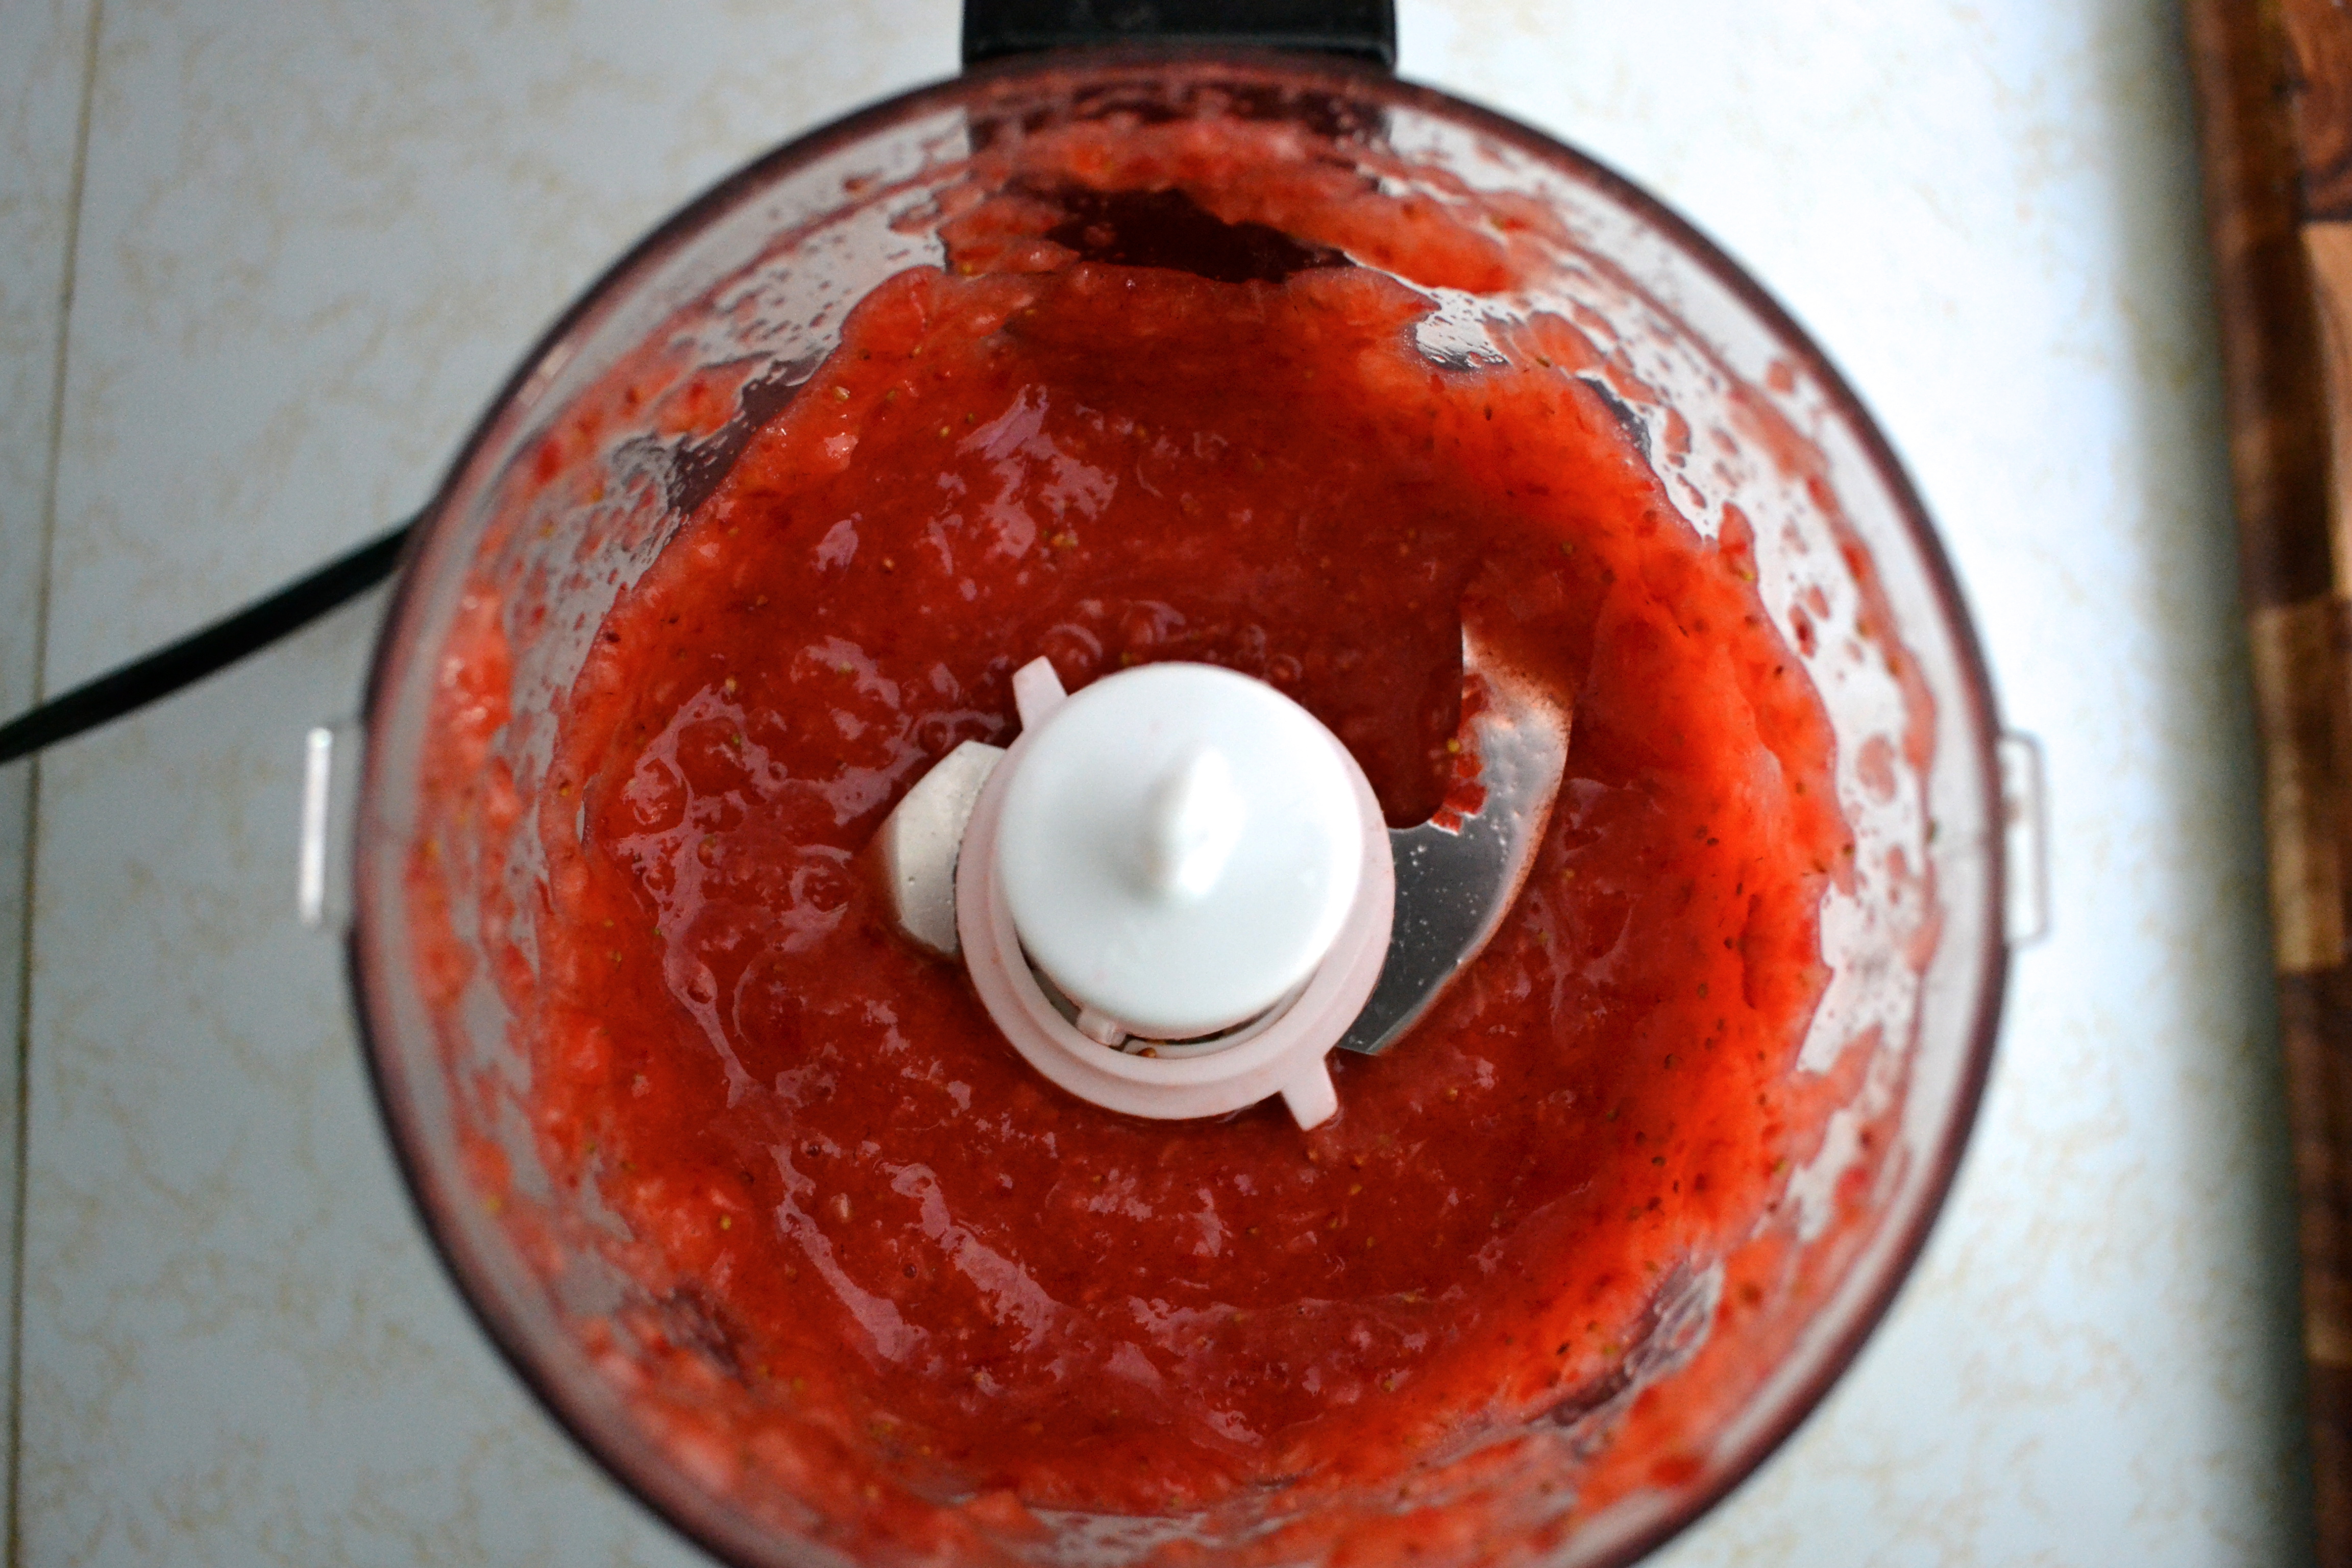
Once the strawberries are puréed, you can incorporate their sweet flavor into the cupcake batter.

Strawberry Puree

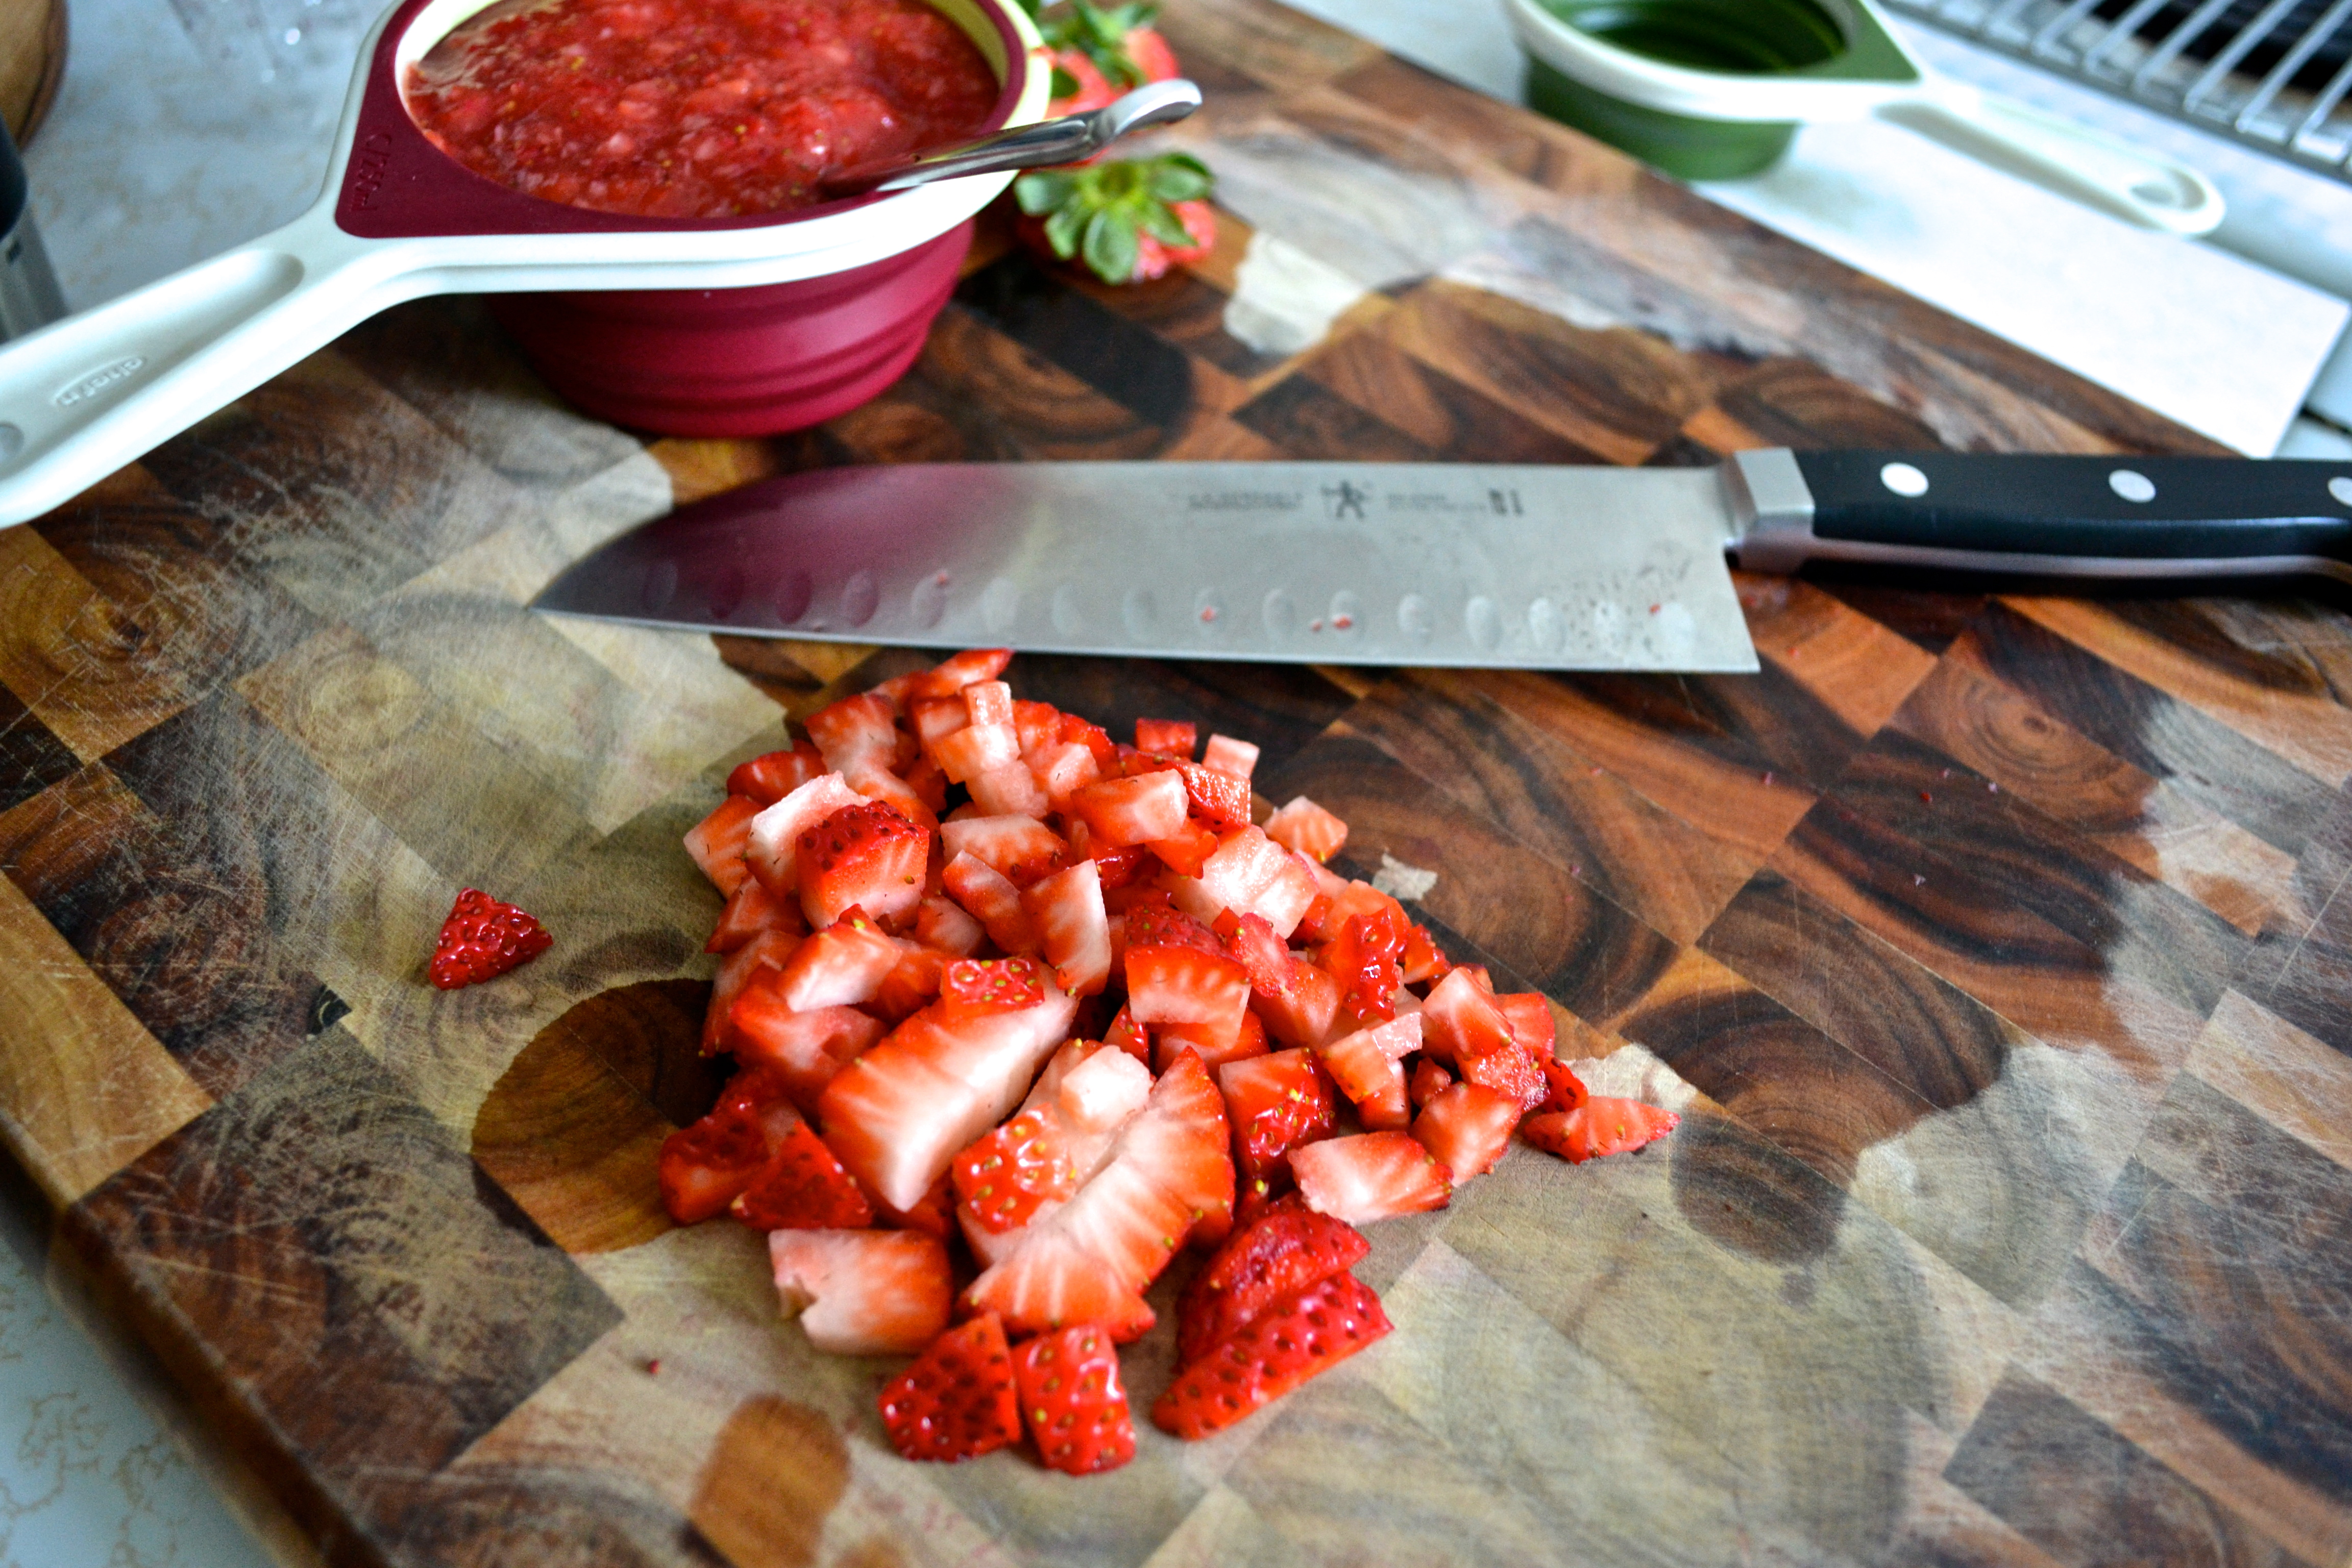
I chopped up a few more strawberries to use as decorations atop the cupcakes. I think it’s nice when your guests automatically know what you’re serving. That bit of strawberry should clue them in.

Chopped and pureed strawberries

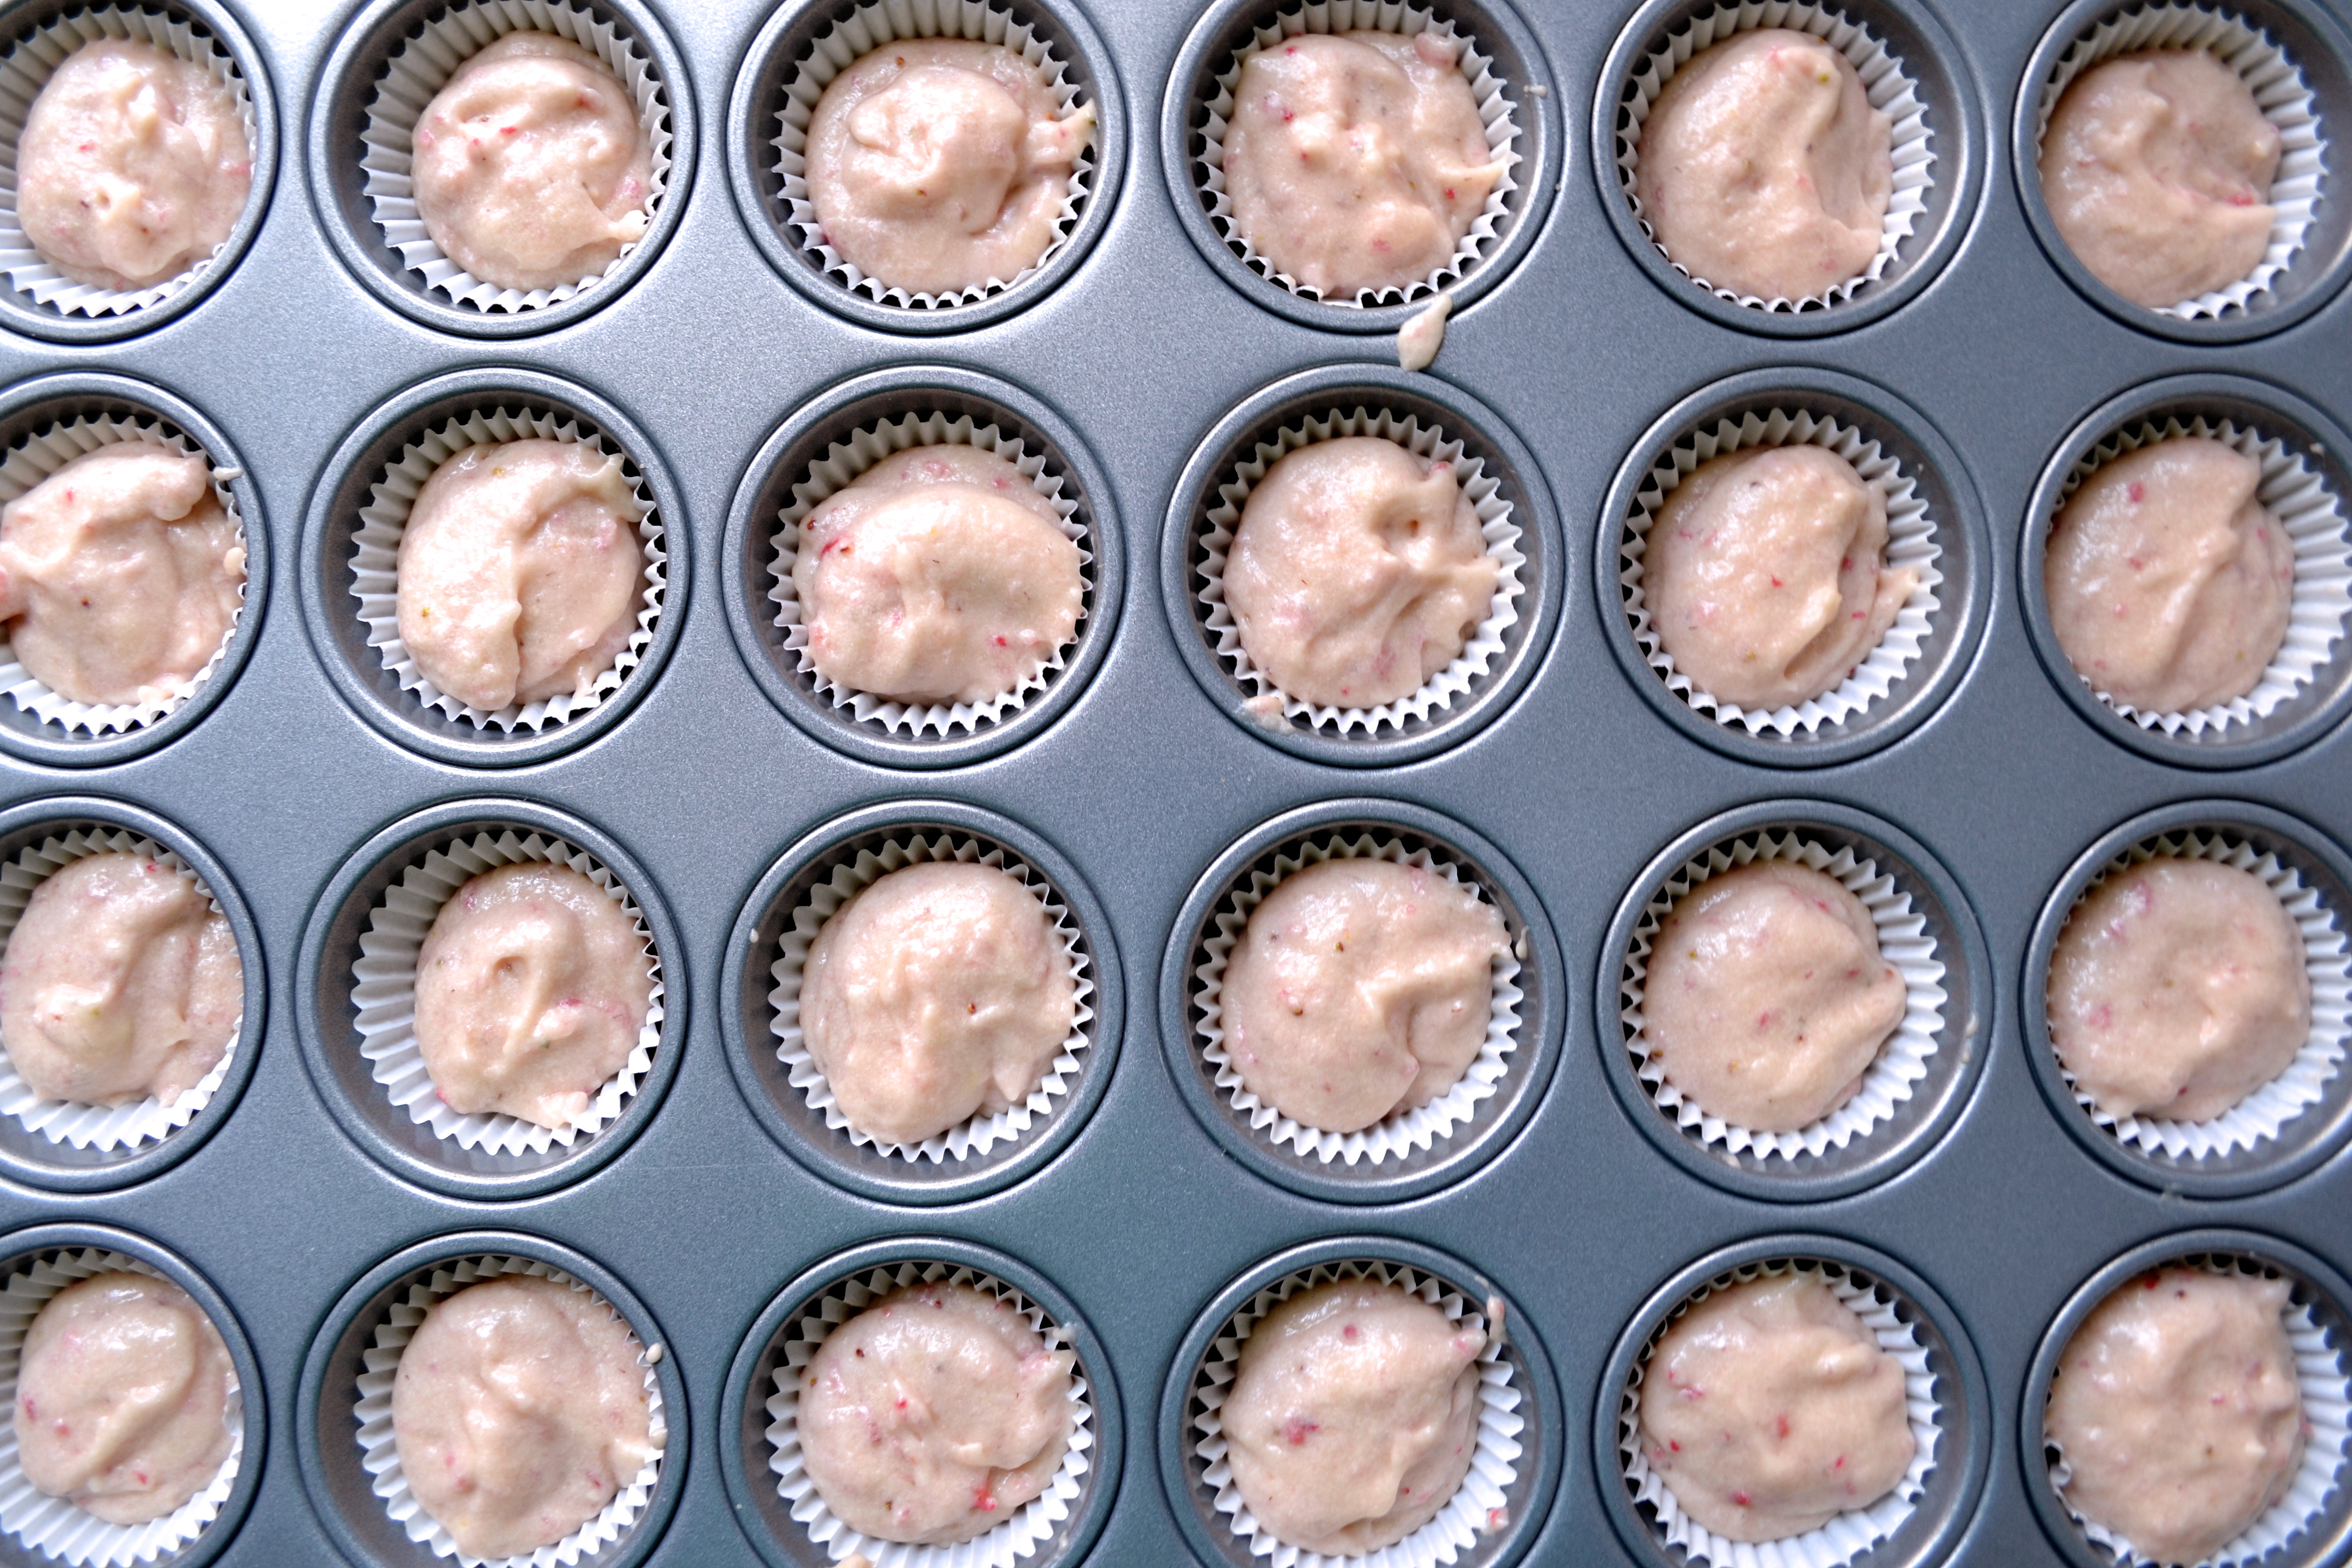
I recently bought this mini cupcake pan and love it! Mini cupcakes can help with portion control, but it’s hard to eat just one…

Filled cups

If you fill each one 3/4 of the way it makes the cupcakes rise a bit over the paper lining when baked, which I think looks most attractive.

Baked cupcakes

These mini cupcakes are the perfect springtime treats that mothers everywhere are sure to love.

Birdseye cupcakes

Back to my visit with mom. As I get older, I appreciate my mother more and more. She is amazing. She balances the world of being a mother, teacher, Nana, wife, daughter, writer, friend, technology advocate, and more with style and grace. Did you know that she was the one who encouraged us to start this blog in the first place? All props to mom. I love that right now I get to see my sister and sister-in-law being moms to their little ones, my mother and mother-in-law being moms to us, and our grandmothers being moms to our parents. Life is beautiful, isn’t it? Happy Mother’s Day!

Fresh Strawberry Cupcakes with Buttercream Frosting

Adapted from Candace Nelson of Sprinkles Cupcakes

Prep Time: 20 min. Cook Time: 12 minutes

Ingredients:

For the Cupcakes:

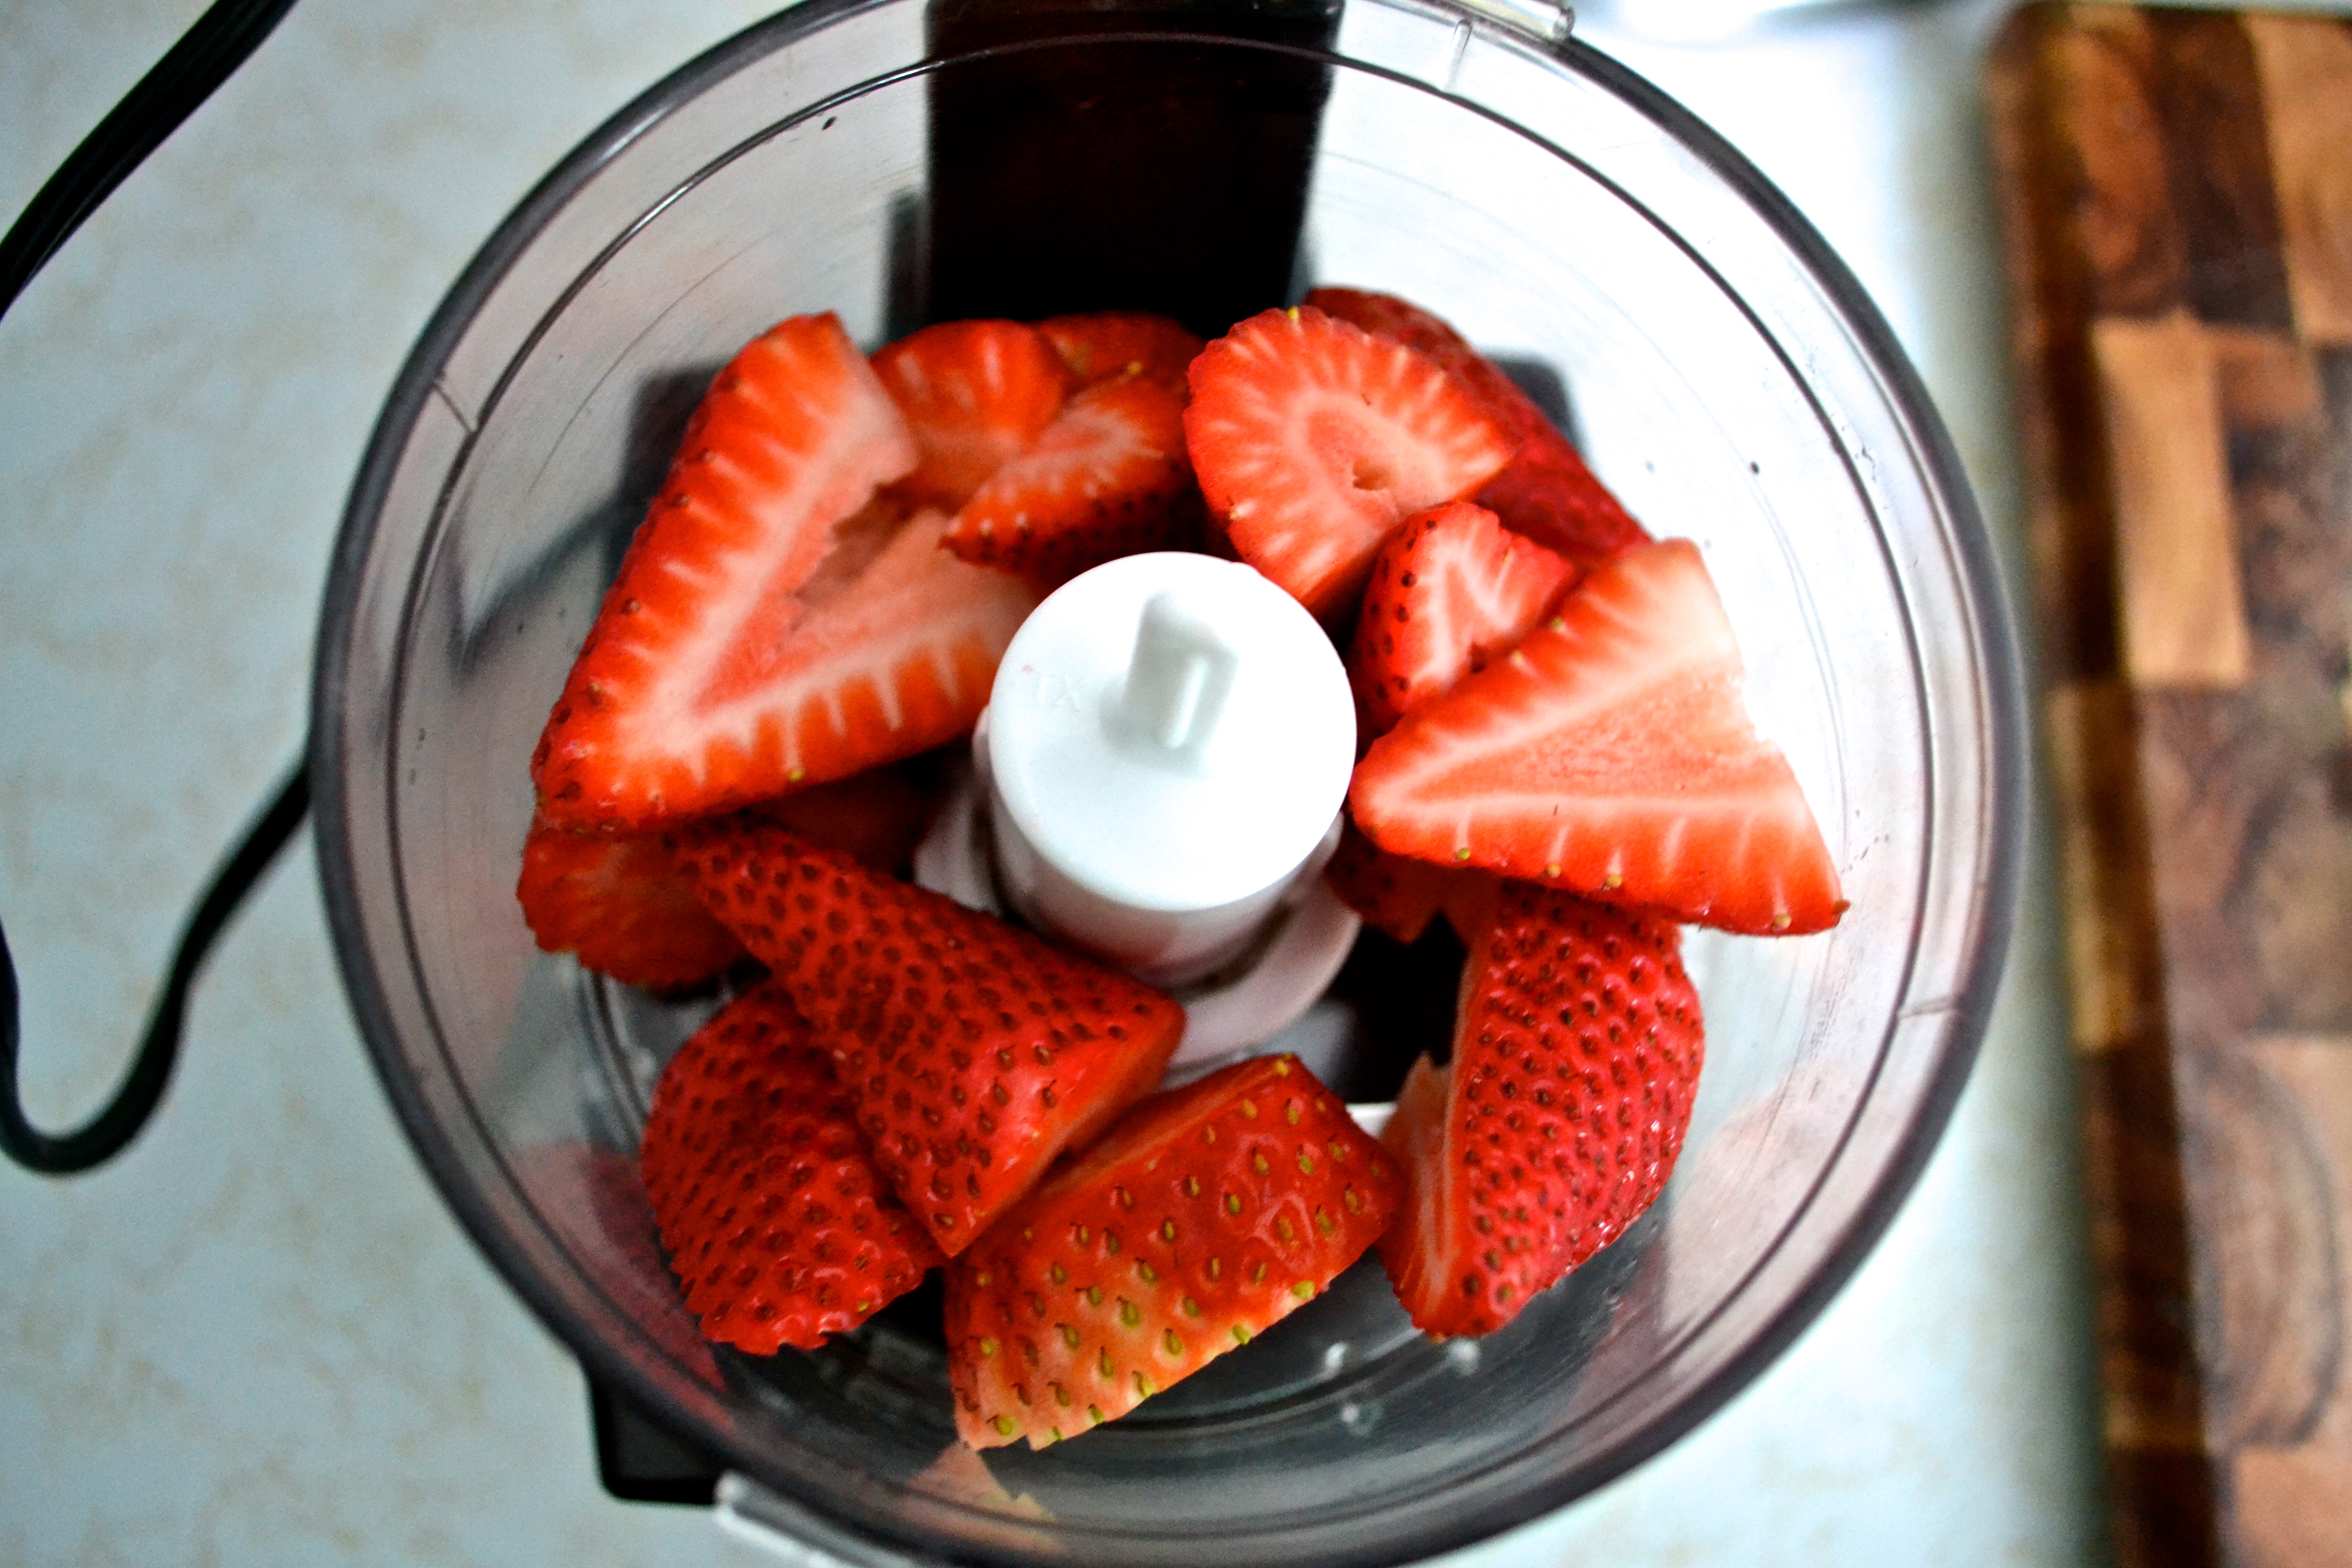
1 cup freshly puréed strawberries (about 10 large berries)

1/2 cup finely chopped strawberries (about 3 large berries)

1 1/2 cups all purpose flour

1 teaspoon baking powder

1/4 teaspoon salt

1/4 cup whole milk

1 teaspoon vanilla extract

1/2 cup unsalted butter, softened

1 cup sugar

1 egg

2 egg whites

For the Frosting:

2 sticks butter, super soft

2 1/2 cups powdered sugar

1 pinch of salt

1 teaspoon vanilla extract

2 tablespoons whole milk

Preparation:

Preheat oven to 350°. Line a mini cupcake tin with paper liners and set aside.

In a large bowl, mix together flour, baking powder, and salt. In another bowl, mix together the milk, vanilla, and strawberry purée.

Using an electric mixer, beat the butter until fluffy. Add the sugar and continue to mix. Add the egg and egg whites and blend until combined. Next, add half of the flour mixture and continue to mix. Add the strawberry mixture, and mix again. Finally, add the remaining flour mixture and combine, scraping the sides of the mixer to get all ingredients in the batter.

Fill each mini muffin tin 3/4 of the way and bake for about 12 minutes or until a knife comes out clean when tested. Transfer to a wire rack and cool completely.

While muffins are cooling, prepare the frosting. Beat all of the ingredients together until light and fluffy. Top each cooled cupcake with frosting and a bit of the finely chopped strawberries. Enjoy.

Makes 36 mini cupcakes.

Enchiladas Two Ways

Enchiladas

And just like that, May arrives. On the first day of May, all I want to do is frolic through a field singing “The Lusty Month of May” from Camelot (listen here). On the fifth day of May, all I want to do is eat delicious Mexican food. We’re talkin’ cheesy, flavorful, starchy goodness.

Gooey Enchiladas

These enchiladas are really more like mini-burritos, but in our not-so-authentic book, using the enchilada sauce qualifies them as such. Cinco de Mayo falls on a Sunday this year, which is convenient because these enchiladas make great Monday leftovers.

This is a DOUBLE RECIPE POST. Ready for this? We’re featuring beef and chicken enchiladas here, but you can certainly replace any of the meat with grilled veggies and follow similar assembly instructions.

Beef Enchiladas

Prep. Time: 15 min. Cook Time: 18 min.

Ingredients:

1 lb. ground beef

1 red onion, chopped

2 cloves garlic, minced

1 green pepper, sliced

1 teaspoon kosher salt

1/2 teaspoon ground cayenne pepper

1 tablespoon chili powder

1 teaspoon paprika

1 teaspoon cumin seed

15 oz. can black beans, drained

1 cup enchilada sauce (we recommend Trader Joe’s)

2 cups jalapeño Monterey Jack cheese (or any pepper cheese), shredded

6-8 whole wheat tortillas

Preparation:

Preheat oven to 350°. Using a mortar and pestle, grind the salt, cayenne pepper, chili powder, paprika, and cumin seed together and set aside.

In a large skillet or dutch oven over medium heat, brown the beef. Add the onion and green pepper and cook for about 8 minutes, until vegetables are soft. Add the spices, garlic, and beans. Cook for another 2 minutes.

Assemble the enchiladas by filling each wrap with about a cup of the mixture. Coat the bottom of a deep glass casserole dish with a thin layer of the enchilada sauce. Place each wrap closely next to each other and top with the enchilada sauce and cheese.

Bake for 15 minutes, then broil for 2-3 until lightly browned. Top with chopped cilantro, lime juice, sour cream, guacamole, and more.

Makes 6-8 enchiladas

Chicken Enchiladas:

Prep Time: 15 min. Cook Time: 13 min.

Ingredients:

1 lb. boneless skinless chicken breast, cubed

1 yellow onion, chopped

1 teaspoon kosher salt

1/2 teaspoon ground cayenne pepper

1 tablespoon chili powder

1 teaspoon paprika

1 teaspoon cumin seed

15 oz. can black beans, drained

3 cloves garlic, minced

1 cup enchilada sauce (we recommend Trader Joe’s)

1 cup brown rice, cooked according to package

2 cups jalapeño Monterey Jack cheese (or any pepper cheese), shredded

6-8 whole wheat tortillas

Preparation:

Preheat oven to 400°. Using a mortar and pestle, grind the salt, cayenne pepper, chili powder, paprika, and cumin seed together and set aside.

Sauté onion in a cast iron pan over medium heat until brown. Add the chicken and spices and continue to cook for 5 minutes. Add garlic, rice, and beans and cook for 3 more minutes.

Assemble the enchiladas by filling each wrap with about a cup of the mixture. Coat the bottom of a deep glass casserole dish with a thin layer of the enchilada sauce. Place each wrap closely next to each other and top with the enchilada sauce and cheese.

Cook for 10 minutes until cheese is melted. Broil 2-3 until lightly browned. Top with chopped cilantro, lime juice, sour cream, guacamole, and more.

Makes 6-8 enchiladas

Goat Cheese and Tomato Frittata

Frittata

Happy Earth Day! This past weekend I planted delicious ingredients we can’t wait to cook with this summer. Basil, dill, rosemary, chives, sage, oregano, mint, thyme, and cherry tomatoes. Here in North Carolina, the ground is full of red clay, which makes gardening a little trickier. Planting in pots solved that problem! I love produce straight from the garden. There is something magical about watching a plant grow from a seedling as you care for it, then cooking with it later. To me, that extra love makes meals taste that much better.

This frittata yearns to be filled with fresh herbs and veggies from your garden. I love this recipe because you can really add whatever you have around and customize the flavors seasonally. Red onions added a serious level of flavor to ours.

DSC_0482

We also recommend roasting your tomatoes before adding them. Simply place the tomatoes on a sheet pan and broil them for a few minutes. This easy step reduces water content while bringing out the sweet flavors of the tomatoes.

DSC_0486

The creamy goat cheese mingled with fresh herbs and vegetables makes this an optimal choice for a weekend brunch.

DSC_0507

This Earth Day, I encourage you to plant your own ingredients. Watch them grow and harvest their delicious flavors throughout the spring and summer. Trust me, you’ll be counting they days until they are ripe and ready to be used in dishes like this frittata!

Do you garden? What did you plant this year?

Goat Cheese and Tomato Frittata

Prep Time: 20 min. Cook Time: 25 min.

Ingredients:

5 roma tomatoes, sliced

1 tablespoon chopped fresh tarragon

1 small yellow onion, finely chopped

10 eggs, beaten

3 cups spinach leaves

1 tablespoon olive oil

4 ounces goat cheese, crumbled

1/2 teaspoon salt

1/2 teaspoon pepper

Preparation:

Place tomatoes on a sheet pan and broil until tops are beginning to brown and chop them roughly. Stay close by, this may happen within a few minutes. Once tomatoes are done, heat oven to 350°.

In a medium sized bowl, whisk the eggs, salt, pepper, and tarragon together and set aside.

Bring a dutch oven or cast iron pan to medium heat. Add the olive oil, then the onions and cook until soft. Add spinach for about a minute and toss to wilt. Add the broiled tomatoes.

Pour the egg mixture over the vegetables and gently stir. Sprinkle half of the crumbled goat cheese on the top of the egg mixture. Let the frittata cook for about 3 minutes without stirring over medium heat. Cover with aluminum foil and place in the oven. Cook for 20 minutes covered, then uncover and continue to cook for 5 minutes. Frittata is done when eggs are cooked through.

Remove from the oven and cool for 10 minutes. Loosen the sides and bottom of the frittata with a silicone spatula. Place a large serving platter face down on the cast iron pan, then carefully flip the frittata upside down onto the platter.

Cut frittata into slices and serve with remaining goat cheese.

Serves 8

Seared Sea Scallops with Celery Root and Sun-Dried Tomato Purée

Sea Scallops

Let’s talk fancy. I think that many times people want to make a fancy meal to impress dinner guests but they don’t know a) what elegant dish to make and b) how to make it without freaking out. Enter: the sea scallop. Since it’s a special occasion, splurging on these large sea scallops is allowed in my book. They’re fresh, light, and don’t have too “fishy” of a taste.

Serving these scallops atop a flavorful purée will make your food look appealing and add flavor to your whole dish. This is restaurant quality, folks. Bon appétit!

Celery root is such a funky looking root vegetable. Some of you might have nightmares after seeing the next picture. You’ve been warned. Celery stalks grow out of it, but the root itself has a distinct celery taste with the consistency of a potato.

Ingredients

Told you it’s funky! To make the purée, peel and chop the celery root and boil it with the garlic for 20 minutes until fork tender.

Chopped Ingredients

Chop the sun dried tomatoes, and purée in a food processor with the celery root and garlic until smooth.

Sundried Tomatoes

Sear the scallops for two minutes on each side. Don’t overcook! They will become rubbery if cooked too long, and you’ll lose the luxurious buttery texture.

DSC_0312

Serve atop some of the purée. Top the whole dish with chopped parsley and enjoy the praises of your masterpiece!

Finished plate

Seared Sea Scallops with Celery Root and Sun-Dried Tomato Purée

Prep. Time: 10 min. Cook Time: 30 min.

Ingredients:

For the Purée

1 celery root, peeled and cubed

1 tablespoon celery stalk leaves (which come attached to the root), chopped

3 garlic cloves, crushed

1 teaspoon kosher salt

1/4 cup sun-dried tomatoes, minced

1 tablespoon butter

2 tablespoon milk

3 tablespoons veggie stock

2 three-finger pinches salt

1/2 teaspoon black pepper

For the Scallops

1 lb. (9 or 10) large sea scallops

2 pinches kosher salt

2 pinches black pepper

Preparation:

Bring 4 cups of water to a boil. Add celery root, garlic, and salt to the water. Boil for 20 minutes or until fork tender. Drain and transfer to a food processor.

Add all remaining ingredients (except scallops) to the food processor and blend until smooth.

Place about 1/2 cup of the puree on each plate.

Make sure your scallops are DRY before cooking. Pat them with a paper towel if they are not. Heat a skillet over medium high heat until almost smoking. Salt and pepper each side of the scallops. Place scallops on the pan and cook for 2 minutes- don’t touch them while they cook! Flip and sear the other side for 2 more minutes. Scallops are done when juices run clear. Transfer cooked scallops atop the purée and serve hot.

Makes 2 plates.

Cheddar Biscuits

Cheddar Biscuits

During my morning and evening commute to work, I often ponder what to make and post on this blog. Our recipes have been inspired by family traditions, restaurant outings, fabulous TV shows, regional fare, and more. Sometimes, they’re inspired just by what happens to be around me at any given time. That’s how this particular recipe came to be. I was driving home the other night and was almost blinded by the neon glow coming from a Red Lobster right off the highway. Now, I can only remember one time in my life that I’ve actually been to Red Lobster, and it’s a vague memory at that. Although I don’t remember what I ordered for an entree, I do remember their cheddar biscuits.

One of the greatest things about biscuits is that they’re simple to make. No rising, minimal kneading, and relatively quick to put together start to finish. These savory biscuits are perfect to serve for brunch or even as a side at dinner. The extra sharp cheddar cheese dances with the garlic and chive flavors and makes it hard to have just one. Years to come, your guests might not remember the entree you served, but I’ll bet they’ll remember these biscuits.

Cheddar Biscuits

Recipe Adapted From: Ina Garten- Buttermilk Cheddar Biscuits

Prep Time: 20 min. Cook Time: 15 min.

Ingredients:

2 cups white whole wheat flour

1 tablespoon baking powder

1 teaspoon kosher salt

12 tablespoons cold unsalted butter, diced

1/2 cup + 2 tablespoons buttermilk

1 large egg

1 1/2 cups extra sharp cheddar cheese

1/2 cup chives, chopped

1 egg white, beaten

1/2 teaspoon black pepper

1/2 teaspoon garlic powder

Preparation:

Preheat oven to 425°. Using an electric stand mixer, mix the flour, baking powder, salt, pepper, and garlic powder together until combined. Add cold butter and continue to mix until small pieces form. (You could also use a large mixing bowl for this process and cut in the butter if you prefer)

Beat the egg and buttermilk together in a bowl and add to the dough. Do not over mix. The dough should just begin to come together at this point. Add the cheese and continue to mix. Transfer dough to a well floured surface.

Dough

Knead the dough for about a minute. Roll the dough about 1/2″ thick and cut into 3″ rounds. If you don’t have a round cookie cutter, a glass will do the trick!

Glass cutter

Place eight biscuits at a time (do not overcrowd) on a baking sheet lined with a silicone mat. Brush with the egg whites.

DSC_0221

Bake for 15 minutes until tops are brown. Serve hot.

Makes 16 biscuits


Dark Chocolate Cookie Butter Truffles

Cookie Butter Truffles

Some love it, others hate it, but none can avoid it: Valentine’s Day. I just heard half of you cheer and half of you boo after reading those two loaded words. I lost a spelling bee to Valentine’s Day once. My loving parents didn’t correct the classic “Valentime’s” pronunciation until I was about eight. They fessed up later that it was just too sweet to correct. Nevertheless, I am a Valentine’s Day fan. I love the crafts, the sweets, and the reminder that life is short and you should tell those you love how much they mean to you not just this one day, but throughout the year.

Whether you’re looking for an easy to make gift for that special someone or have beef with cupid this year and need to binge on chocolate for a little while, this recipe is for you. I was in line at Trader Joe’s the other day, and one of the .99 candy bars at the register was made with cookie butter spread and dark chocolate. Inspired by this amazing pairing, this recipe was born. Three simple ingredients: dark chocolate. cookie butter. salt. They are super easy to make and are the perfect gift to give. Or to keep. Which is why none of my friends at work got to try these. Neil and I…ate…the whole pan. They’re that good.

Happy day of loooove!

Dark Chocolate Cookie Butter Truffles

Prep Time: 35 min. Cook Time: 0 min.

Ingredients:

1 jar Trader Joe’s Speculoos Cookie Butter

1 pound dark chocolate, chopped

Fine sea salt to sprinkle

Preparation:

Line a baking sheet with waxed paper. Measure a teaspoon of cookie butter and place in the palm of your hands. Roll the cookie butter to make a round shape. Place on waxed paper. Continue creating rounded teaspoons of cookie butter until the entire jar is used.

Truffle Teaspoons

Freeze the baking sheet for 20 minutes. Near the end of the freezing time, prepare the chocolate.

Place all of the chopped chocolate in a microwave safe bowl, and heat for 30 second intervals, stirring between each time. Once smooth, remove from microwave.

Remove truffles from freezer and dunk one at a time in the chocolate. Using a fork, remove the truffles and tap the fork on the side of the bowl so the extra chocolate drips through and back into the bowl. Double dunk if your heart desires. Slide the truffle from the fork back to the waxed paper using a sharp knife. Sprinkle with a pinch of fine sea salt before the chocolate sets.

Refrigerate truffles and serve them slightly cold or just warmed to room temperature. Devour.

Truffle Bite