Cheesy Cauliflower Corn Patties

Cheesy Cauliflower Corn Patties

So, if you’ve followed this blog for any amount of time, you know that we’re not on a posting schedule. We believe that food blogs should be saturated with good content, not with an obligation to post mediocre recipes. Thank you for coming back again and again to see what’s up in our busy world and what’s cooking in our little kitchen.

The original idea for this recipe was floating in Facebook land somewhere. My father changed up the recipe quite a bit to an even better version. These cauliflower patties are awesome. They work as a delicious crispy vegetarian side or a main that incorporates fresh flavors of summer.

Cheesy Cauliflower Corn Patties
Prep. Time: 20 min. Cook Time: 12 min,

Ingredients:

1 large egg, lightly beaten
1 cup very sharp cheddar, grated
1 cup Panko or bread crumbs
1/4 cup chopped chives
2 cups corn off the cob (can be cooked or raw. Trader Joe’s frozen roasted corn works)
1 medium head of cauliflower, chopped
2 tablespoons butter
2 tablespoons olive oil
Salt and pepper to taste

Preparation:

Cut cauliflower into florets. Cook in boiling water until tender, about 10 minutes. Drain.

Mash the cauliflower in a large wooden bowl when warm but not hot. Stir in cheese, corn, chives, egg, Panko, salt and pepper to taste.

Form the cauliflower mixture into patties about 3 inches across. An ice cream scoop helps the process. Let set in fridge an hour or so, or sprinkle some bread crumbs or Panko on the patties to firm them.

Over medium heat, coat the bottom of a skillet with the olive oil and melted butter.

Cook until golden brown and set, about 3-4 minutes per side. Keep each batch warm in the oven while you cook the rest.

Makes at least 12-15 patties

Wilmington, North Carolina

Easter, Hogewood House, Apia, 7 months, Lilia, Armando Viego, Tootoo House

Riverwalk

If you were wondering where in the world the Newlywed Chefs have gone due to our lack of posting, the answer is…. not in our kitchen! Living only a few short hours from the beach (keep in mind we both grew up in land locked Missouri where the nearest beach was 12 hours away), we decided to head to the coast for a weekend getaway. Just because. One of our favorite places to visit in North Carolina is the historic town of Wilmington. Located about 20 minutes from the beach, this port town is located right along the Cape Fear River. The Riverwalk is adorned with restaurants, wine bars, and shops, and is perfect for a romantic stroll at sunset.

The houses in Wilmington are amazing. I loved wandering the streets and gazing at the Victorian homes, antebellum architecture, and southern charm of each unique dwelling. There  are several bed and breakfasts to choose from in Wilmington, and we decided to stay at the Hoge-Wood Bed and Breakfast, built in 1891. The owners were very nice, the house only had three rooms to rent, which made the experience feel more intimate. The omelettes were made fresh and were served with cheese grits, biscuits, fruit, and homemade jam. Yum. This bed and breakfast is conveniently located just a hop away from downtown, so we walked everywhere we wanted to go!

Easter, Hogewood House, Apia, 7 months, Lilia, Armando Viego, Tootoo House
Photo from www.hogewoodhouse.com

Wilmington is a foodie town. This was our third visit to the city and each time we are pleasantly surprised with such good eats. The Fortunate Glass is a wine bar that boasts an impressive wine list, along with delicious small plates and desserts. We sat inside facing the windows to watch everyone pass by on the street. It was the perfect spot to unwind in the afternoon. Our antipasto dish of sopressatta, Spanish manchego, fresh bread, fruit, and nuts complimented our wine nicely.

Wine bar

We checked out a place called Rx for dinner. It’s a hip and trendy spot located in a former drug store with a menu that features local food and changes daily based on what is available. We split the crispy buffalo pig ears from Heritage farm. Crunchy, salty, delicious strips of pork were tossed in a homemade buffalo sauce with just the right amount of heat. The celery and blue cheese dressing cooled the intense flavor of the pig ears. I’m still thinking about these things! They were excellent.

pig ears

For my entree, I had the NC Sheepshead with clams, sugar snap peas, carrots, Stefan’s tomatoes, arugula, and Rx lardo. The sheepshead was light and flaky, perfectly seasoned and with a nice sear. The host of accompaniments in the sweet and savory broth were addicting. And the clams! These were some of the best clams I’ve had- they were fresh, delicate, and very enjoyable. I was incredibly pleased with this dish.

sheepshead

Neil ordered the braised pork cheeks with baby carrots, snow peas, filet beans, mushrooms, and crispy onions. Oh, wow. This was our first time seeing pork cheeks on a menu, and we are so glad we had the opportunity to try them. They were incredible. The pork is braised so well that it simply melts in your mouth. It was similar to pork shoulder… but better. We are still telling everyone about our awesome experience with pork cheeks.

Pork Cheeks

We decided to walk around downtown Wilmington and the Cape Fear Riverwalk before dessert. Our walk didn’t last long as we were lured into a fantastic fudge and ice cream shop by the smell of freshly baked waffle cones. I had never heard of Kilwins before, but apparently it’s all over the country. Their ice cream was great, and we took it to go as we continued strolling along the river.

kilwins

It was a perfect day full of foodie adventures. We recommend Wilmington to any food fan, history buff, hopeless romantic, or someone who just wants to unwind and relax for a weekend. Don’t forget, the beaches are only 20 minutes away. Wrightsville, Carolina, and Kure beach are the closest to Wilmington- full of restaurants, shops, and a boardwalk. We like these beaches but they were a little crowded for what we were looking for. On the last day of our trip, we found Oak Island beach, a 10 mile quiet strip of beach with no visible commercial shops. We loved it.

oak island

We’ll be back, Wilmington!

Chocolate Hazelnut Granola

Chocolate Hazelnut Granola

Today, I’d like to talk about unrequited love. I really like sugar. A lot. To my dismay, sugar doesn’t so much dig me. I have a sweet tooth the size of Africa, and am constantly reminding myself to limit sweets. Now, I know there is a lot of talk whether natural sugars such as honey and maple syrup are in fact better for you than plain ol’ white sugar, and I’m not here to defend either side of the debate. However, I find that when I use honey, I need less of it than sugar. Either way, calories can really pile up in the morning.

The problem I find is that most sugary breakfasts (such as my childhood obsession with Reese Puffs and Oreo O’s) aren’t high in protein, nutrients, or other energy boosting ingredients my body needs (and don’t worry- mom only let me have those cereals once in a blue moon). This recipe calls for 1 cup of honey, which seems like a lot, but it makes a big batch of granola. Per serving, it’s not as bad as other sugary breakfasts, and contains protein from the nuts, nutrition from the wheat germ, and other health benefits from the coconut oil. Overall, I feel better about eating this for breakfast. And hey, it’s CHOCOLATE!

The chocolate and hazelnut flavors make this granola taste similar to Nutella. It’s a great snack with chopped dried fruit, sprinkled atop fat free frozen greek yogurt, or on its own for a late night chocolate craving. Warning: It’s addicting. Although it is healthier than some snacks, portion control is still advised.

The dry ingredients in this recipe give the granola a nice roasted flavor and satisfying crunch.

Granola dry ingredients

The combination of coconut oil, vanilla extract, and honey really adds that sweet flavor that makes me come back for more. I love baking with coconut oil. It adds nutritional value to food with just a hint of coconut flavor.

Granola Wet Ingredients

Simply mix the crunchy dry ingredients and sweet gooey ingredients together and spread on a silicone baking mat. Baking the granola will roast the hazelnuts and really marry all the flavors together.

DSC_0481

Store this granola in an airtight container and keep in the fridge to maximize freshness. It will stay fresh for about a week, but if your house is anything like ours, it probably won’t last that long!

Granola

Chocolate Hazelnut Granola

Prep Time: 10 min. Cook Time: 30 min.

Ingredients:

3 cups oats

1/4 cup wheat germ

1 cup slivered blanched almonds

1 cup raw hazelnuts, roughly chopped

1/2 teaspoon Kosher salt

1 cup honey

3/4 cup coconut oil, melted

1/2 teaspoon vanilla extract

1/2 cup cocoa powder

Preparation:

Preheat oven to 325°. In a large bowl, combine the oats, wheat germ, almonds, hazelnuts, cocoa powder and salt. Set aside.

In a medium bowl, whisk together the honey, coconut oil, and vanilla extract. Add this mixture to the dry ingredients and toss until well combined.

Spread granola evenly on a silicone baking mat atop a baking sheet. Bake for 30 minutes, moving the granola around on the baking mat every 10 minutes.

Cool completely on the silicone mat and enjoy.

Makes 12 cups

Easy Sautéed Greens

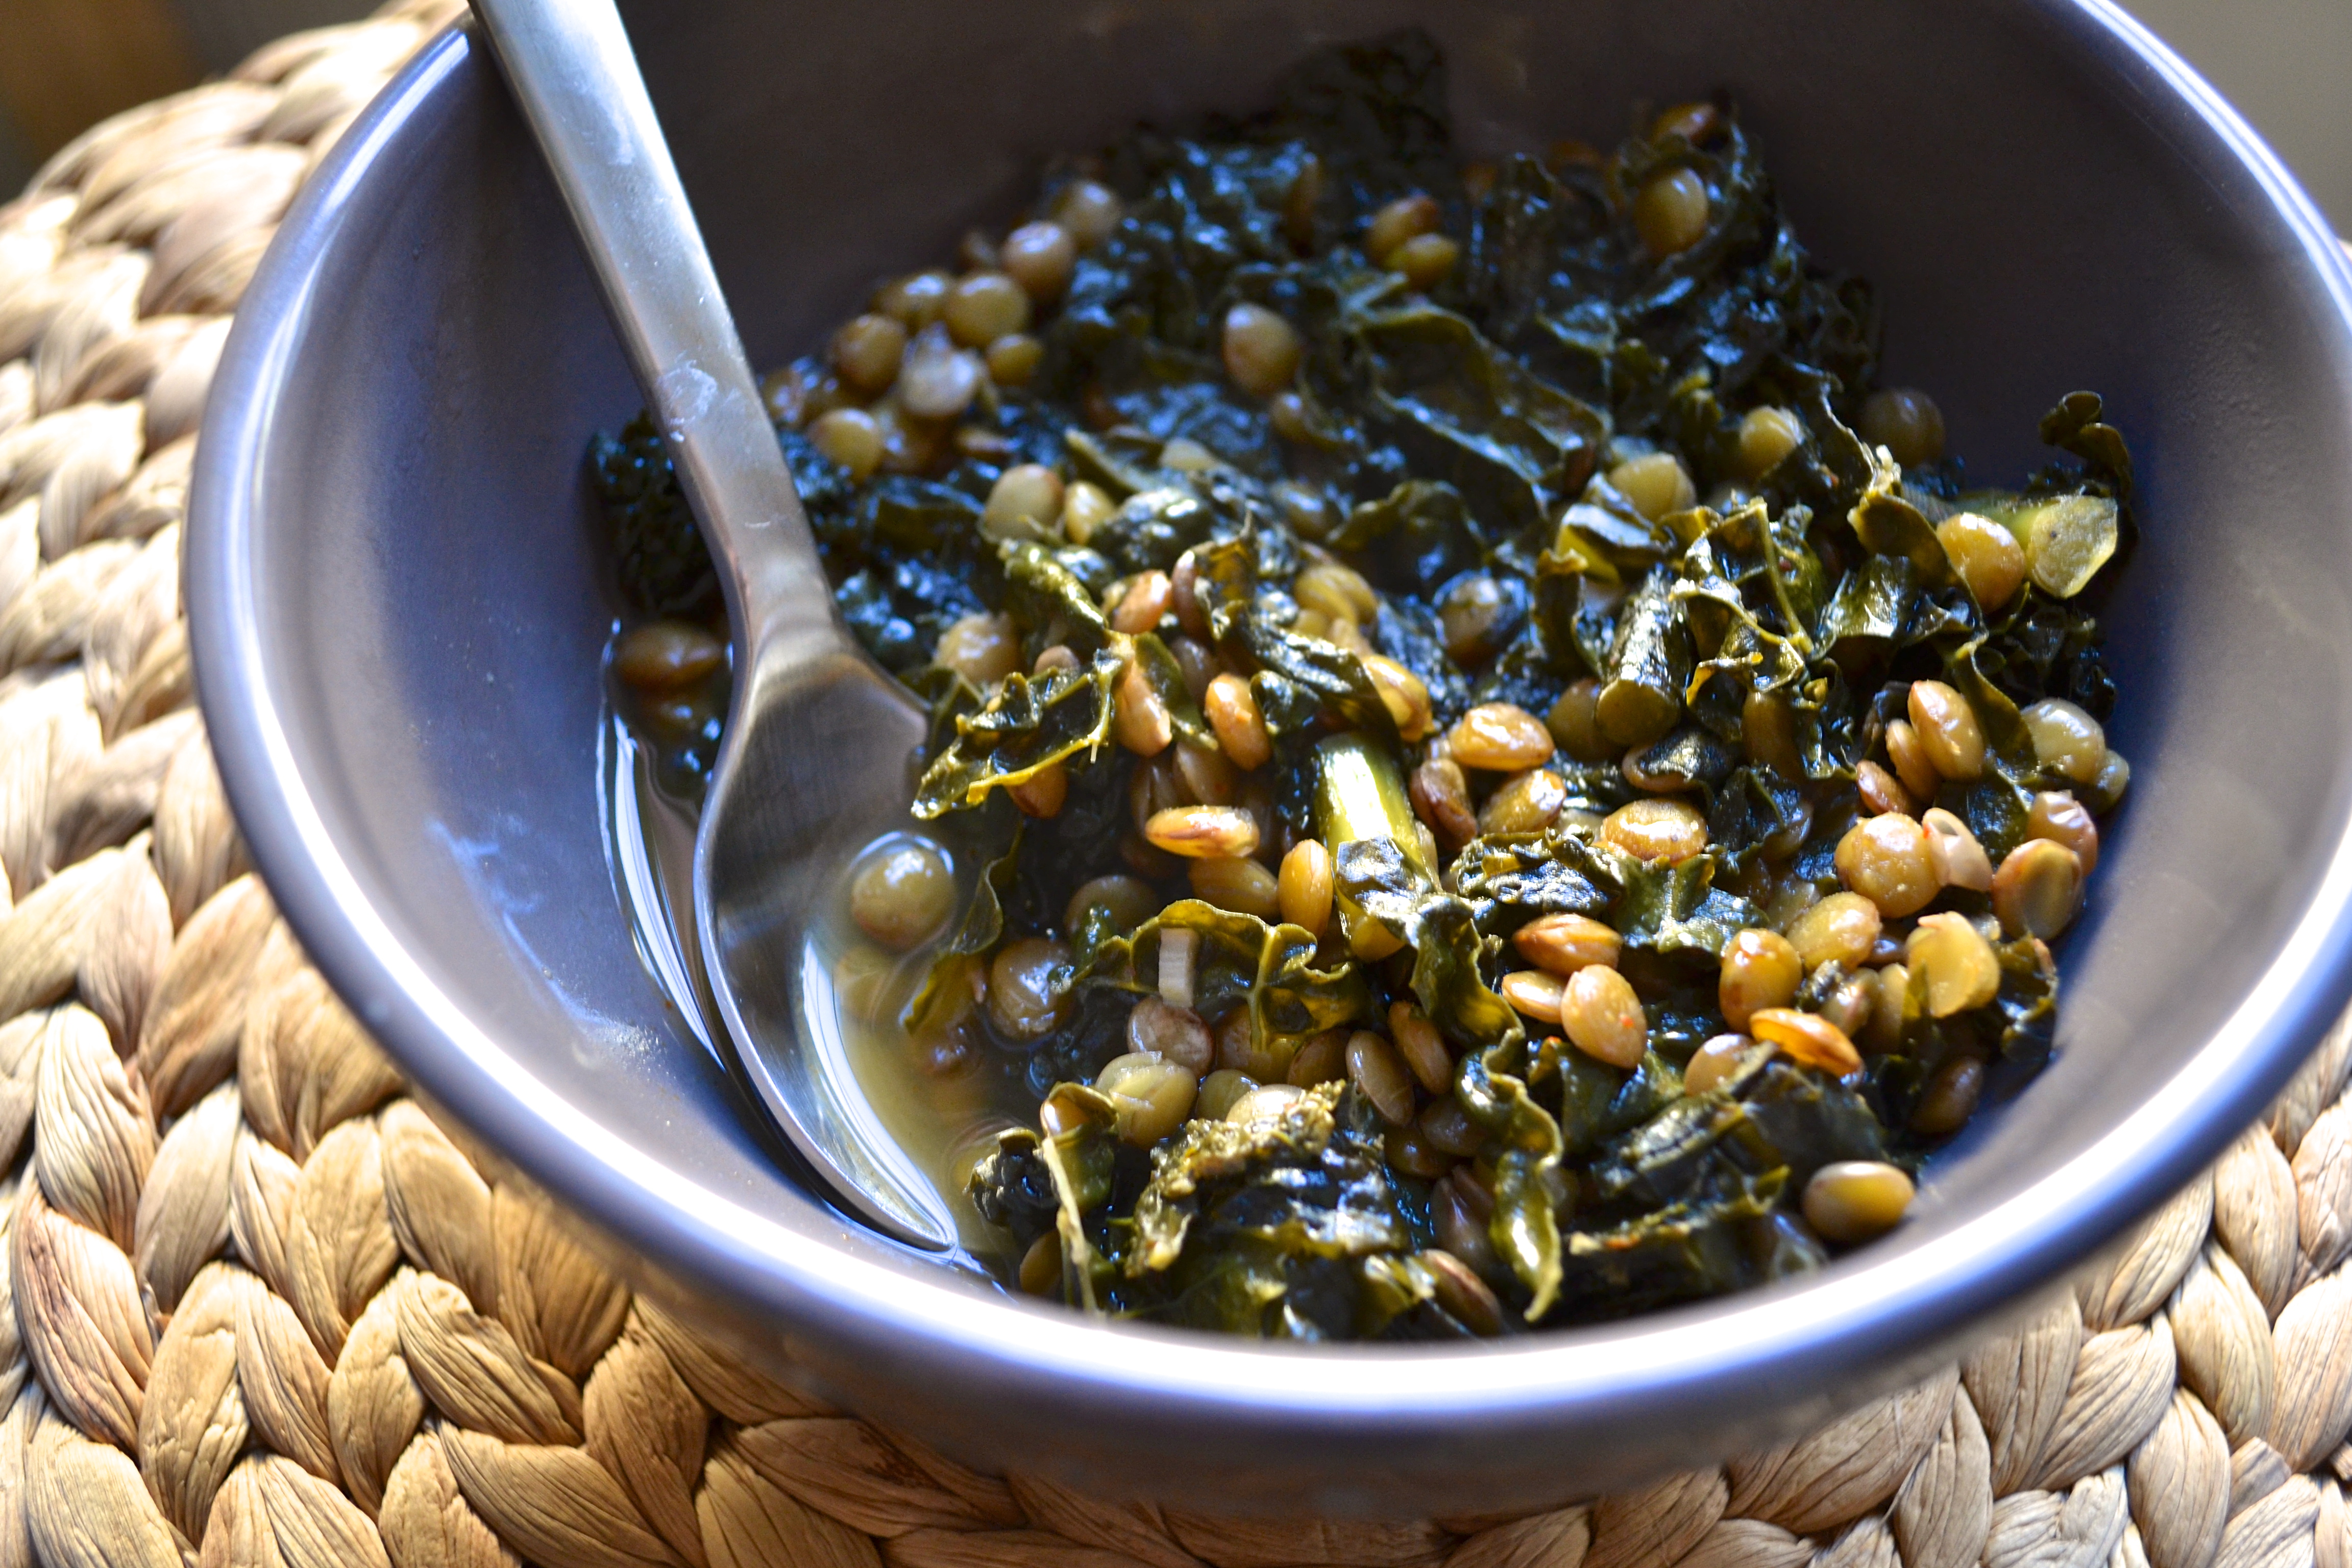
Sauteed Greens

Here in the South, greens are praised and braised! Mustard greens, collard greens, spinach, kale, arugula, the list goes on. Nutritionists encourage eating plate that resembles a rainbow, and greens are an easy way to add color to your palette. Not everyone is so enthused when it comes to cooked greens. Perhaps it’s because of the bitter taste associated with many of these leafy varieties. Or maybe folks just overcook their greens until they turn to mush. Either way, I felt like they certainly deserve a post because they’re so stinking EASY to make.

We really like kale. In many posts on this blog, we’ve featured the nutritional value of this superfood. Cooking it (like many vegetables) reduces the health benefits, but hey, it’s still better than a starchy side, right? You can find big bunches of kale at your farmers market or in the produce aisle.

Torn up kale

It’s super important that any flavors you add to your greens don’t overpower the whole dish. That’s why we add sliced garlic as opposed to minced. Slicing the garlic adds a subtle garlic flavor without stealing the show. Plus, it looks fabulous scattered within the dish. Look how nicely it compliments our date night meal:

DSC_0525

Easy. Beautiful. Healthy. Delicious. What more could you want from a side?

Easy Sautéed Greens

Prep Time: 10 min. Cook Time: 15 min.

Ingredients:

1 bunch of kale (about 6 cups), destalked and roughly torn

1 tablespoon olive oil

3 cloves garlic, sliced

1/2 teaspoon salt

1/2 teaspoon black pepper

1 tablespoon sherry vinegar

Preparation:

Heat a small stock pot or dutch oven over medium. Add one tablespoon of olive oil to coat the bottom of the pot. Add the garlic and sauté for about 2 minutes until fragrant. Add the kale and toss occasionally for 2 minutes. Add the vinegar, salt, and pepper. Cook for another 2 minutes. Cover and reduce heat to low. Cook for 5 minutes and serve warm.

Makes about 4 cups

Fresh Strawberry Cupcakes with Buttercream Frosting

Strawberry Cupcakes

I got to hang out with the most amazing, caring, generous, funny, wise, and beautiful person this weekend: my mom. We explored new places, shopped darling boutiques, perused interesting museums, laughed until we cried, and indulged in many delicious culinary treats. During her time here in North Carolina we went to a bakery in Greensboro called Maxie B’s. This is the most fabulous bakery I’ve visited. Featured in Southern Living as one of the South’s best bakeries, Maxie B’s is one of those places that you step in to and think for just a moment that perhaps you’re really dreaming.

Dozens of picture perfect cake domes line the front counter and wrap all around the back and sides of the place showing off their scratch-baked cakes. There is no menu displayed, so everyone waits in the long line and cranes their necks to read the small handwritten flavors tied onto the top of each cake dome. On this particular Sunday afternoon, the line was to the door.

Mom ordered a piece of their decadent Devil’s Food Cake. Layers of chocolate icing alternated with rich chocolate cake to make a simply perfect chocolate dessert. Neil got a the Brown Stone Front Cake, which was made from a very old recipe with layers of light chocolate cake and caramel frosting. I ordered their best seller: Fresh Strawberry Buttercream Cake, which is a cream cheese cake layered with fresh strawberries and covered in vanilla buttercream. I cannot find the words to convey the perfection of this cake. The buttercream is unlike any other I’ve tasted. Super buttery, the right amount of sweetness, and a smooth creamy texture.

Totally inspired by this cake, I attempted to recreate the fresh strawberry taste and buttery icing. I’ve come to the conclusion that you simply can’t mess with Maxie B’s. It can’t be recreated. Or at least, I can’t recreate it. However, these mini cupcakes land somewhere in left field of the Maxie B’s ballpark and are still really, really good. Fresh strawberries really make the difference in bringing out an authentic strawberry flavor.

DSC_0543

Once the strawberries are puréed, you can incorporate their sweet flavor into the cupcake batter.

Strawberry Puree

I chopped up a few more strawberries to use as decorations atop the cupcakes. I think it’s nice when your guests automatically know what you’re serving. That bit of strawberry should clue them in.

Chopped and pureed strawberries

I recently bought this mini cupcake pan and love it! Mini cupcakes can help with portion control, but it’s hard to eat just one…

Filled cups

If you fill each one 3/4 of the way it makes the cupcakes rise a bit over the paper lining when baked, which I think looks most attractive.

Baked cupcakes

These mini cupcakes are the perfect springtime treats that mothers everywhere are sure to love.

Birdseye cupcakes

Back to my visit with mom. As I get older, I appreciate my mother more and more. She is amazing. She balances the world of being a mother, teacher, Nana, wife, daughter, writer, friend, technology advocate, and more with style and grace. Did you know that she was the one who encouraged us to start this blog in the first place? All props to mom. I love that right now I get to see my sister and sister-in-law being moms to their little ones, my mother and mother-in-law being moms to us, and our grandmothers being moms to our parents. Life is beautiful, isn’t it? Happy Mother’s Day!

Fresh Strawberry Cupcakes with Buttercream Frosting

Adapted from Candace Nelson of Sprinkles Cupcakes

Prep Time: 20 min. Cook Time: 12 minutes

Ingredients:

For the Cupcakes:

1 cup freshly puréed strawberries (about 10 large berries)

1/2 cup finely chopped strawberries (about 3 large berries)

1 1/2 cups all purpose flour

1 teaspoon baking powder

1/4 teaspoon salt

1/4 cup whole milk

1 teaspoon vanilla extract

1/2 cup unsalted butter, softened

1 cup sugar

1 egg

2 egg whites

For the Frosting:

2 sticks butter, super soft

2 1/2 cups powdered sugar

1 pinch of salt

1 teaspoon vanilla extract

2 tablespoons whole milk

Preparation:

Preheat oven to 350°. Line a mini cupcake tin with paper liners and set aside.

In a large bowl, mix together flour, baking powder, and salt. In another bowl, mix together the milk, vanilla, and strawberry purée.

Using an electric mixer, beat the butter until fluffy. Add the sugar and continue to mix. Add the egg and egg whites and blend until combined. Next, add half of the flour mixture and continue to mix. Add the strawberry mixture, and mix again. Finally, add the remaining flour mixture and combine, scraping the sides of the mixer to get all ingredients in the batter.

Fill each mini muffin tin 3/4 of the way and bake for about 12 minutes or until a knife comes out clean when tested. Transfer to a wire rack and cool completely.

While muffins are cooling, prepare the frosting. Beat all of the ingredients together until light and fluffy. Top each cooled cupcake with frosting and a bit of the finely chopped strawberries. Enjoy.

Makes 36 mini cupcakes.

Enchiladas Two Ways

Enchiladas

And just like that, May arrives. On the first day of May, all I want to do is frolic through a field singing “The Lusty Month of May” from Camelot (listen here). On the fifth day of May, all I want to do is eat delicious Mexican food. We’re talkin’ cheesy, flavorful, starchy goodness.

Gooey Enchiladas

These enchiladas are really more like mini-burritos, but in our not-so-authentic book, using the enchilada sauce qualifies them as such. Cinco de Mayo falls on a Sunday this year, which is convenient because these enchiladas make great Monday leftovers.

This is a DOUBLE RECIPE POST. Ready for this? We’re featuring beef and chicken enchiladas here, but you can certainly replace any of the meat with grilled veggies and follow similar assembly instructions.

Beef Enchiladas

Prep. Time: 15 min. Cook Time: 18 min.

Ingredients:

1 lb. ground beef

1 red onion, chopped

2 cloves garlic, minced

1 green pepper, sliced

1 teaspoon kosher salt

1/2 teaspoon ground cayenne pepper

1 tablespoon chili powder

1 teaspoon paprika

1 teaspoon cumin seed

15 oz. can black beans, drained

1 cup enchilada sauce (we recommend Trader Joe’s)

2 cups jalapeño Monterey Jack cheese (or any pepper cheese), shredded

6-8 whole wheat tortillas

Preparation:

Preheat oven to 350°. Using a mortar and pestle, grind the salt, cayenne pepper, chili powder, paprika, and cumin seed together and set aside.

In a large skillet or dutch oven over medium heat, brown the beef. Add the onion and green pepper and cook for about 8 minutes, until vegetables are soft. Add the spices, garlic, and beans. Cook for another 2 minutes.

Assemble the enchiladas by filling each wrap with about a cup of the mixture. Coat the bottom of a deep glass casserole dish with a thin layer of the enchilada sauce. Place each wrap closely next to each other and top with the enchilada sauce and cheese.

Bake for 15 minutes, then broil for 2-3 until lightly browned. Top with chopped cilantro, lime juice, sour cream, guacamole, and more.

Makes 6-8 enchiladas

Chicken Enchiladas:

Prep Time: 15 min. Cook Time: 13 min.

Ingredients:

1 lb. boneless skinless chicken breast, cubed

1 yellow onion, chopped

1 teaspoon kosher salt

1/2 teaspoon ground cayenne pepper

1 tablespoon chili powder

1 teaspoon paprika

1 teaspoon cumin seed

15 oz. can black beans, drained

3 cloves garlic, minced

1 cup enchilada sauce (we recommend Trader Joe’s)

1 cup brown rice, cooked according to package

2 cups jalapeño Monterey Jack cheese (or any pepper cheese), shredded

6-8 whole wheat tortillas

Preparation:

Preheat oven to 400°. Using a mortar and pestle, grind the salt, cayenne pepper, chili powder, paprika, and cumin seed together and set aside.

Sauté onion in a cast iron pan over medium heat until brown. Add the chicken and spices and continue to cook for 5 minutes. Add garlic, rice, and beans and cook for 3 more minutes.

Assemble the enchiladas by filling each wrap with about a cup of the mixture. Coat the bottom of a deep glass casserole dish with a thin layer of the enchilada sauce. Place each wrap closely next to each other and top with the enchilada sauce and cheese.

Cook for 10 minutes until cheese is melted. Broil 2-3 until lightly browned. Top with chopped cilantro, lime juice, sour cream, guacamole, and more.

Makes 6-8 enchiladas