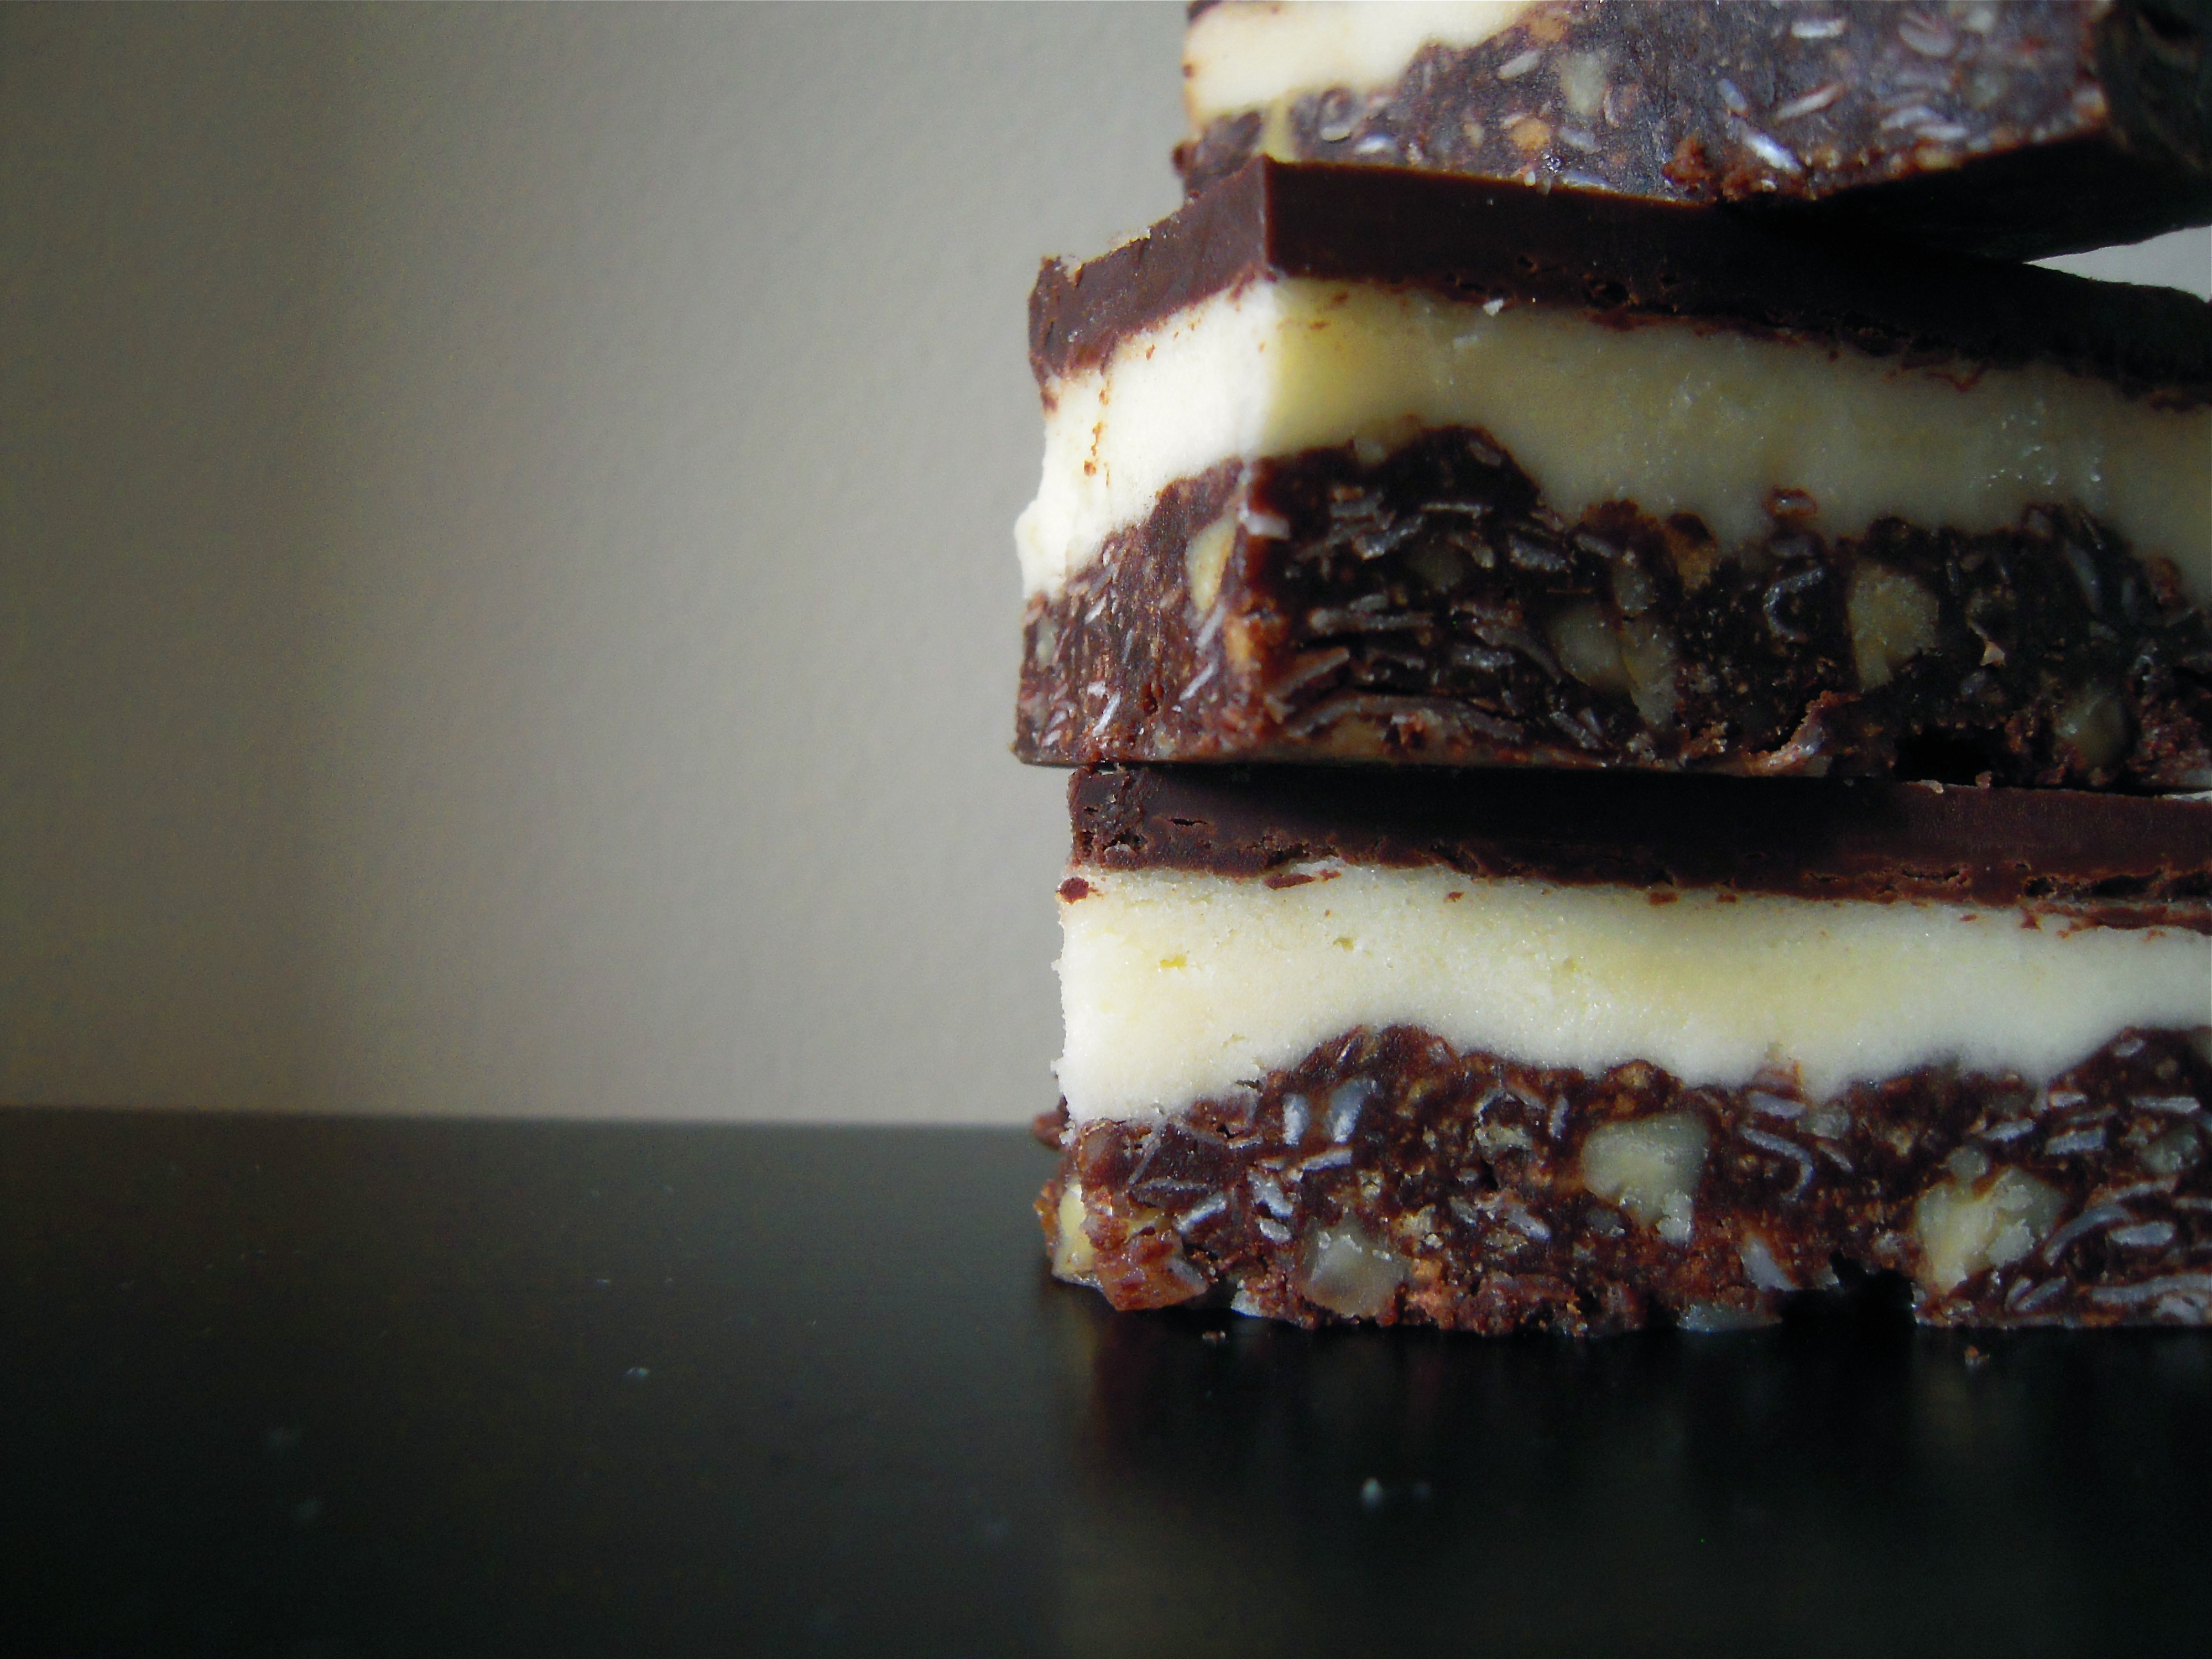
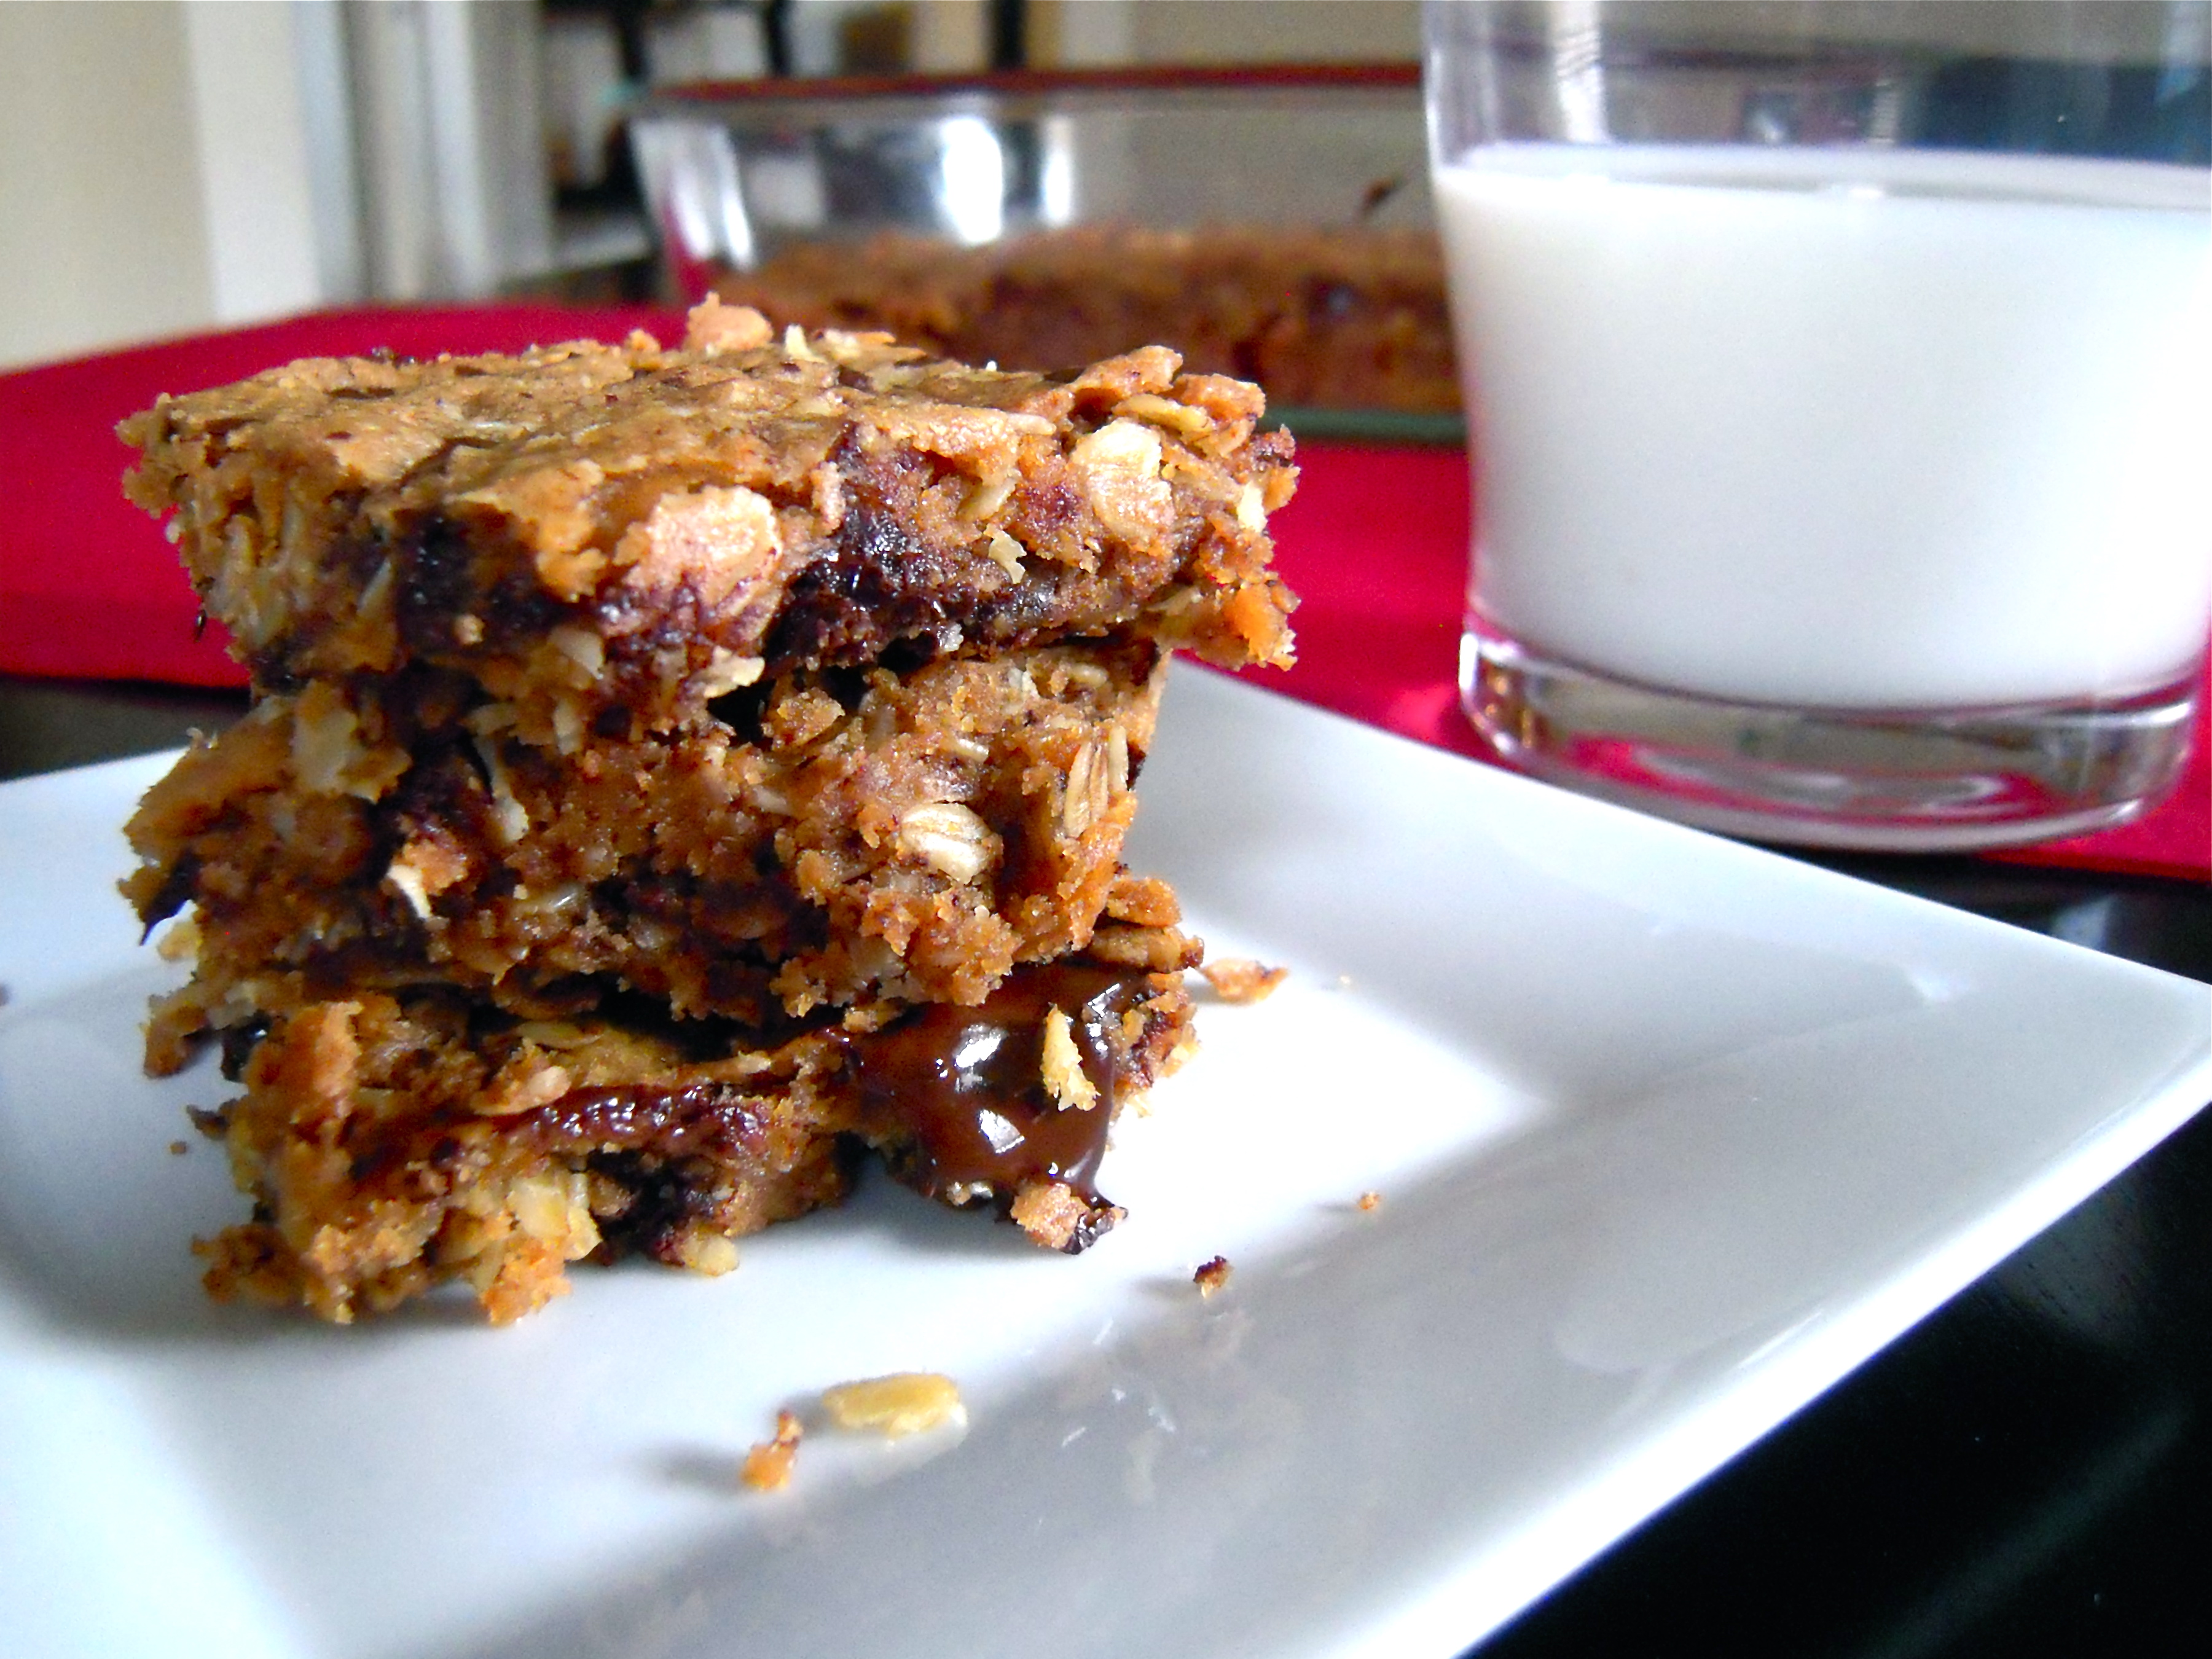
Otherwise known as “cookie butter chocolate chunk oatmeal heaven-sent make me gain 10 pounds bars.” You may recall that earlier this week, I said that we were going to feature some healthy posts and get back on track after our Thanksgiving smorgasbord. Well, we’re going to hold off on those healthy posts until January, because according to our stats, you readers prefer to indulge this time of year. Who doesn’t? It’s all about portion control, right?
Anyway, the other day as I was wandering the aisles of Trader Joe’s, I happily stumbled upon another one of their magical products: Speculoos Cookie Butter. After tasting, my mind was blown! This stuff is so. good. It has the consistency of peanut butter with the taste of fresh gingerbread cookies.
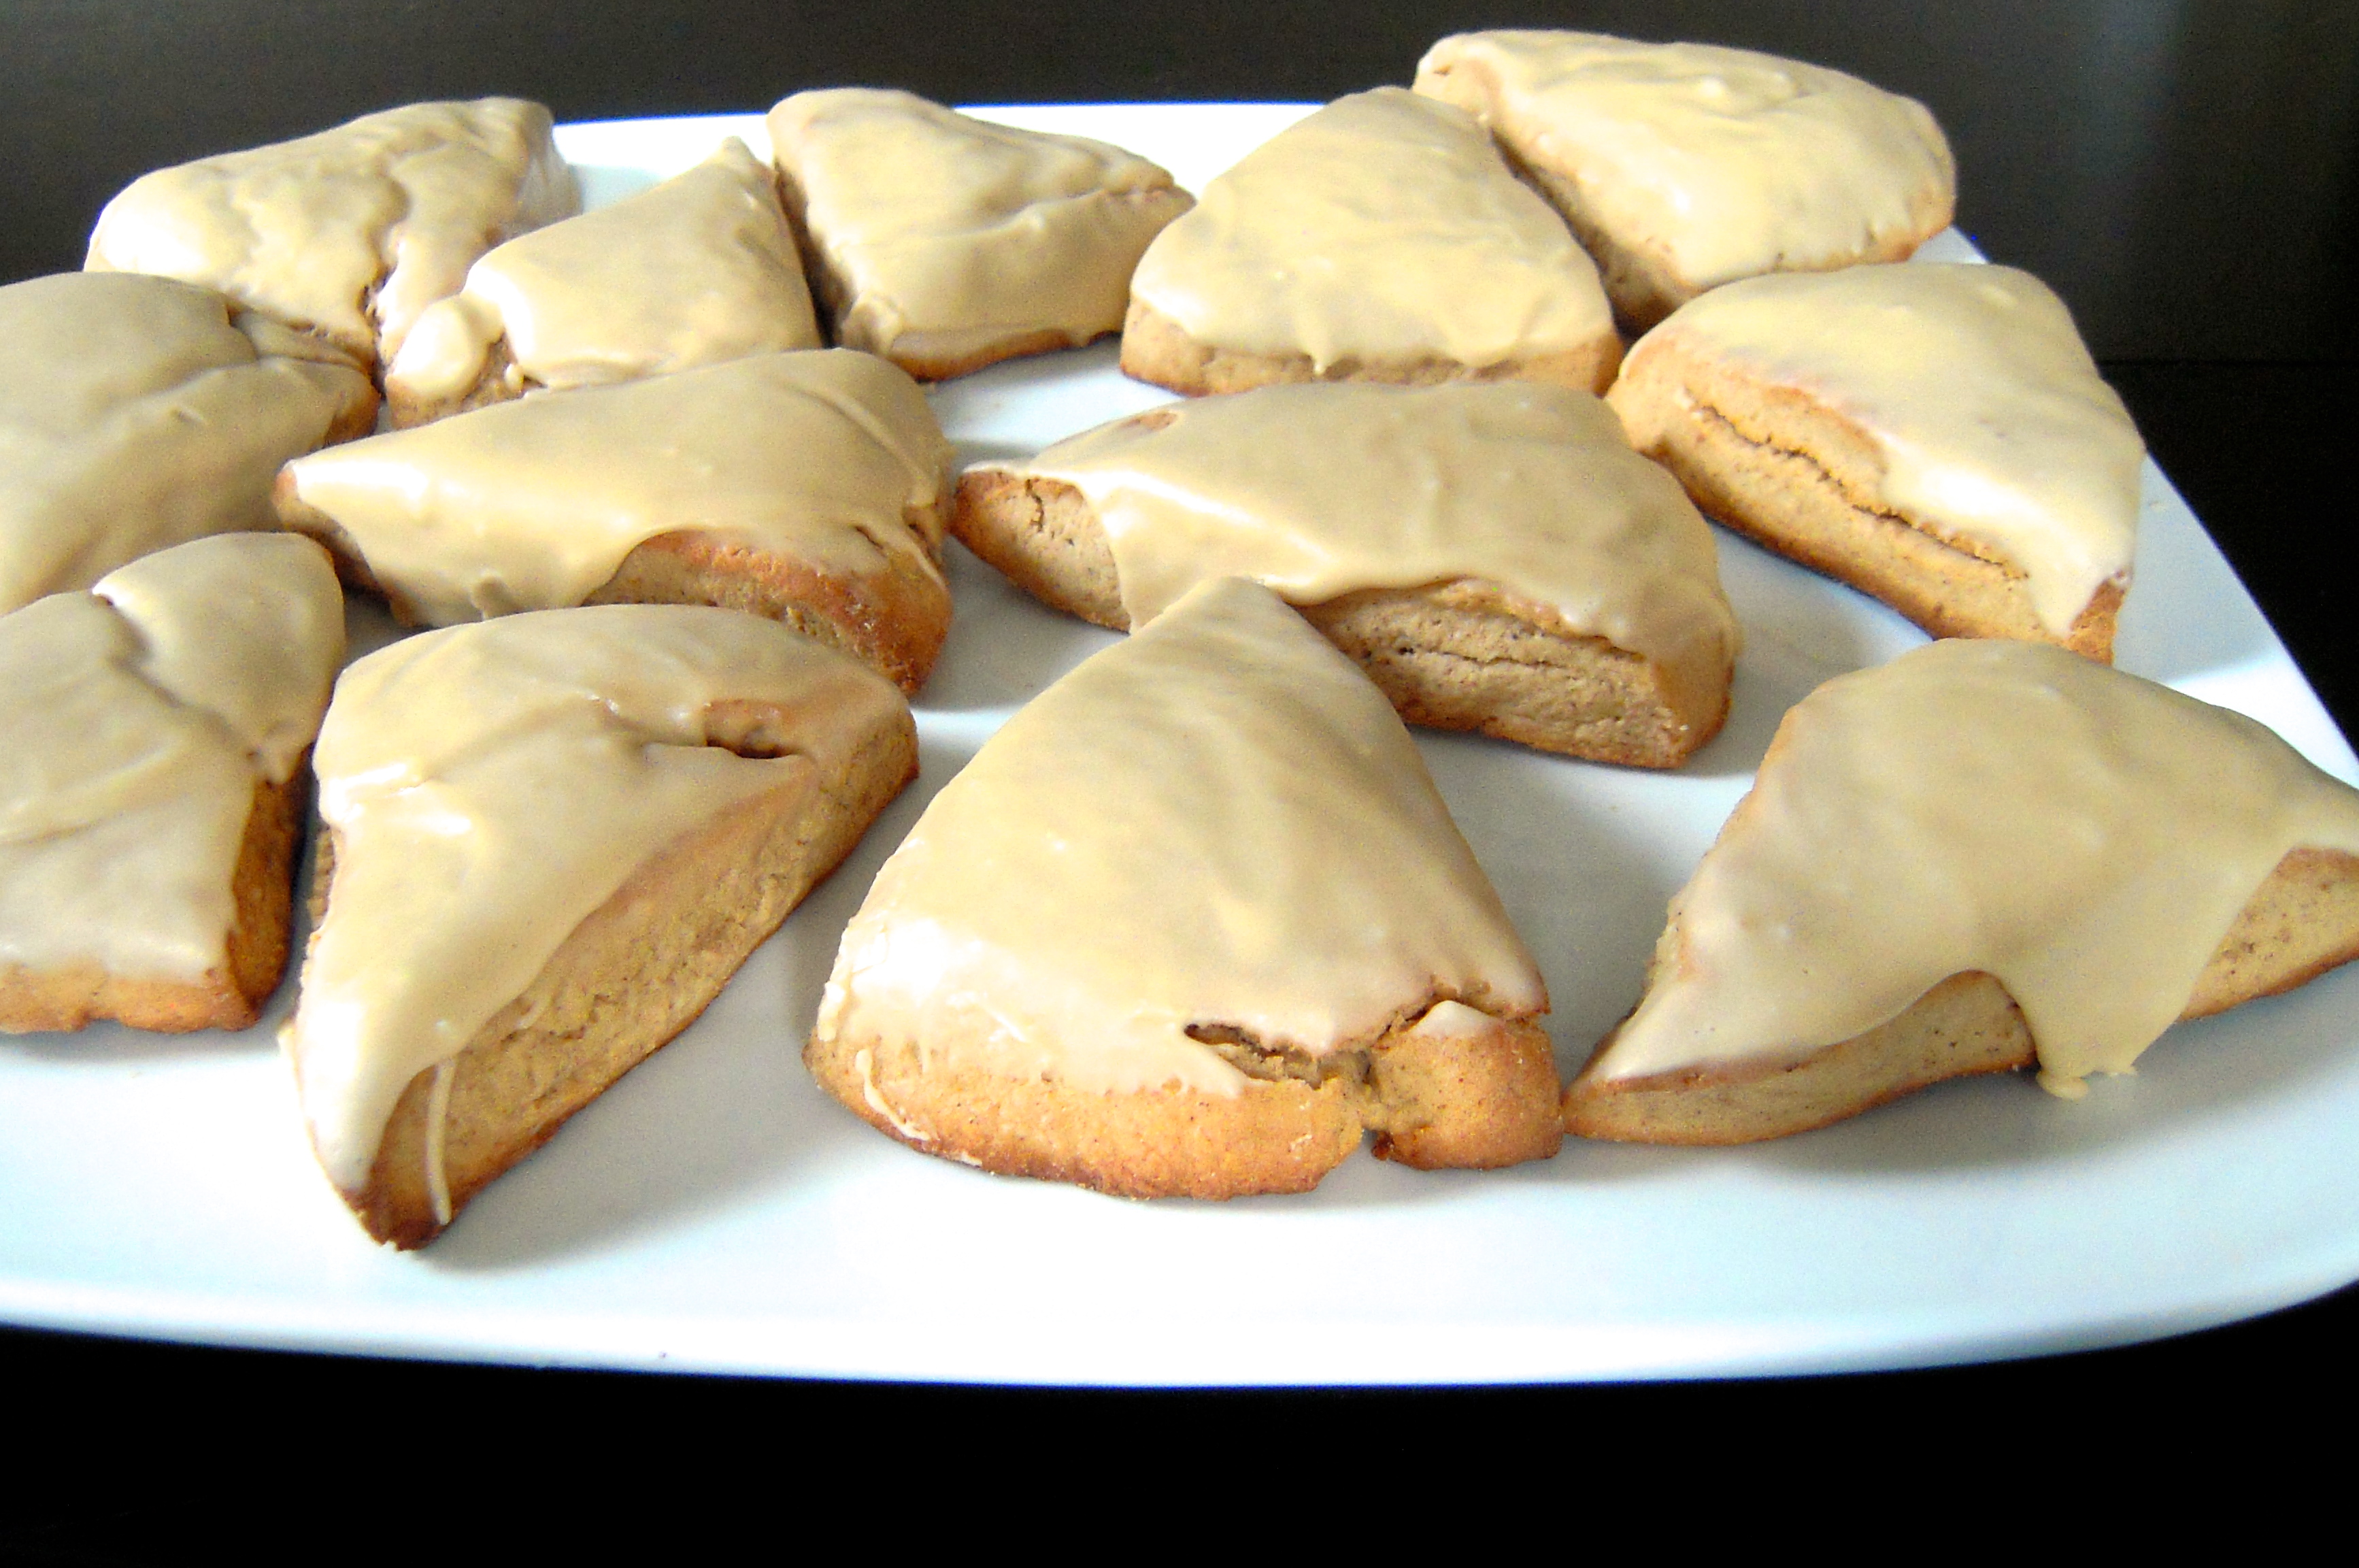
These cookie butter bars are a perfect afternoon snack or late night dessert. Either way, be sure to have a glass of milk handy, because they’re rich. So go ahead, try the cookie butter and hold on to your hats! And your waistlines. Yum.
Cookie Butter Bars
Prep time: 15 minutes Cook time: 15 minutes
Adapted Recipe From: How Sweet Eats Oatmeal Peanut Butter Snack Squares
Ingredients:
1 cup cookie butter
1 cups old-fashioned oats
1 cup whole wheat pastry flour
1/2 teaspoon baking powder
1/4 teaspoon salt
1 teaspoon vanilla
1/2 cup low-fat milk
3-oz. semi-sweet chocolate, roughly chopped
Preparation:
Preheat oven to 350°. In a large bowl, blend cookie butter, vanilla, and milk together until creamy and smooth.
In a separate medium-sized bowl, combine flour, baking powder, salt, and oats together and add them to the creamy mixture.
Fold in chocolate chunks and use your hands to mix dough thoroughly. Press into a buttered glass baking dish. (I used a 9.5 x 7″ dish. Random, I know.) I’m sure a 9 x 9″ would work great.
Bake for 15 minutes until golden brown and allow to completely cool before cutting squares. Serve with cold milk.
Makes 12 squares