I was recently in Charlotte for a regional music therapy conference. As with all conferences, I was sure to set aside some time to explore the town. Charlotte is beautiful. It’s where southern charm meets the splendor of urban life. The urban south, perhaps. Charlotte is full of culinary hot spots, and I was fortunate enough to stop in some great places. Here are a few I visited!
First up, the Smelly Cat Coffeehouse.
Located in the funky NoDa neighborhood, this place is the perfect spot to get some work done or meet up with friends. The barista told me they are famous for their chai tea. Their baked goods also looked divine. No wonder it’s won so many awards!
Next, let’s talk about Lupie’s Cafe. I found this place by researching good places recommended by food critics Jane and Michael Stern. This off the beaten path comfort food place is known for their huge chili plates, hipster atmosphere, and affordable prices.
Hands down the best sweet tea I’ve ever had. Not overly sweet, real sugar, and crushed ice. Yes.
Not to mention the velvety mac & cheese…
Amélie’s French Bakery has two locations. Since I was already in the NoDa neighborhood at Smelly Cat, I decided to visit their downtown location. Oh. My. Goodness. This place is out of control good. The downtown location had a vintage chic atmosphere. It’s the perfect lunch spot. Check it out…
Inside…
I had a turkey, brie, and cranberry sandwich on a crossant. A simple and classic combination packed with flavor.
And then. Something magical happened. I had the best brownie I’ve EVER had in my life. Pioneer Woman even raves about it. The salted caramel brownie. I’m still dreaming of this thing. I would drive to Charlotte and back JUST for this brownie. In fact, I might go tomorrow. Or now.
Whew!! Deep breath. Alright, we’ll shift gears now. If you’re looking for a great Mexican restaurant, check out Vida. I was hesitant to go here due to the large crowds, but hey, the crowds were there for a reason- it’s good!
My way of comparing the quality of Mexican restaurants is through their chimichangas. Vida’s chimichanga (labeled “crispy burrito” on the menu) exceeded my expectations! Awesome chips and salsa, too. However, I could have done without the corn side dish.
Also located downtown is a place that is known for their tapas, Dandelion Market.
I tried their prosciutto, caramelized onion, and fig bruschetta. It flavors were intense and left me wanting to order more!
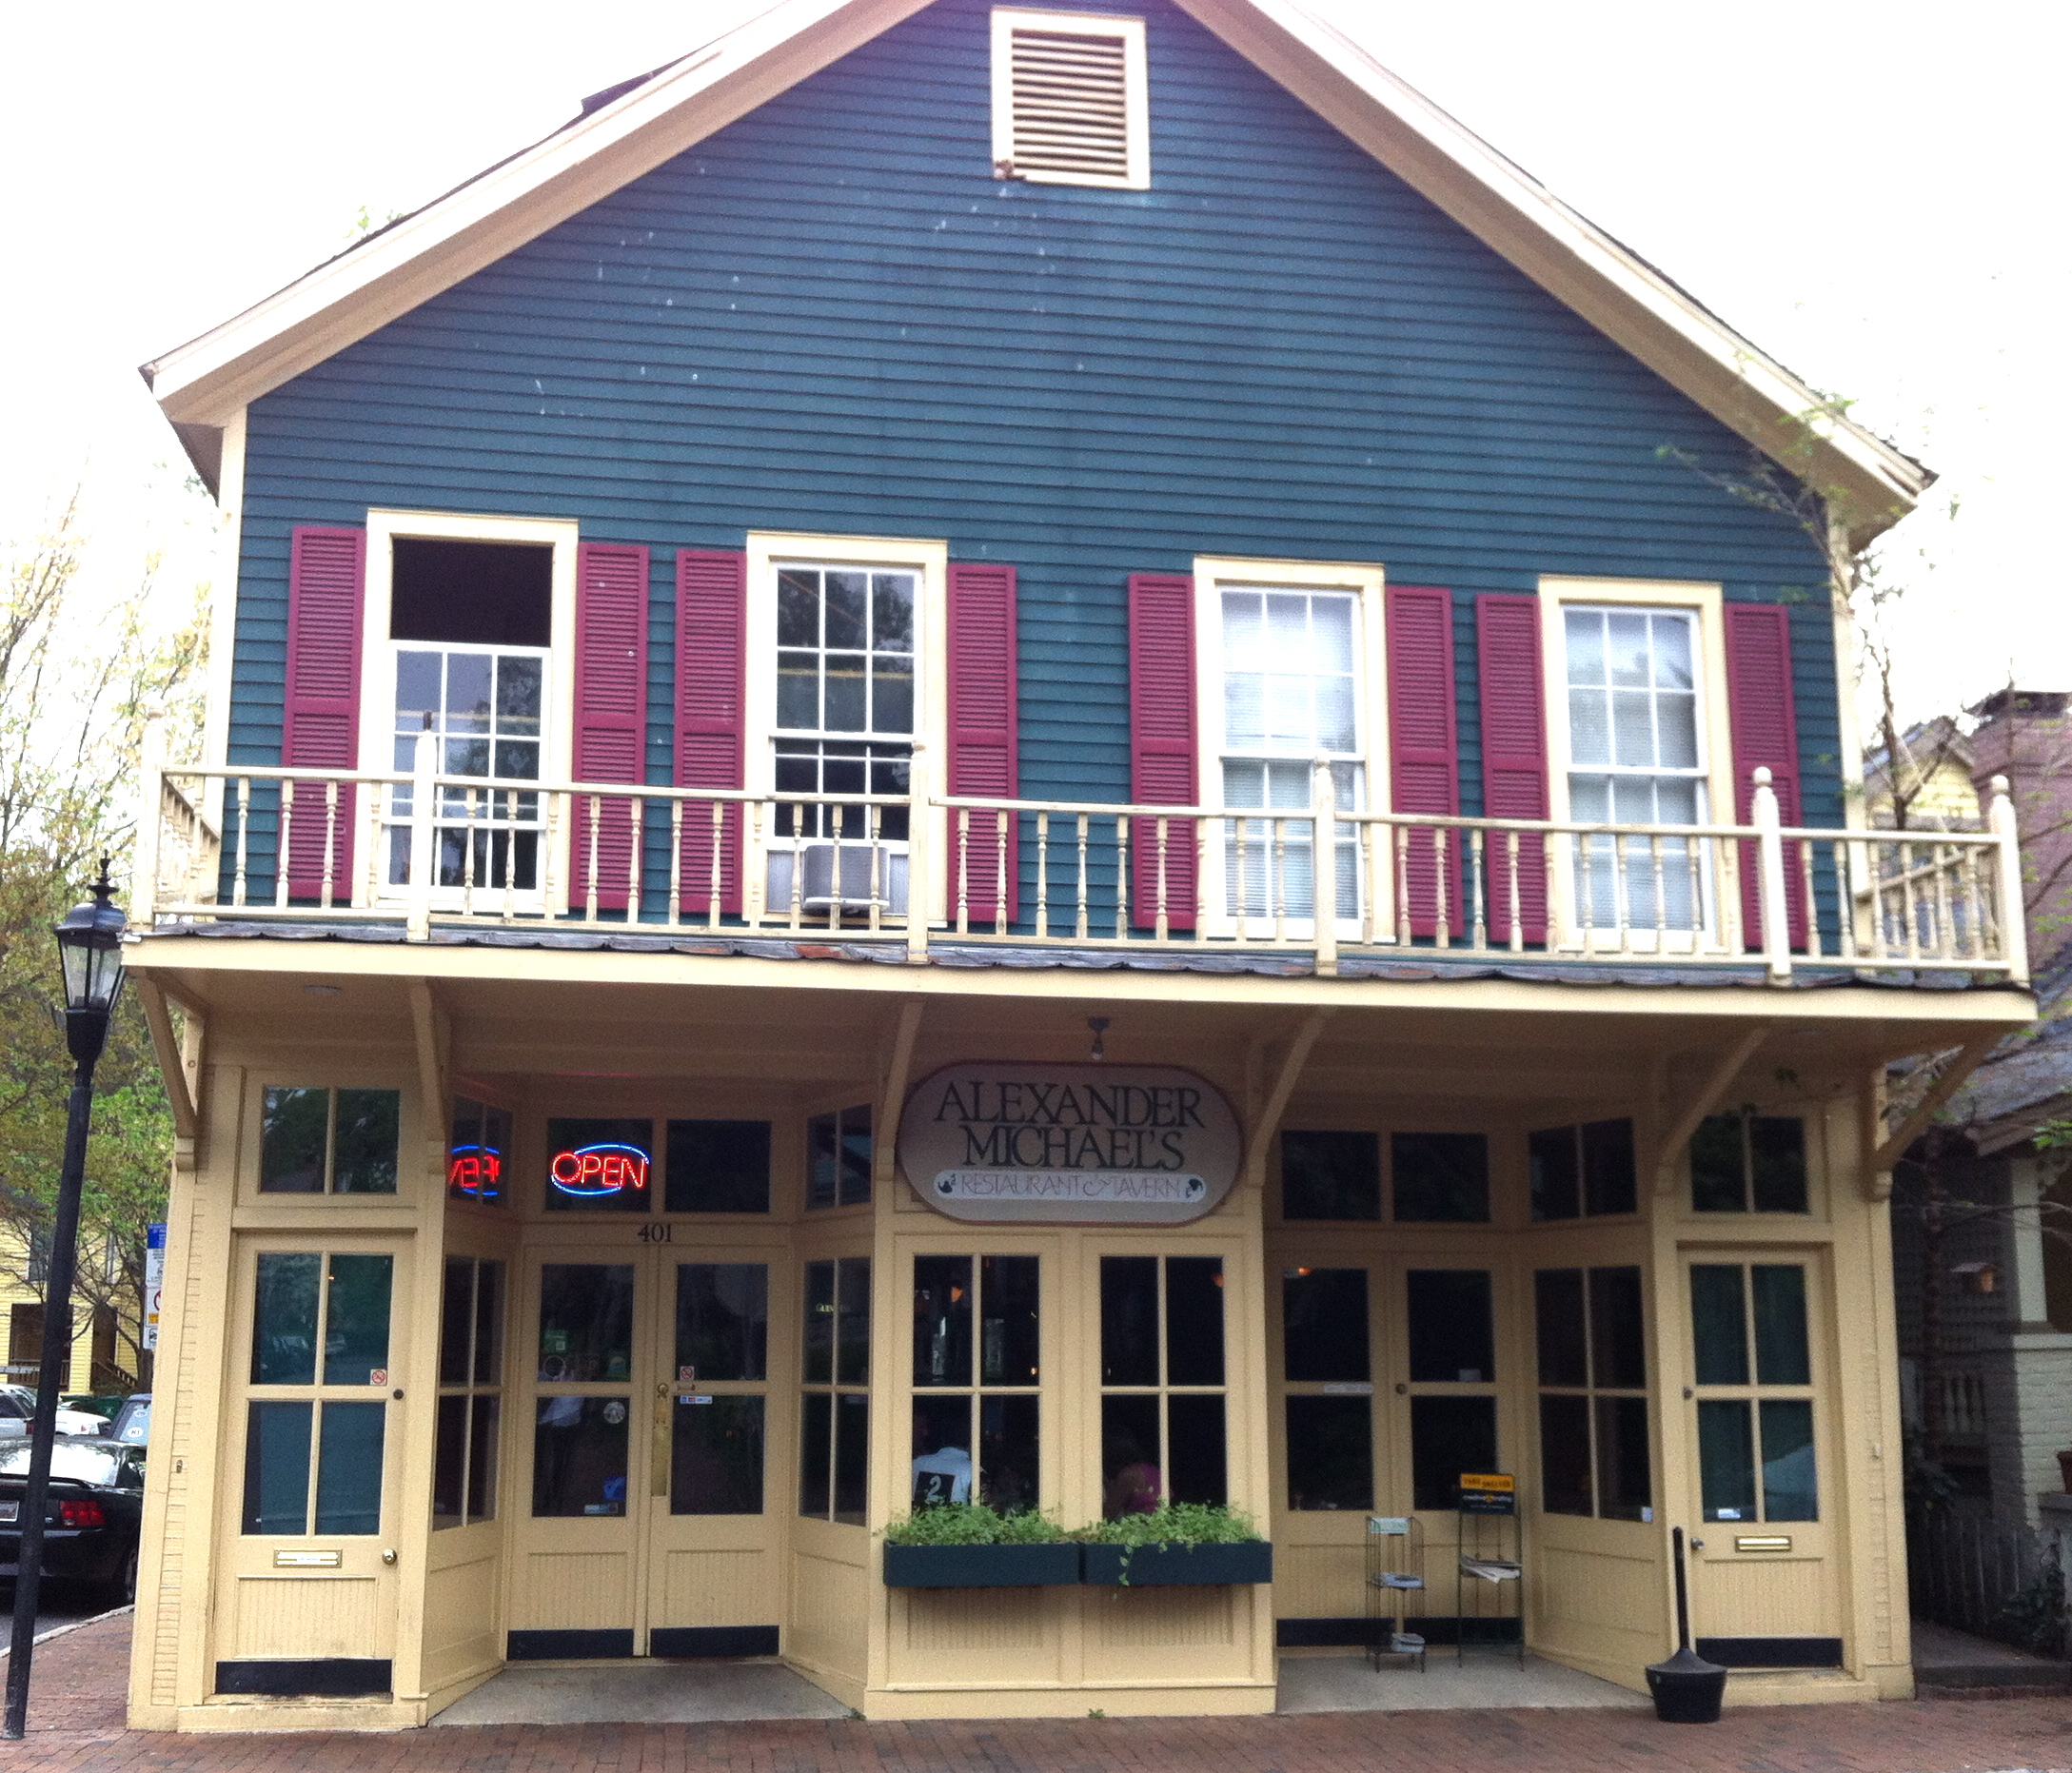
The last place I’d like to introduce you to is Alexander Michael’s, an intimate restaurant in Charlotte’s 4th ward. It’s located in a historic building, which transports you away from the hustle and bustle of the city to another time and place. The fried pickles are amazing, and the garden burger on pita can’t be beat.
I had a great time in Charlotte and am pleased with the culinary stops I made while there. I’m looking forward to going back soon and checking out even more places. Here’s to the urban south!