Valentine’s Cupcakes (Red Velvet Oreo Cupcakes)

Red Velvet Cupcakes

Looking to impress your sweetheart this February the 14th? Look no further. These cupcakes will sweep him or her off their feet and send them floating on cloud nine. The magical part about these red velvet cupcakes is what they’ll find on the bottom of each one: an oreo cookie.
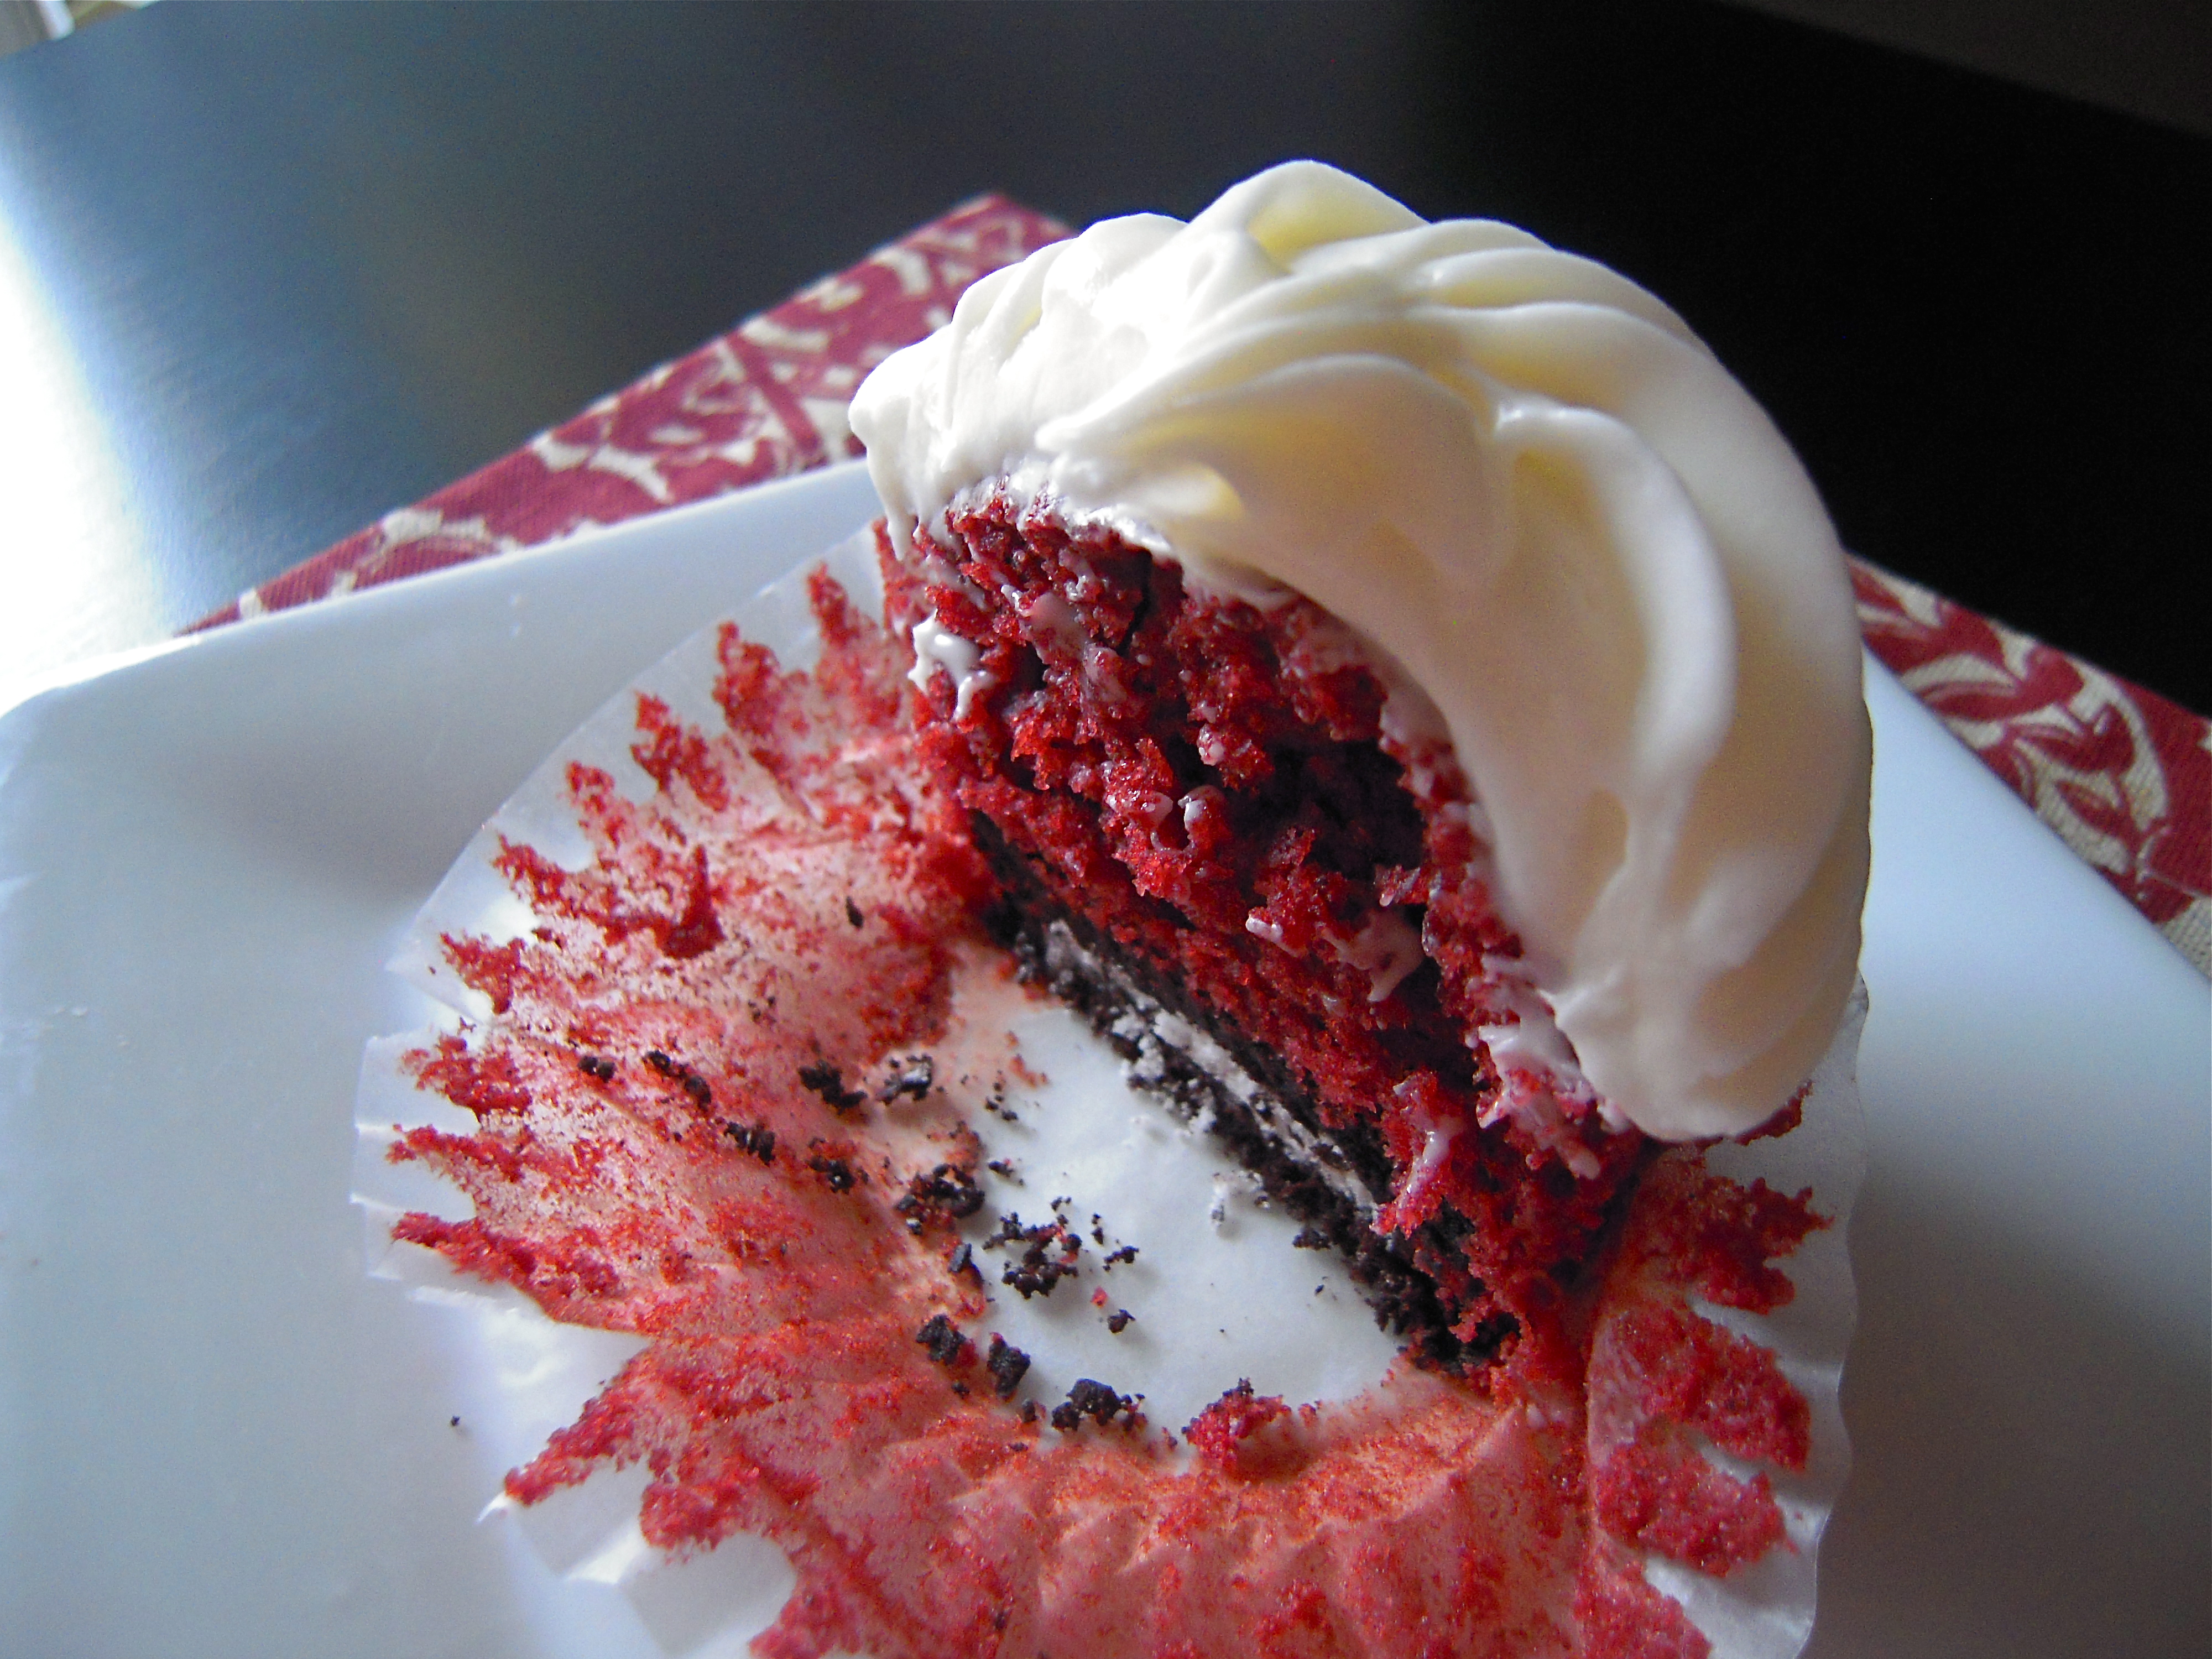
Topped with cream cheese frosting, these cupcakes have the perfect balance of sweetness. Kids will love helping by placing the cookies, mixing ingredients, and filling the cupcake holders using a no-mess squeeze bottle. Enjoy one with your honey, with a classroom of little ones, or eat the whole pan yourself.

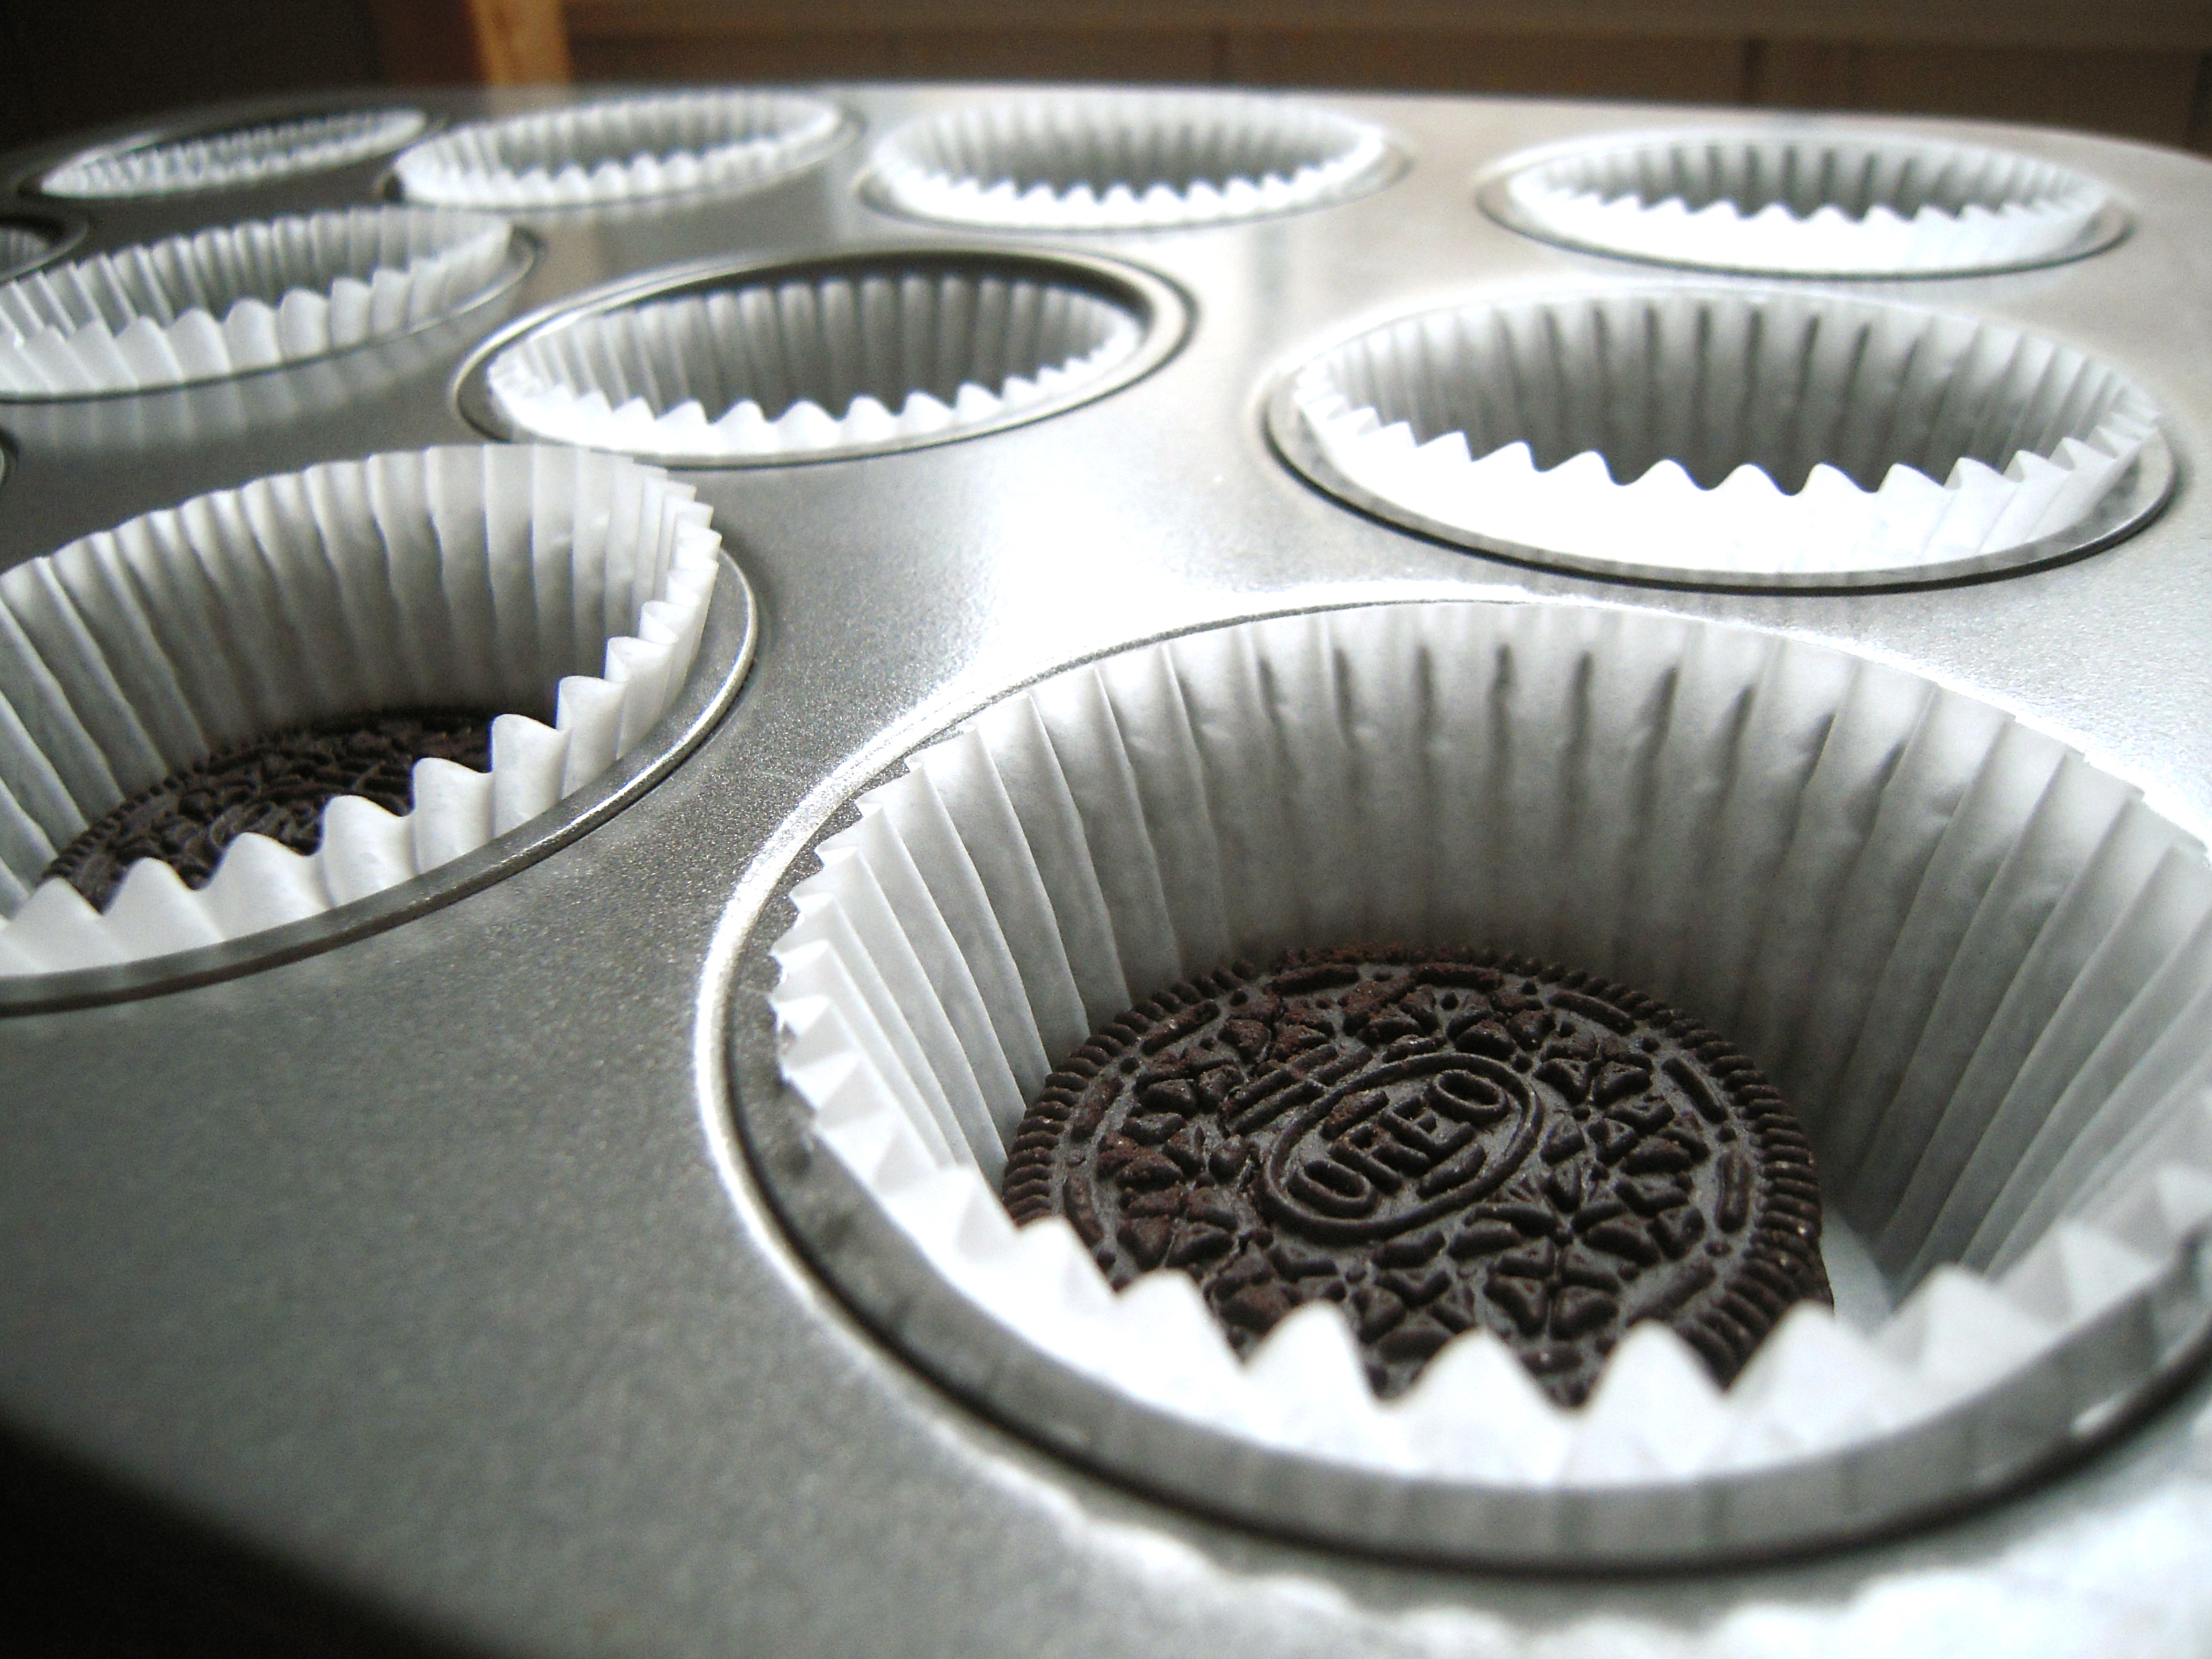
First, line cupcake tins with 24 Oreo cookies.
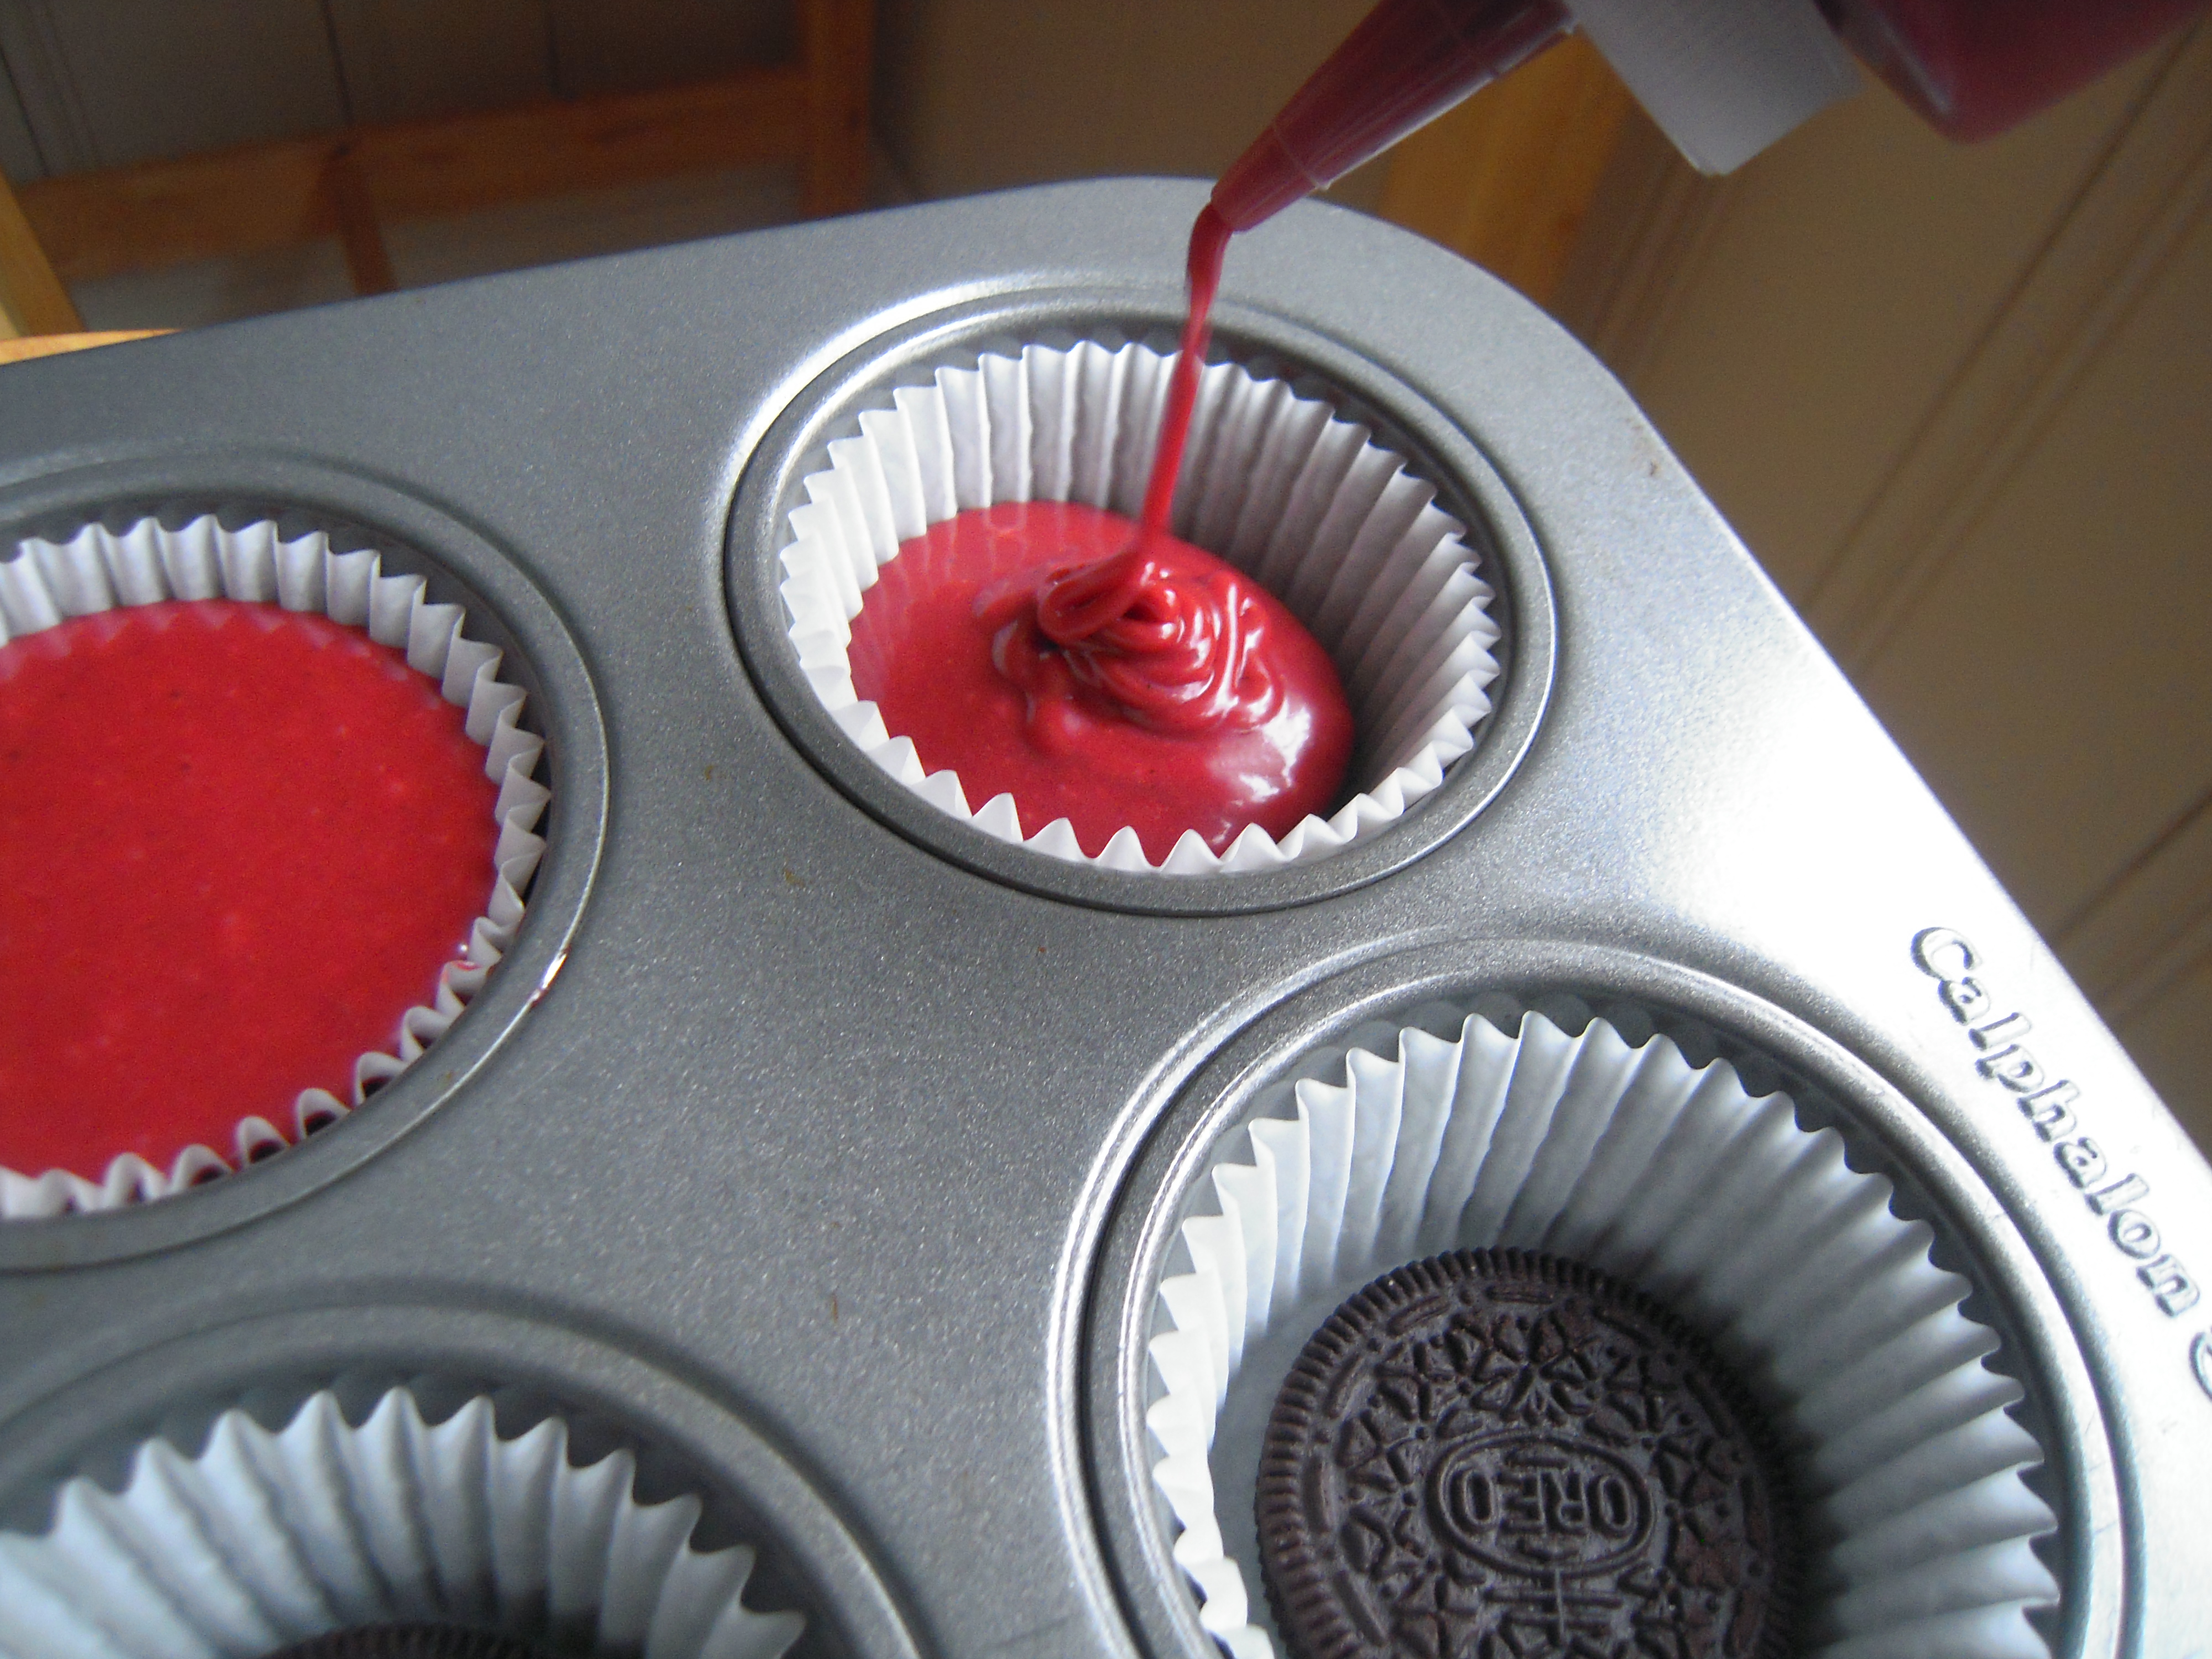
Next, prepare your favorite red velvet recipe. We used Martha Stewart’s and were very pleased with the results. It will be our go-to red velvet recipe from now on! Add the batter on top of the oreos. Since some of the cupcake space is occupied by the Oreo, fill the cupcakes a little more than you typically would.
Bake according to your recipe (ours took about 5 minutes more than our recipe called for), and remove from the oven when a toothpick inserted into the cake comes out clean.

Allow cupcakes to cool and top with a traditional cream cheese frosting. Initially, we used vanilla frosting, but found that it was a bit too sweet. Cream cheese helps cut the sweetness and adds a smooth texture that compliments the cupcake nicely.

Devour with love. Happy Valentine’s Day!
Oh, Yes We Did!

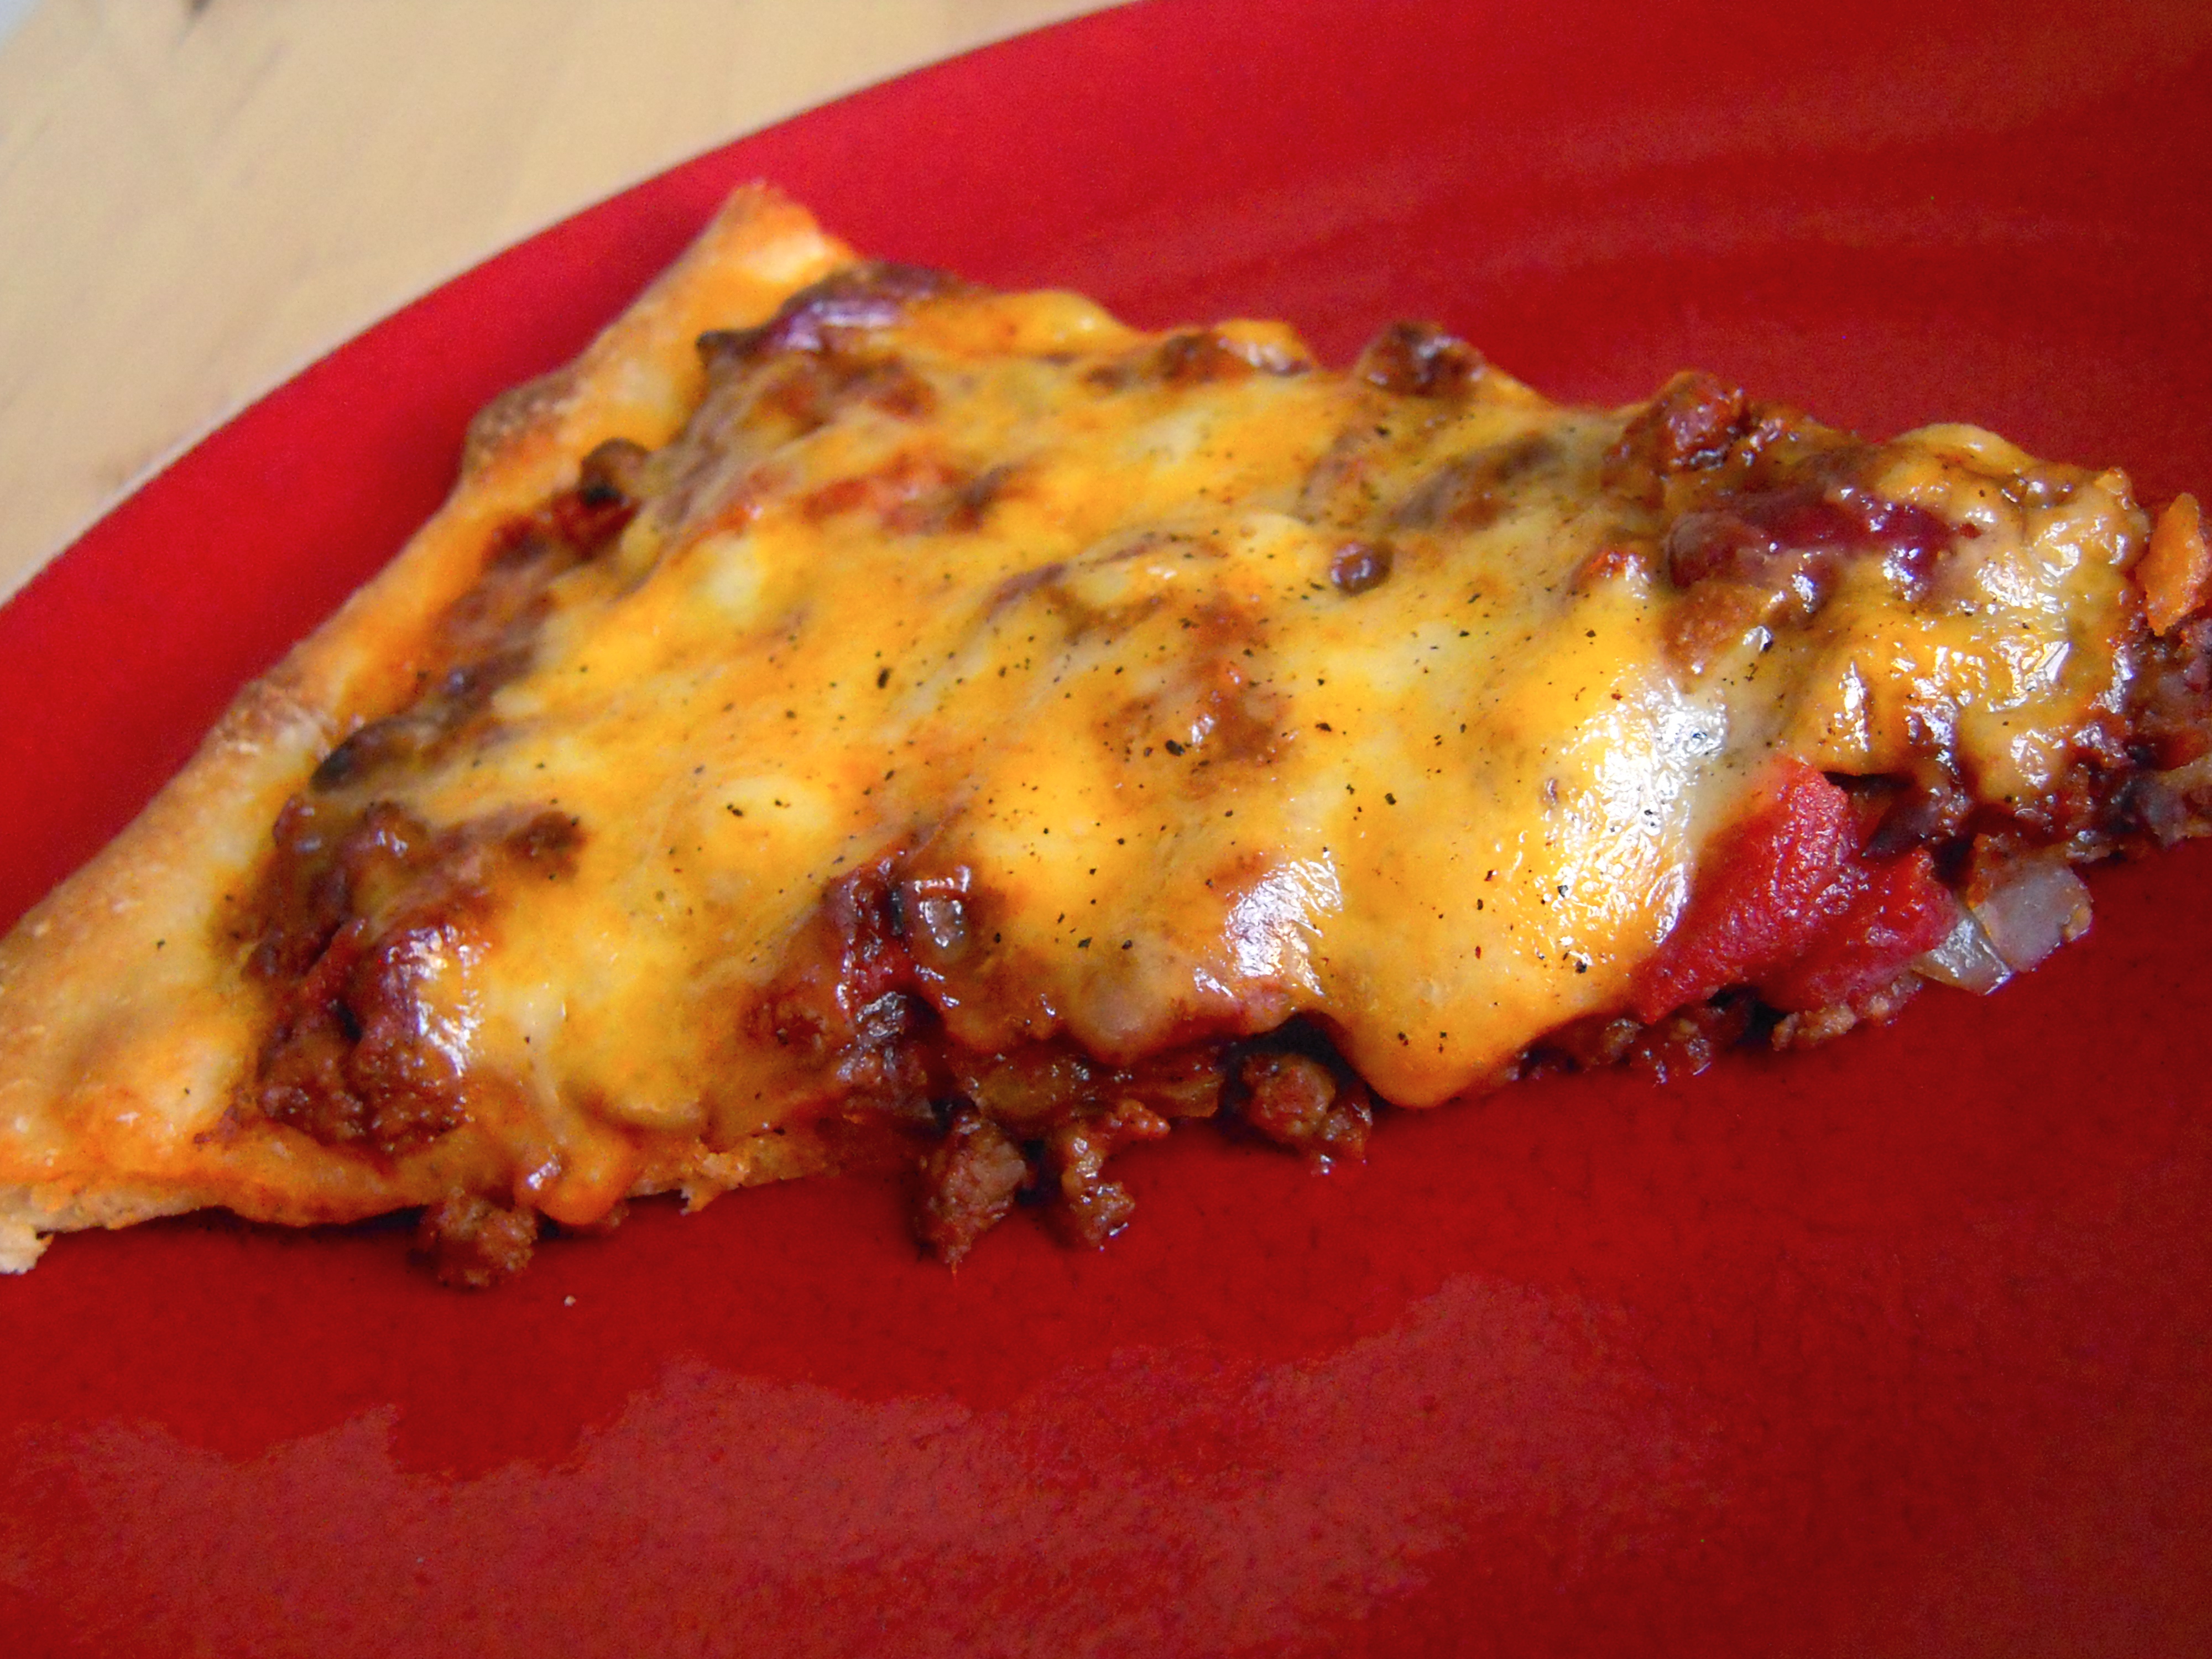
Oh, yes we did! We developed perhaps the greatest leftover meal possible. Chili. Pizza. Yes! Our fridge was full of leftover chili from a party last week. What we typically do with leftover chili is grab some delicious hotdogs and go to town. However, this time we decided to think outside the bun and get a little creative! Enjoy!

Ingredients:

Pizza dough (we recommend Pioneer Woman’s)

2 cups of leftover Webster Whopping Chili

6 oz. of your favorite cheese

Preparation:

Prepare dough according to directions and place on a pizza stone. Preheat oven to 500° (if using PW’s dough) or however hot your specific dough recipe suggests. Spread an even layer of chili around the crust, leaving about 1″ of room for the crust. If you are using a thicker chili (such as the Webster Whopping), this will work fine. If your chili is a bit more thin or watery, be sure to add more room around the edge for liquids to escape and perhaps put a pan on a lower rack of the oven to catch any drips.

Top with a layer of cheese and other usual pizza toppings (onion, pepperoni, mushrooms, peppers, etc.). Bake for 10-12 minutes until cheese is melted and golden brown. Finish with chopped onion, cilantro, sour cream, and more. The sky is the limit.

Fat free. Just kidding.

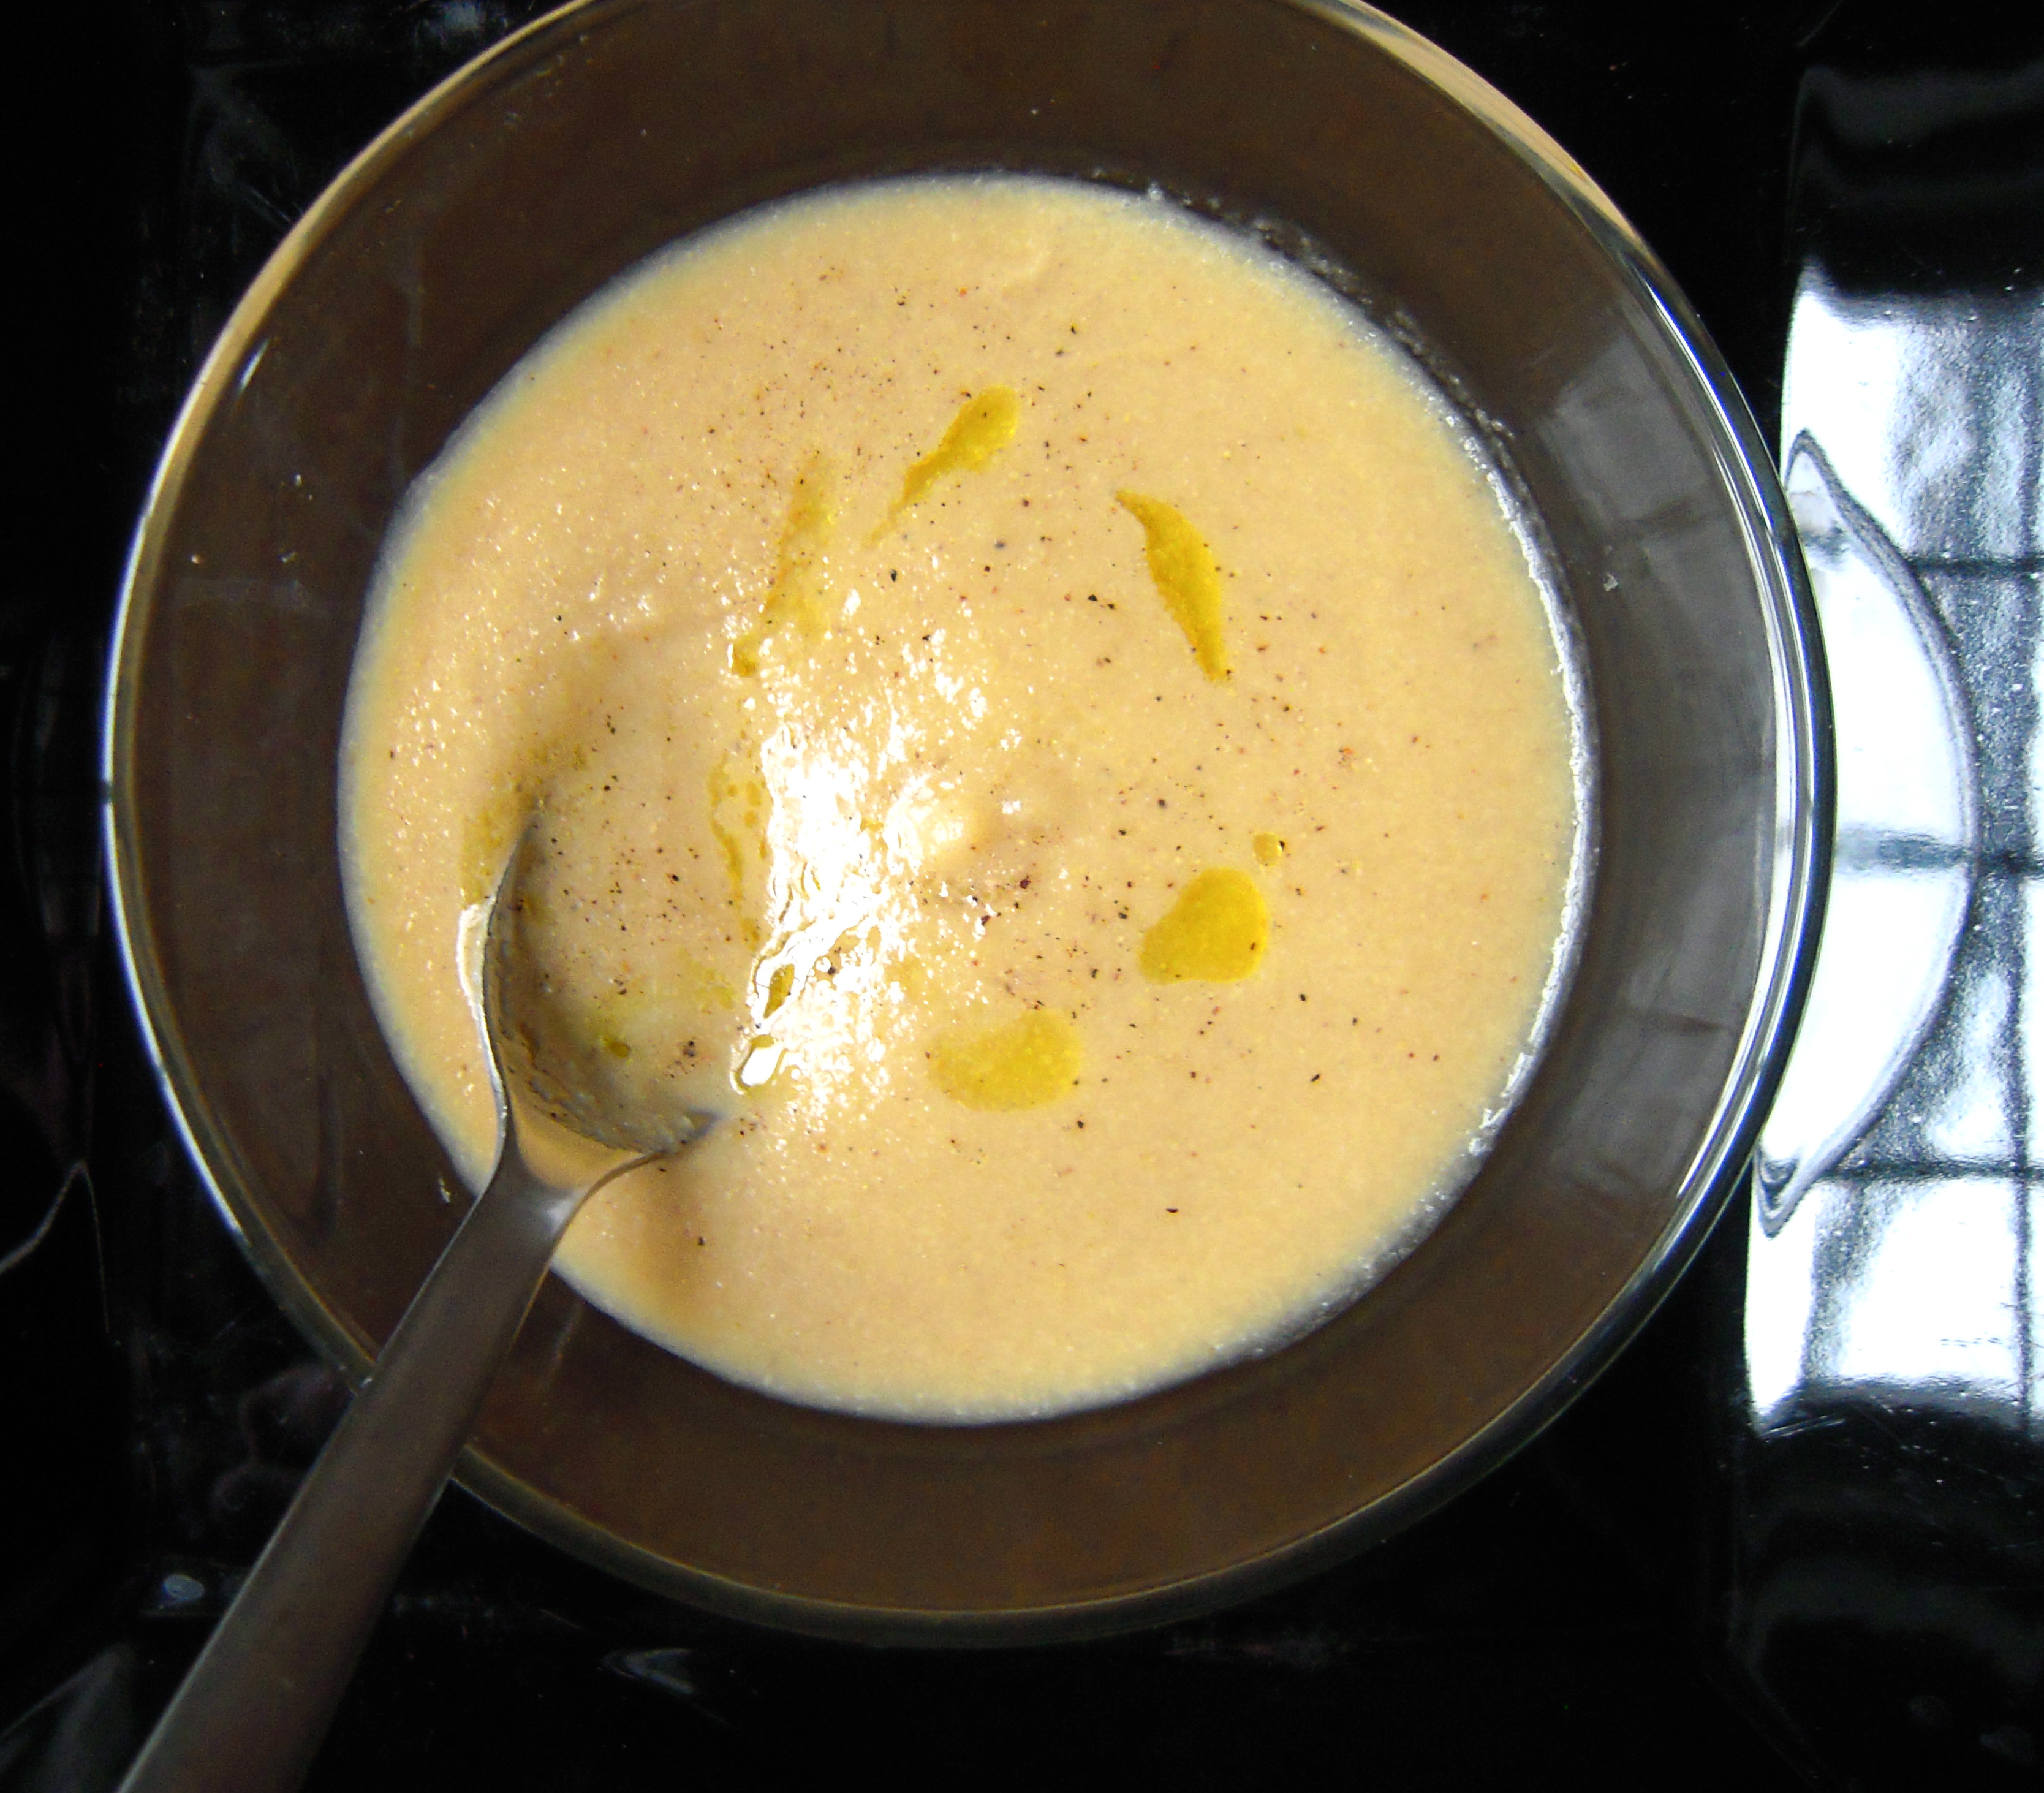
Roasted Cauliflower and Leek Soup

Cauliflower and Leek Soup

We don’t have a fireplace. Not to worry, we found out this season that North Carolina is actually much warmer than Missouri in January. Who knew! Still, it’s winter, and we’ve been craving cold weather meals despite the mild temps. This healthy and flavorful soup is perfect to warm a chilly (..or not so chilly) winter night. It works great as a side or as a meal of it’s own. We recommend making this soup with a Cuisinart smart stick. If you don’t own one, working in batches with a blender or food processor should do the trick. Try subbing 4 cups of vegetable stock for the liquid in this recipe for an easy vegetarian option.

Ingredients:

1 head cauliflower, florets removed

2 leeks, chopped (use only white and light green parts)

4 cloves garlic, sliced

2 cups chicken stock

2 cups water

1 chicken bouillon cube

Salt and pepper to taste

2 tablespoons olive oil

Preparation:

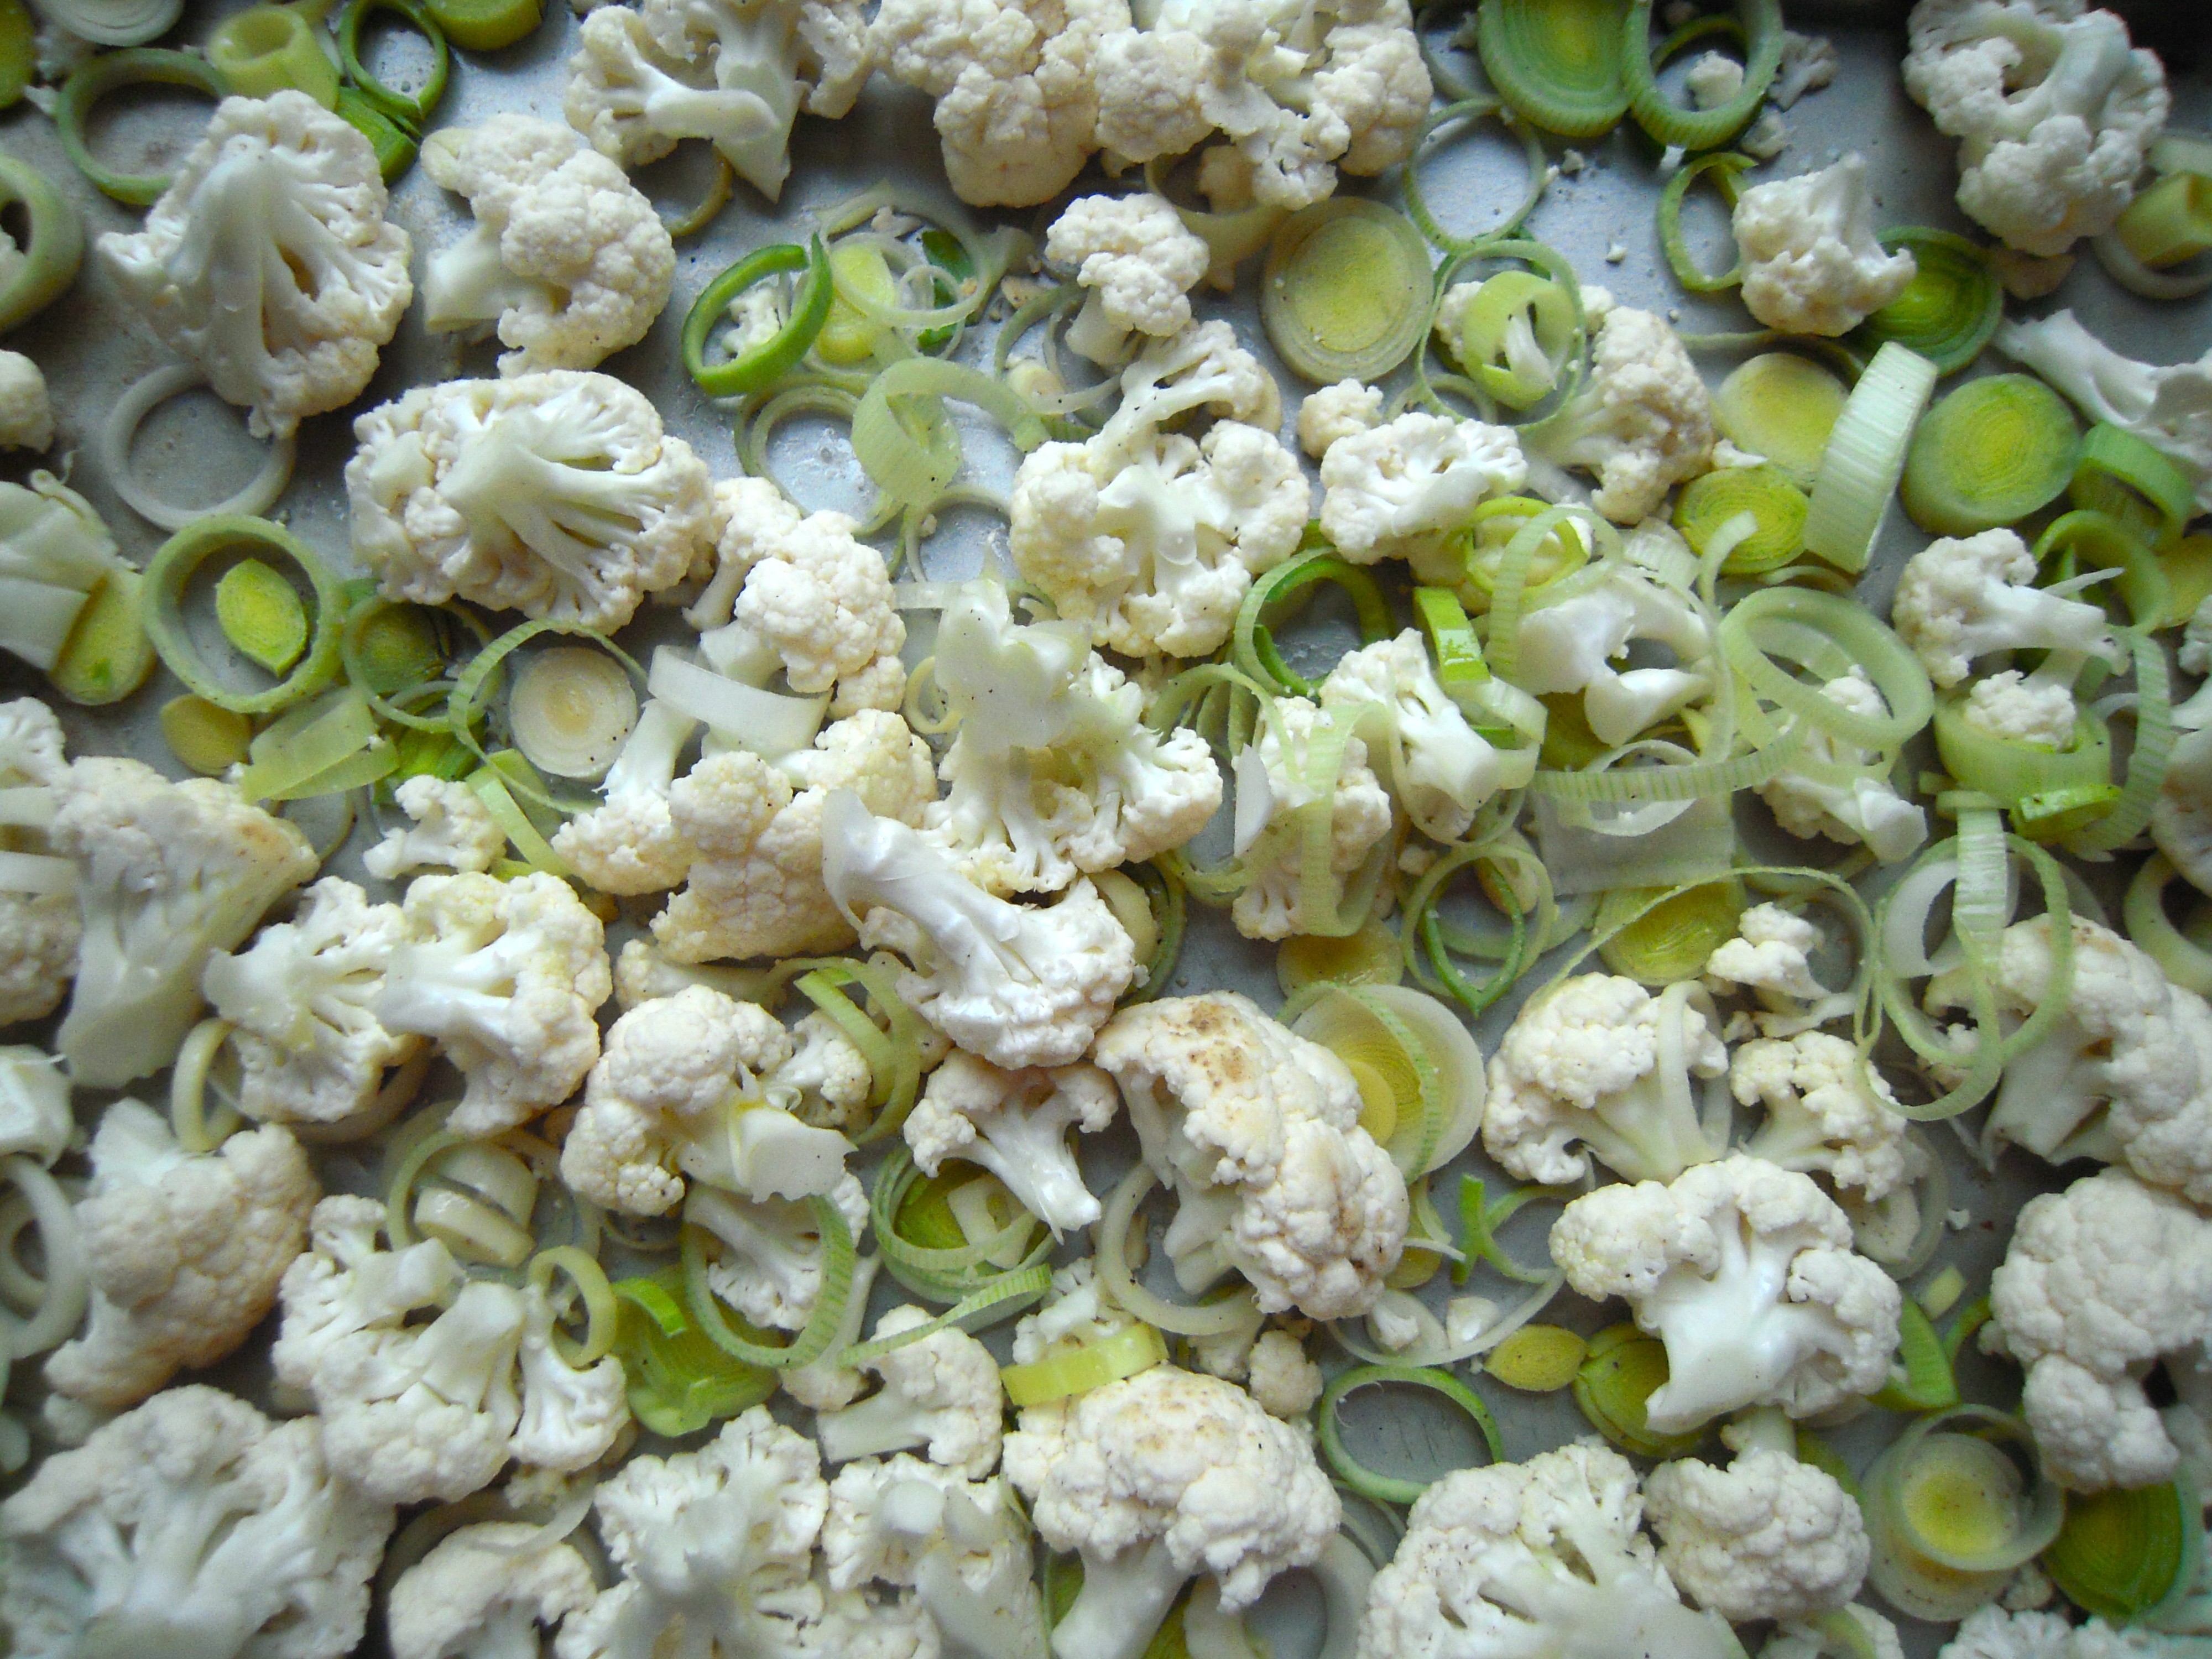
Preheat oven to 350°. Place cauliflower florets, leek, and garlic on a sheet pan. Drizzle olive oil over vegetables and sprinkle with salt and pepper. Gently toss vegetables on the pan to coat.

Roast for 30-40 minutes until all vegetables are golden brown. Be sure to move the vegetables around on the pan once or twice during the roasting process to ensure even browning.

While vegetables are roasting, place the stock, water, and bouillon in a small saucepan and heat over medium heat until bouillon dissolves. Turn heat off once dissolved.

When the vegetables are golden brown, remove from oven and carefully place in the stock. Using the smart stick, blend until all large pieces are smooth. Turn heat up to medium. Season again with salt and pepper to taste.

Serve warm with a drizzle of olive oil and freshly cracked black pepper.

Makes 4 large bowls.


Pine Nut Salad

Pine Nut Salad

This is our family “go-to” salad. My parents have been serving this salad at all major holidays for as long as I can remember. As a child, one of my fondest kitchen memories was helping mom destalk the romaine. I felt like it was such an essential part of the success of the salad. I’ve served this at many dinner parties and I haven’t found a guest who hasn’t liked it. The bold garlic flavor combined with the gentle sweetness of the pine nuts makes this salad a year-round crowd pleaser.

The original recipe was sent to my parents in a mailer from The Wine and Cheese Place in St. Louis at least 20 years ago. Les, the owner of the store, credited Gary and Judy Studer with the contribution of this recipe to the mailer.

Ingredients:

5-6 garlic cloves, peeled
½ teaspoon Kosher salt
1 tablespoon Dijon mustard
4 tablespoons white wine vinegar
¼ cup olive oil
2 large heads of romaine, washed, destalked, and torn into bite size pieces
Freshly ground black pepper
¼ cup + freshly grated Parmesan
¼ cup + pine nuts

Preparation:

First, toast the pine nuts. Spread the pine nuts on a baking sheet, and place under the boiler until golden brown. Watch very closely, once they begin to brown they can quickly turn to charcoal and you risk burning the kitchen down. Another method is to place the pine nuts in a small sauté pan on low heat and cook on the stovetop until golden brown. Set aside.

In small saucepan of boiling water, boil the garlic for 10 minutes. Drain well. In a large wooden salad bowl, mash the garlic to a paste with the salt.

Whisk in the mustard and the vinegar. Add the oil in a stream, whisking until emulsified.

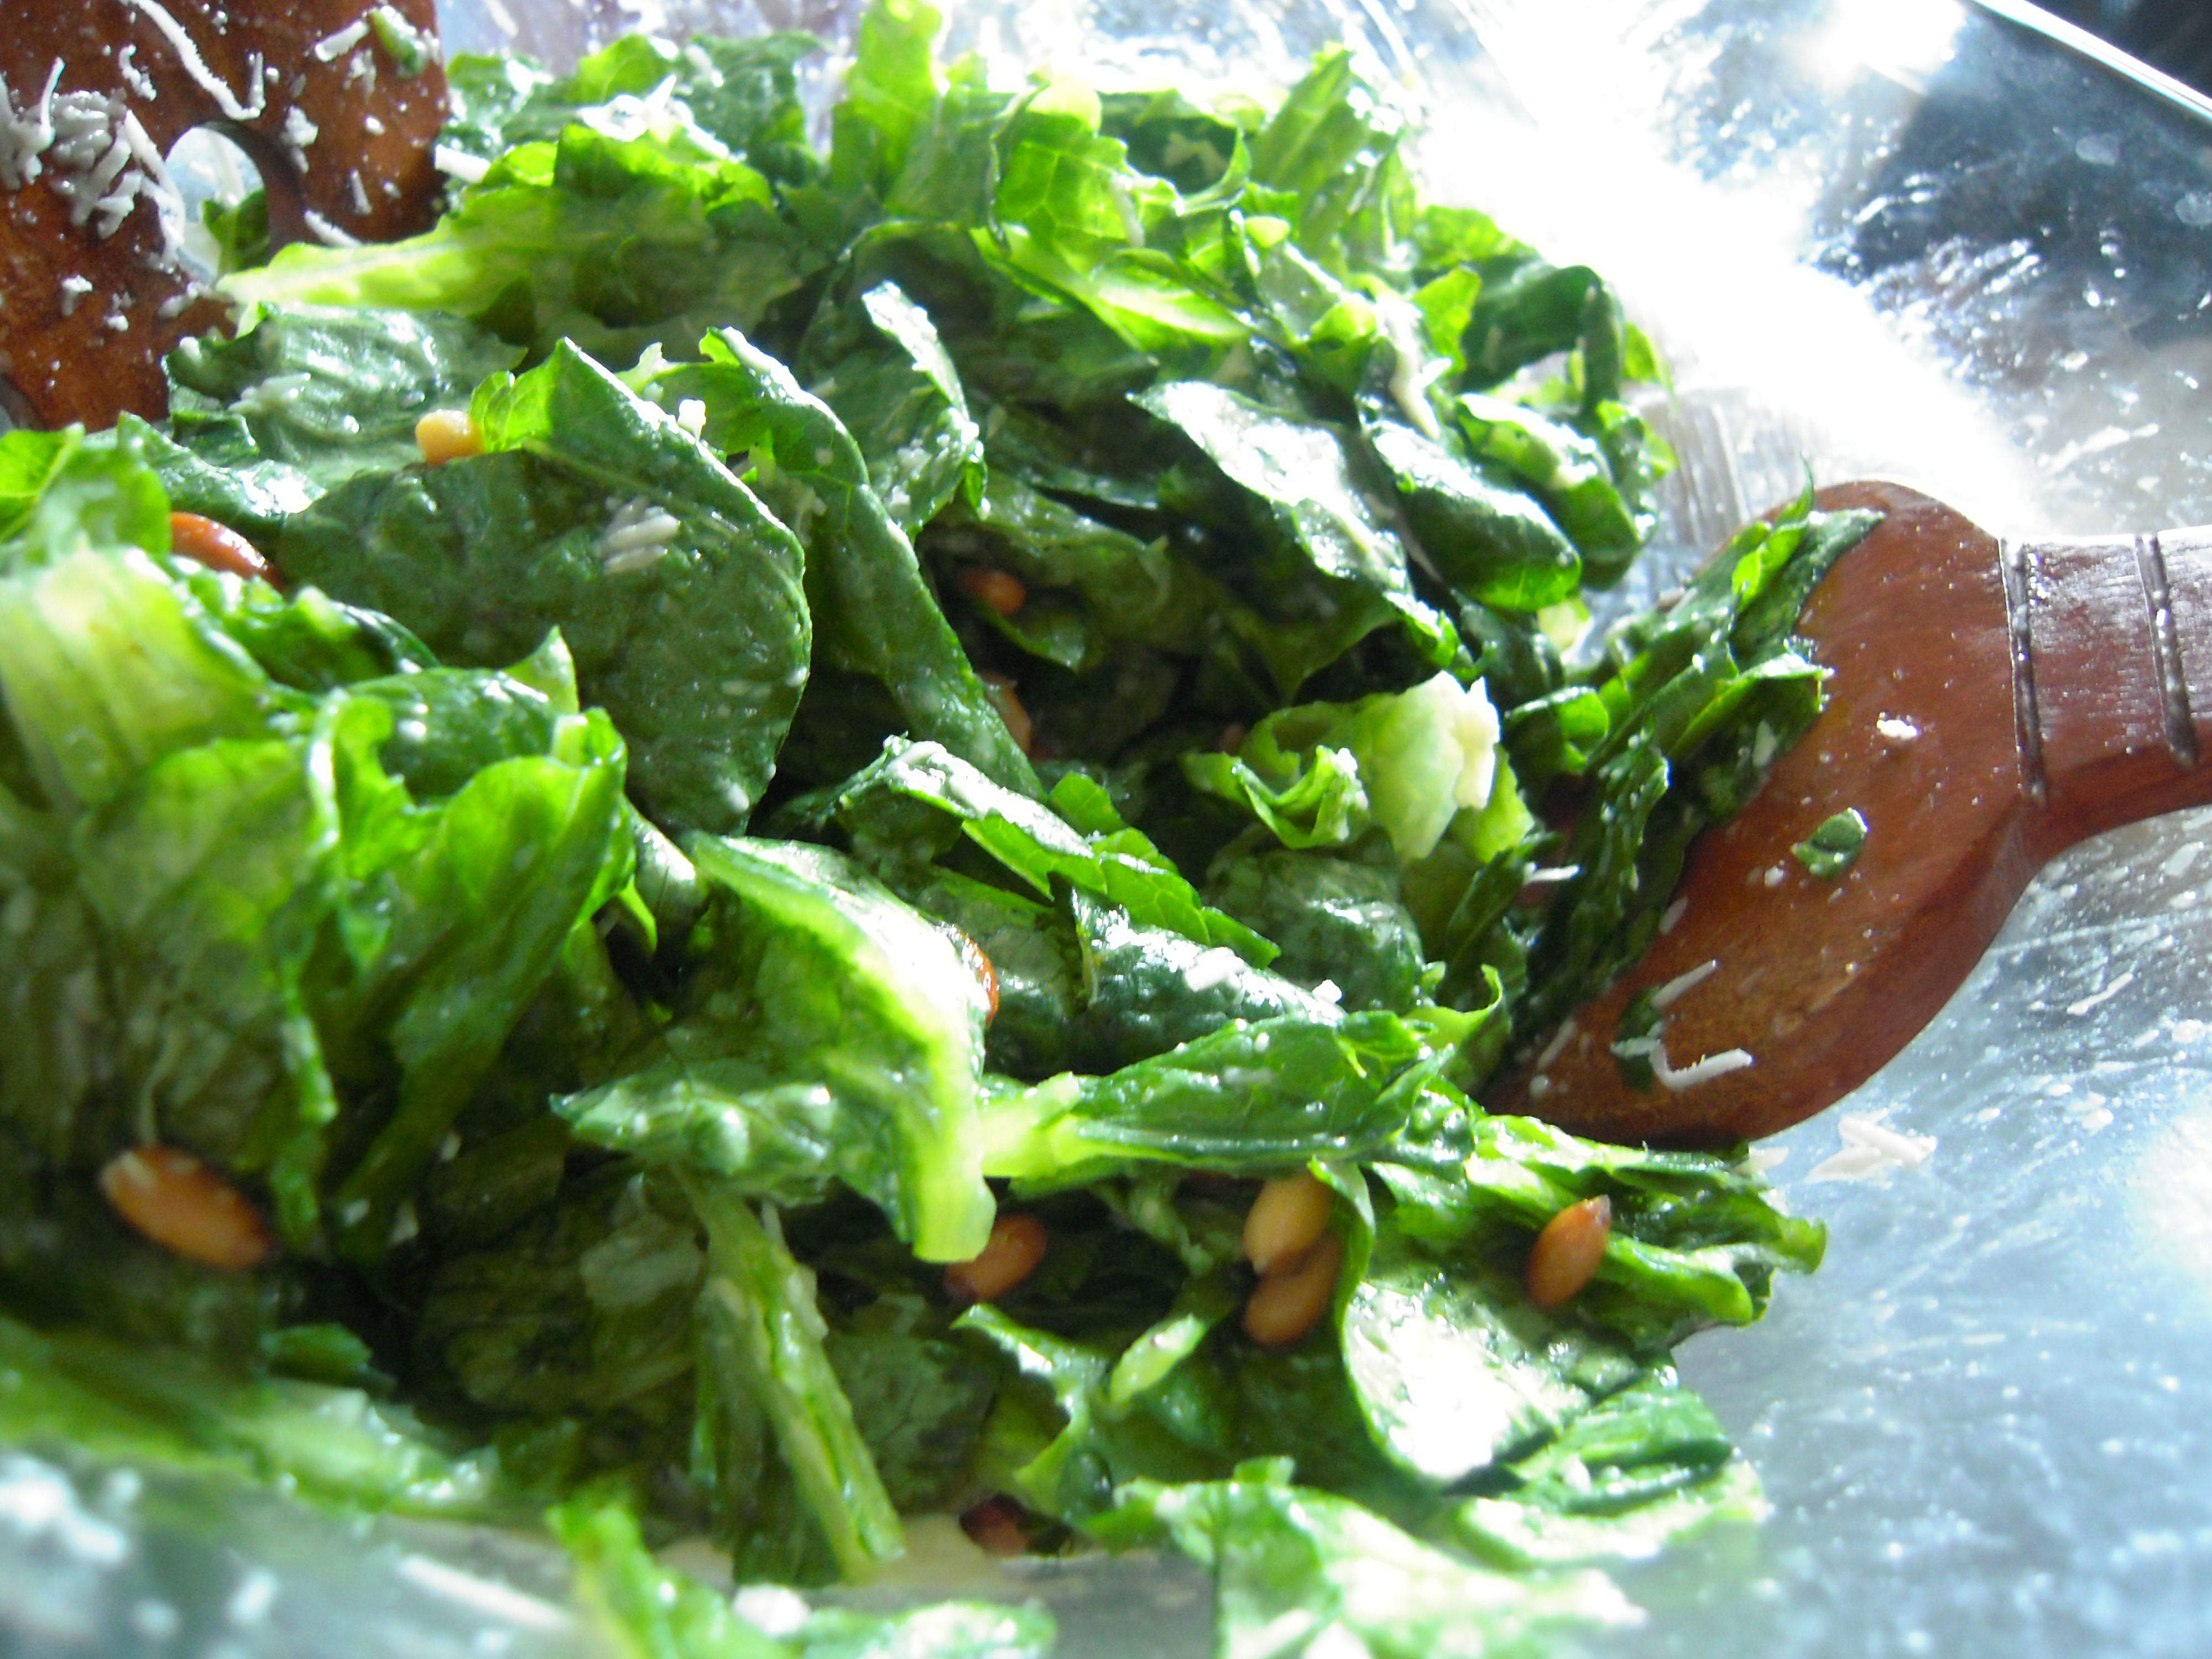
Add the romaine. Toss the salad well to combine and season to taste with pepper. Add the Parmesan and pine nuts, and toss again.

Be sure to taste the salad before you serve. If it needs more zing, add a bit more vinegar. If it’s too tart for your liking, add more olive oil.

Serve the salad with extra pine nuts and Parmesan available.

Reflection on a Year Well Done (10 from ’11)

2011 has been a year filled with joy. We both made major life changes this year. Between moving across the country, new jobs, and starting school (again) it has been a year to remember. This silly little blog has been a way to share our culinary adventures with the world, and even though it’s a tiny and humble blog, we’re pretty proud of it. We’re proud that we still post. We’re proud that some of you actually read the posts. We’re proud of our food and proud of the semi-okay pictures we capture with our point and shoot camera. Thank you to all of you readers who continue to read and support this site. We wish you a very happy New Year full of love, happiness, and of course, good food.

Here is a look back to 10 of our favorite recipes we posted in 2011:

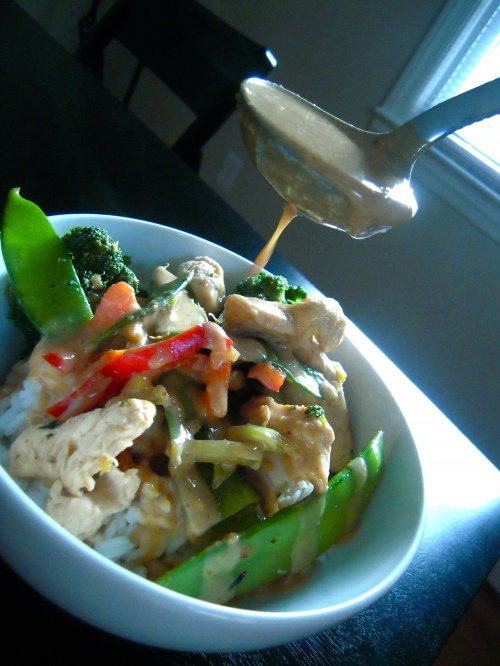
Chicken Stir-Fry with Peanut Sauce

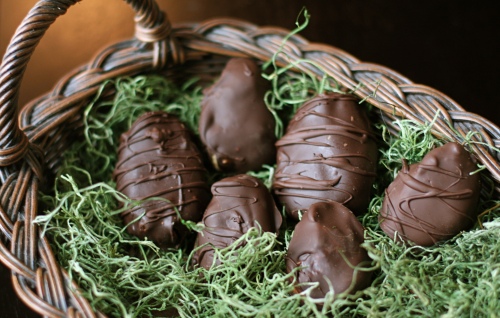
Peanut Butter Eggs

Webster Whopping Chili

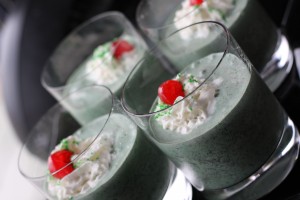
Oreo Mint Shakes

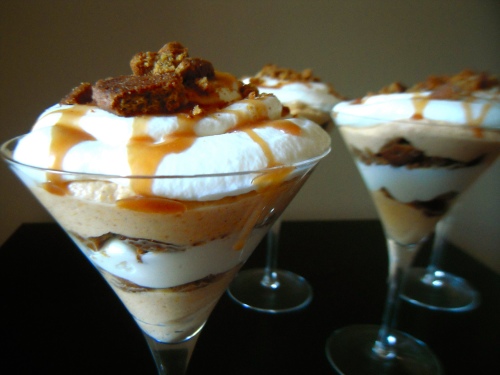
Pumpkin and White Chocolate Mousse Parfait

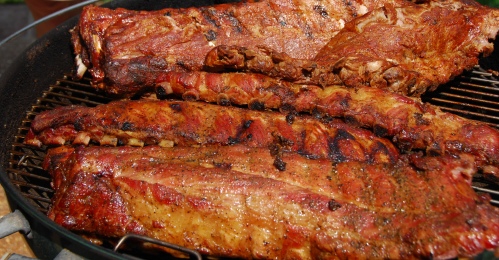
Applewood Bourbon Smoked Ribs

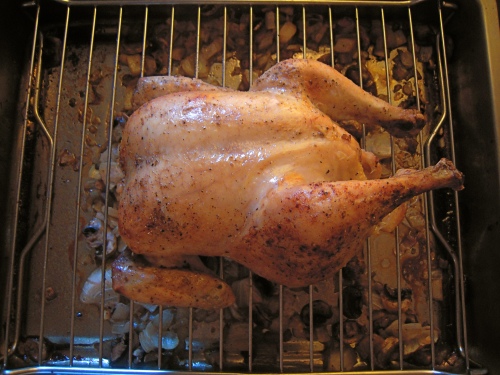
Roasted Chicken with Onion, Shallot, and Mushroom

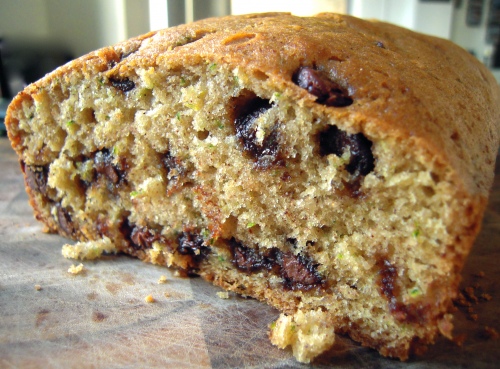
Chocolate Chip Zucchini Bread

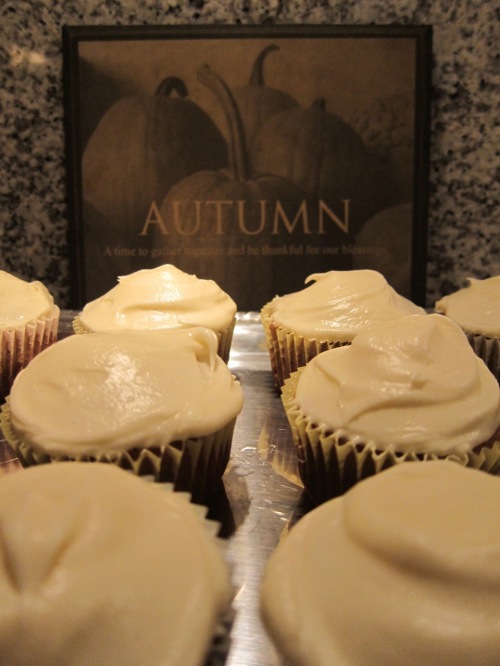
Pumpkin Cupcakes

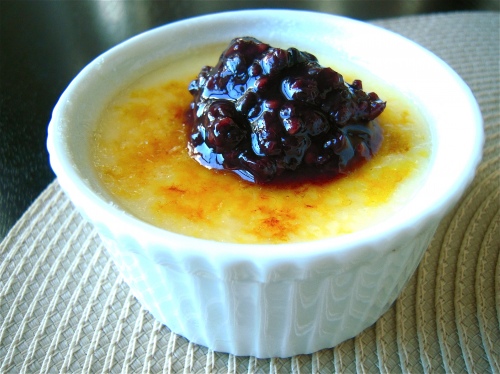
Vanilla Crème Brûlée with Blackberry Compote 

Deluxe Sugar Cookies

Updated December 2022!

I have been eating these same cookies every December for as long as I remember. It’s a tried and true family recipe that we are thrilled to share with you. There are a couple of things to note about this recipe. Mom said that the original cookie recipe came from (we think) an old Betty Crocker recipe. Also, it’s important that you know that growing up, we usually decorated these cookies by sprinkling them with sugar sprinkles before popping them in the oven. Some things change with marriage. Neil likes them frosted, so we started used a simple buttercream frosting.

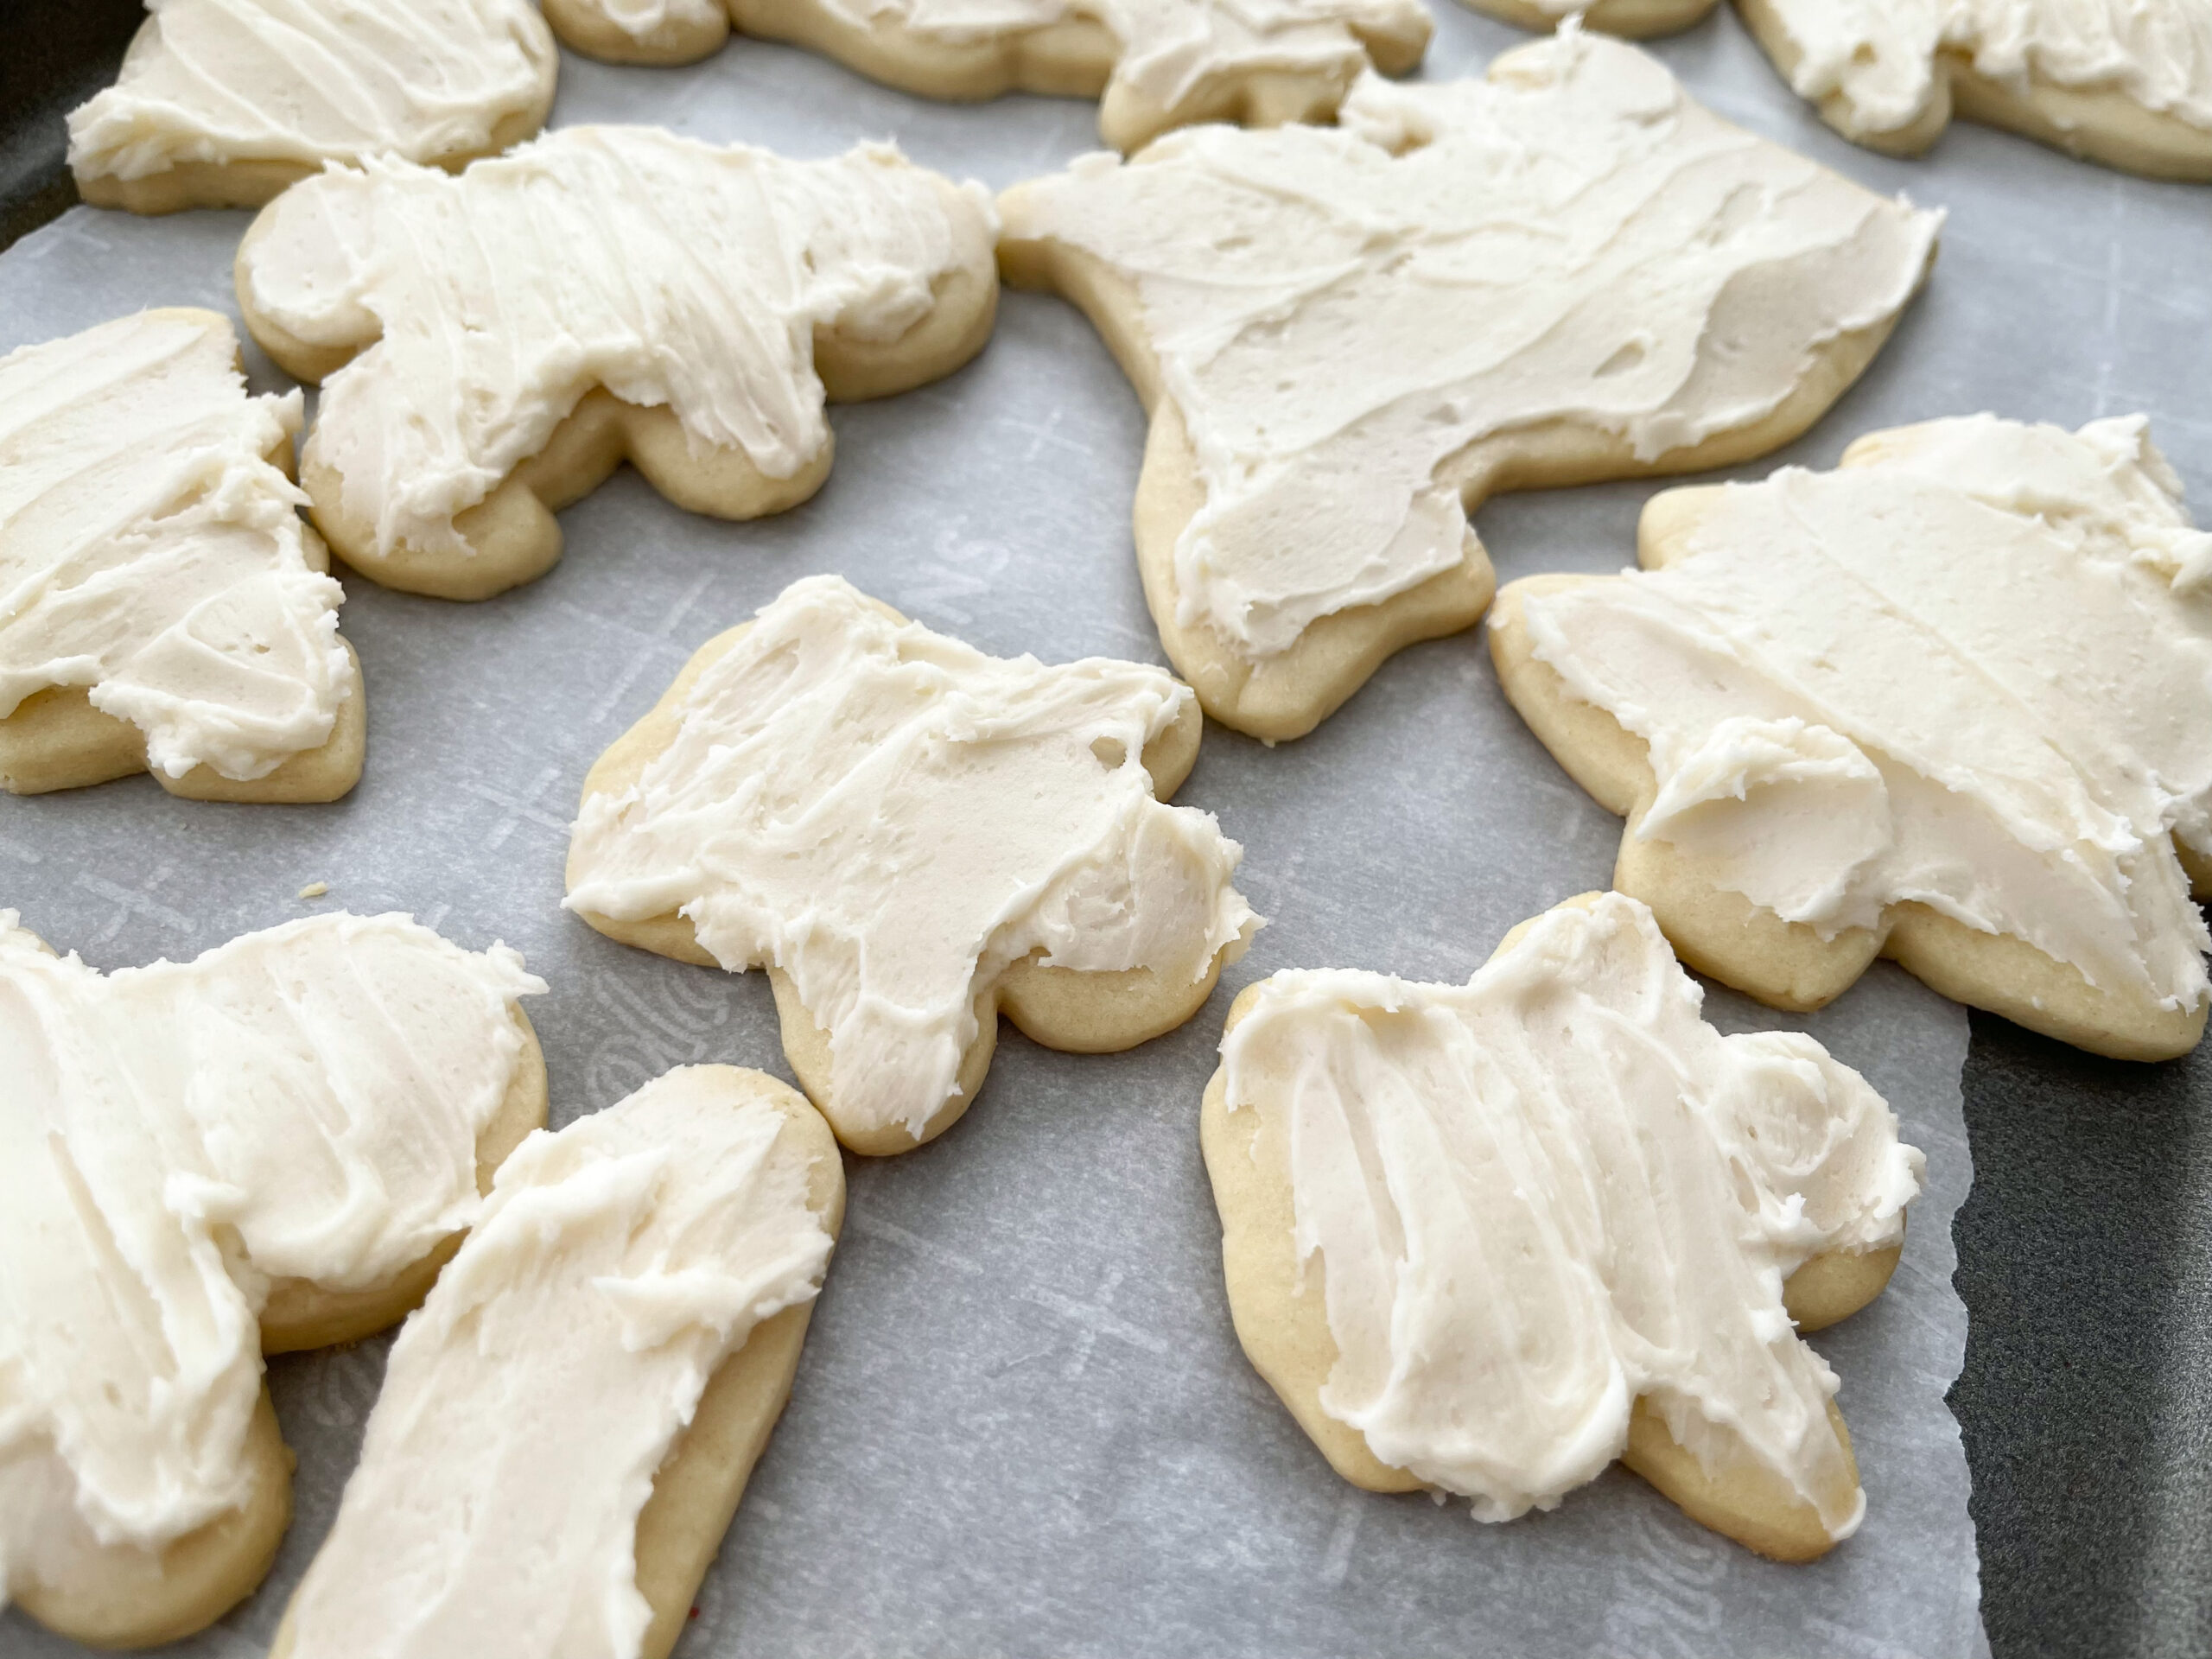
And let me tell you, I never eat them now WITHOUT the buttercream. It’s a great addition to a classic cookie. This year (2022), I finally got around to writing out my buttercream recipe. After the cookies are completely cooled, I like to add a generous layer of this thick frosting on top, then add sprinkles.

Deluxe Sugar Cookies

Prep Time: (Dough needs to chill for at least 2 hours) + 30 minutes other prep Cook Time: 6 min

Makes about two dozen cookies, depending on the size of your cookie cutters

Ingredients:

For the Cookies:

1 cup softened butter

1 1/2 cups confectioners’ sugar

1 egg

1 1/2 teaspoon almond extract

2 1/2 cups flour

1 teaspoon baking soda

1 teaspoon cream of tartar

For the Buttercream:

4 cups powdered sugar

1 stick salted butter

1 tablespoon vanilla extract

3 tablespoons whole milk

1 pinch salt

Sprinkles!

Preparation:

Mix butter, sugar, egg and almond extract in a large bowl. Blend in flour, baking soda, and cream of tartar. Cover; chill for 2-3 hours or overnight.

Heat oven to 350°. Divide dough in half. Roll out and cut cookies on a very well-floured surface.

Bake for 6 minutes. They won’t LOOK done, but they will be. Allow cookies to cool a couple minutes on pan until you’re able to safely touch them with your fingers. Transfer to a wire rack and allow to completely cool. While cooling, prepare the buttercream by using a stand mixer or electric hand mixer to blend all ingredients together. 

Once cookies are cooled, frost and decorate. Store in an air-tight container or ziplock bag and leave out at room temp (the fridge will probably dry them out). Save at least two for Santa.

P.S.- These cookies are great throughout the year- not just in December!