Deluxe Sugar Cookies

Updated December 2022!

I have been eating these same cookies every December for as long as I remember. It’s a tried and true family recipe that we are thrilled to share with you. There are a couple of things to note about this recipe. Mom said that the original cookie recipe came from (we think) an old Betty Crocker recipe. Also, it’s important that you know that growing up, we usually decorated these cookies by sprinkling them with sugar sprinkles before popping them in the oven. Some things change with marriage. Neil likes them frosted, so we started used a simple buttercream frosting.
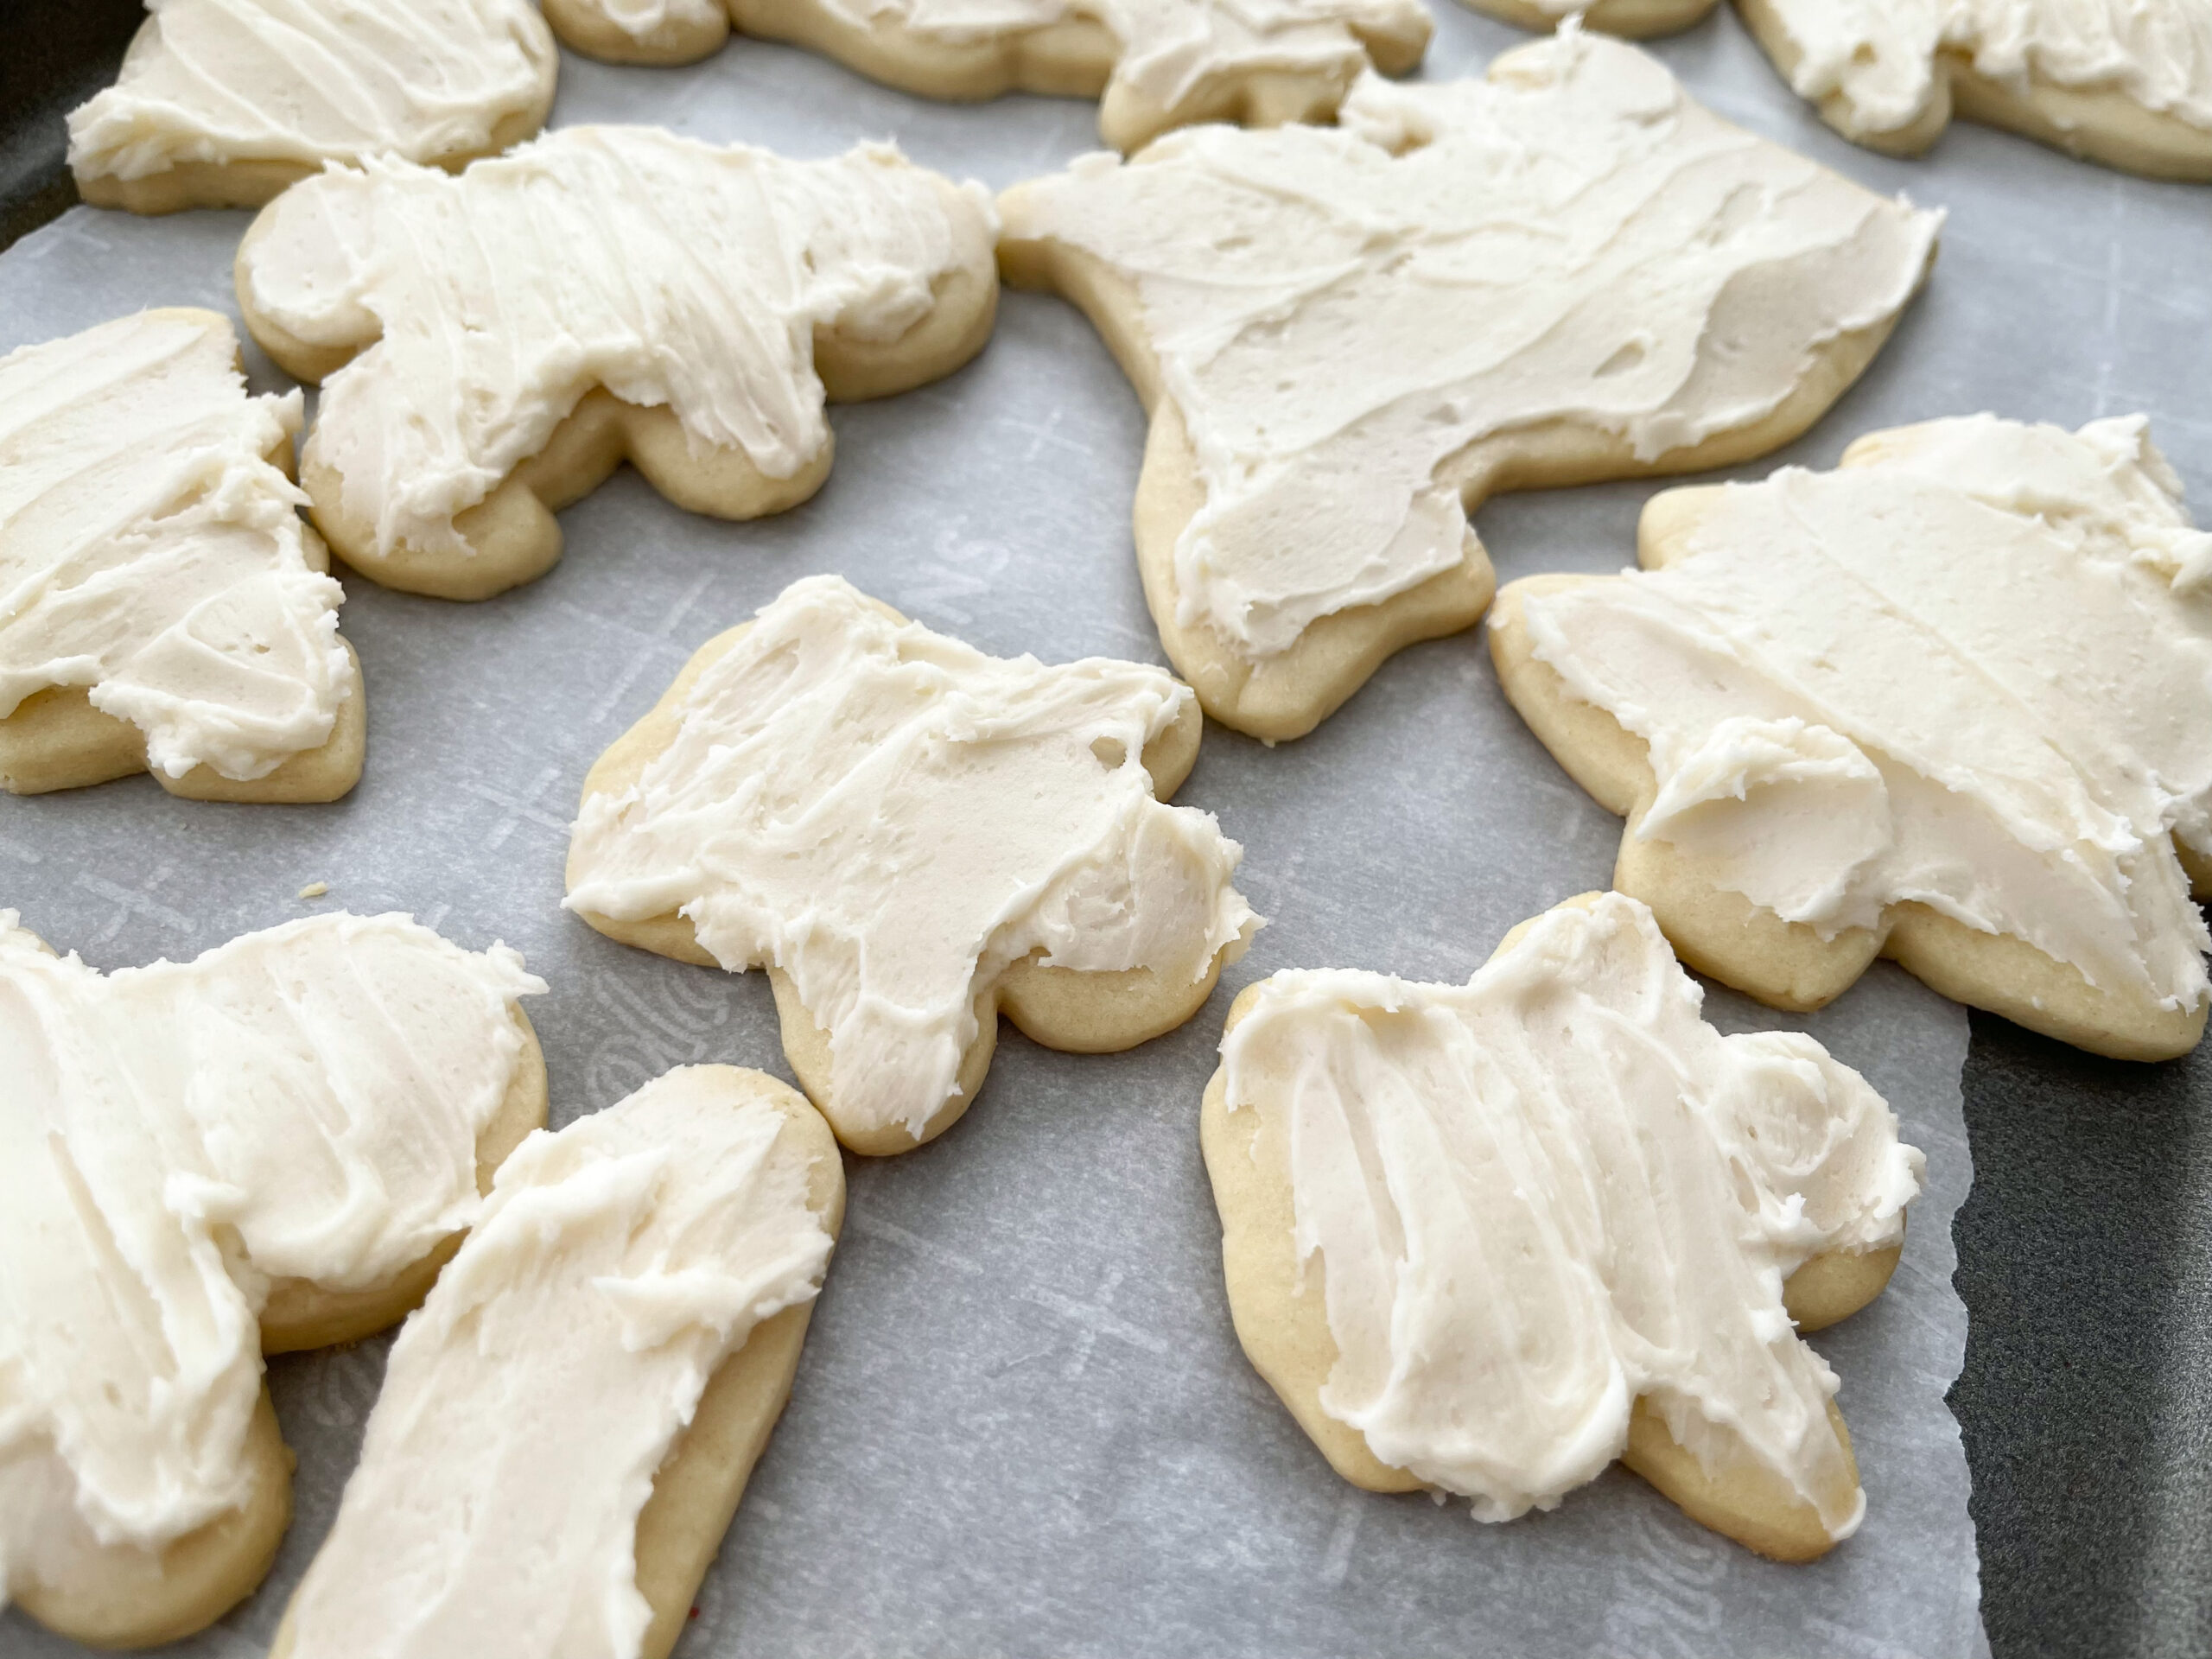
And let me tell you, I never eat them now WITHOUT the buttercream. It’s a great addition to a classic cookie. This year (2022), I finally got around to writing out my buttercream recipe. After the cookies are completely cooled, I like to add a generous layer of this thick frosting on top, then add sprinkles.

Deluxe Sugar Cookies

Prep Time: (Dough needs to chill for at least 2 hours) + 30 minutes other prep Cook Time: 6 min

Makes about two dozen cookies, depending on the size of your cookie cutters

Ingredients:

For the Cookies:

1 cup softened butter

1 1/2 cups confectioners’ sugar

1 egg

1 1/2 teaspoon almond extract

2 1/2 cups flour

1 teaspoon baking soda

1 teaspoon cream of tartar

For the Buttercream:

4 cups powdered sugar

1 stick salted butter

1 tablespoon vanilla extract

3 tablespoons whole milk

1 pinch salt

Sprinkles!

Preparation:

Mix butter, sugar, egg and almond extract in a large bowl. Blend in flour, baking soda, and cream of tartar. Cover; chill for 2-3 hours or overnight.

Heat oven to 350°. Divide dough in half. Roll out and cut cookies on a very well-floured surface.

Bake for 6 minutes. They won’t LOOK done, but they will be. Allow cookies to cool a couple minutes on pan until you’re able to safely touch them with your fingers. Transfer to a wire rack and allow to completely cool. While cooling, prepare the buttercream by using a stand mixer or electric hand mixer to blend all ingredients together. 

Once cookies are cooled, frost and decorate. Store in an air-tight container or ziplock bag and leave out at room temp (the fridge will probably dry them out). Save at least two for Santa.

P.S.- These cookies are great throughout the year- not just in December!

Peppermint Mocha (or Peppermint Hot Chocolate)

Peppermint Mocha

Take a break from your busy holiday shopping schedule with our peppermint mocha recipe. It is rich, delicious, and rivals peppermint mochas from popular coffee shops. Make these at home with your loved ones and enjoy by the tree or fireplace.

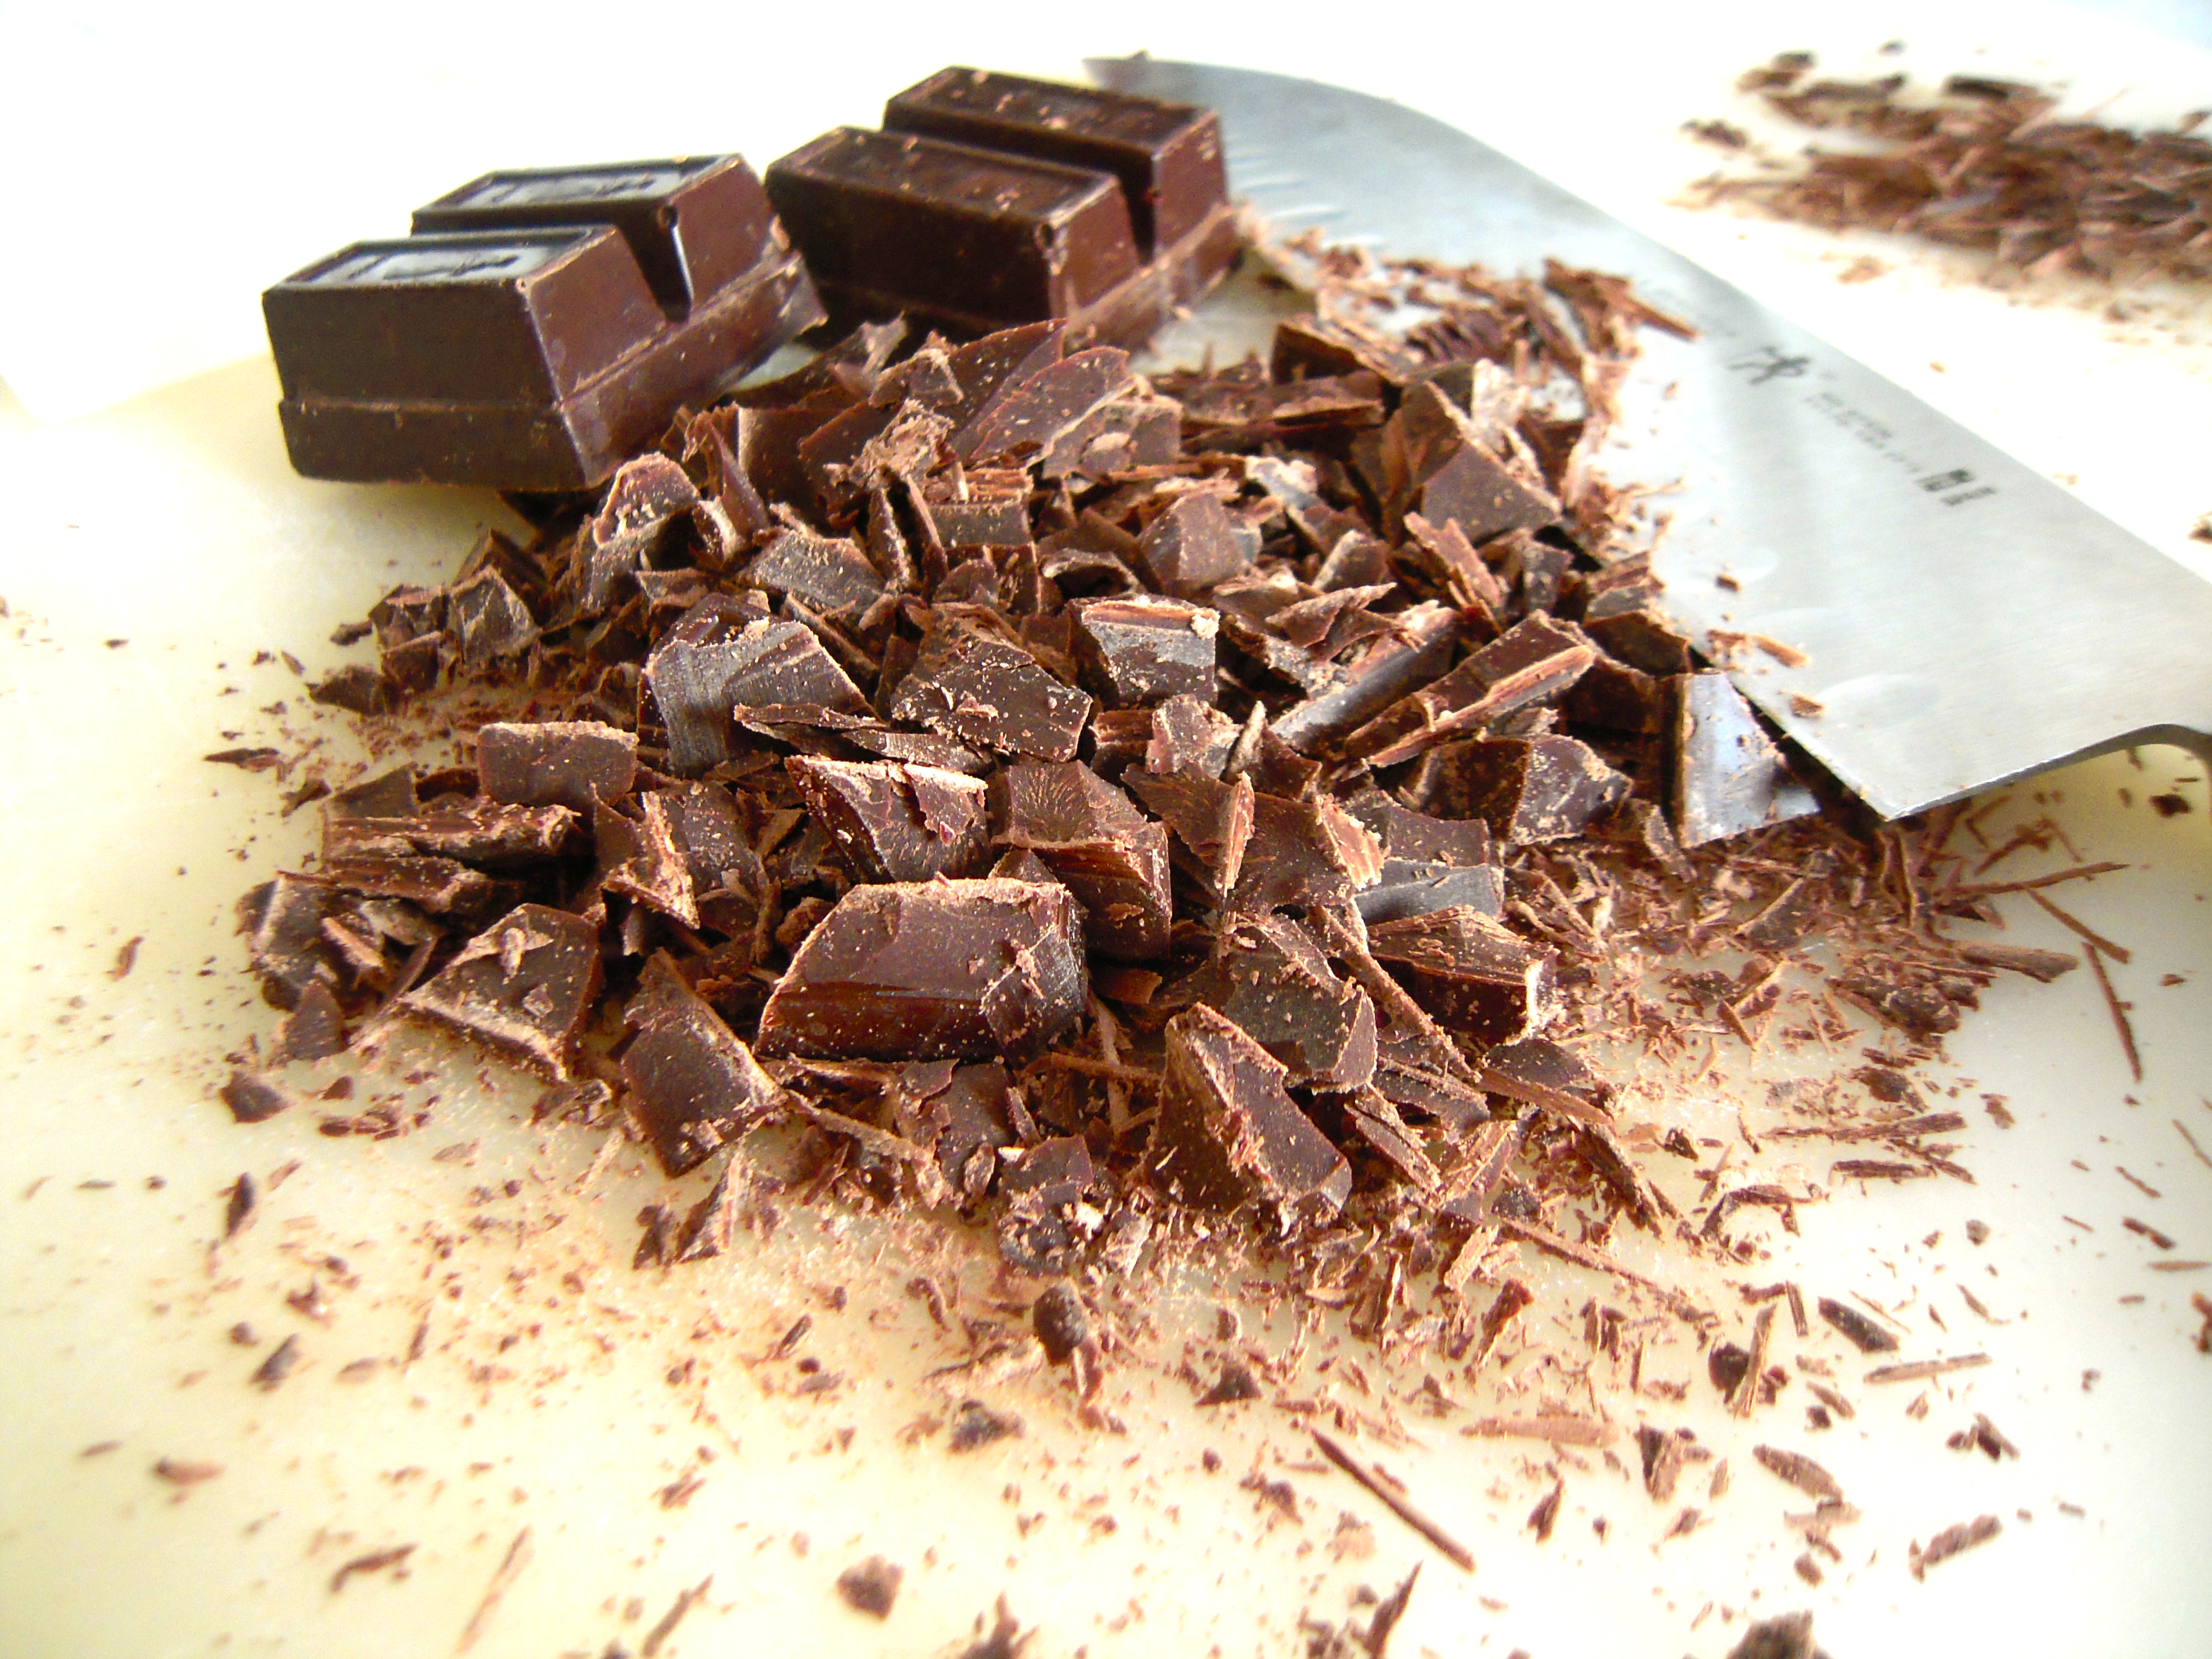
Start by chopping 4-oz. of semi-sweet baker’s chocolate. Be sure to sneak a couple of pieces just to make sure it’s good.

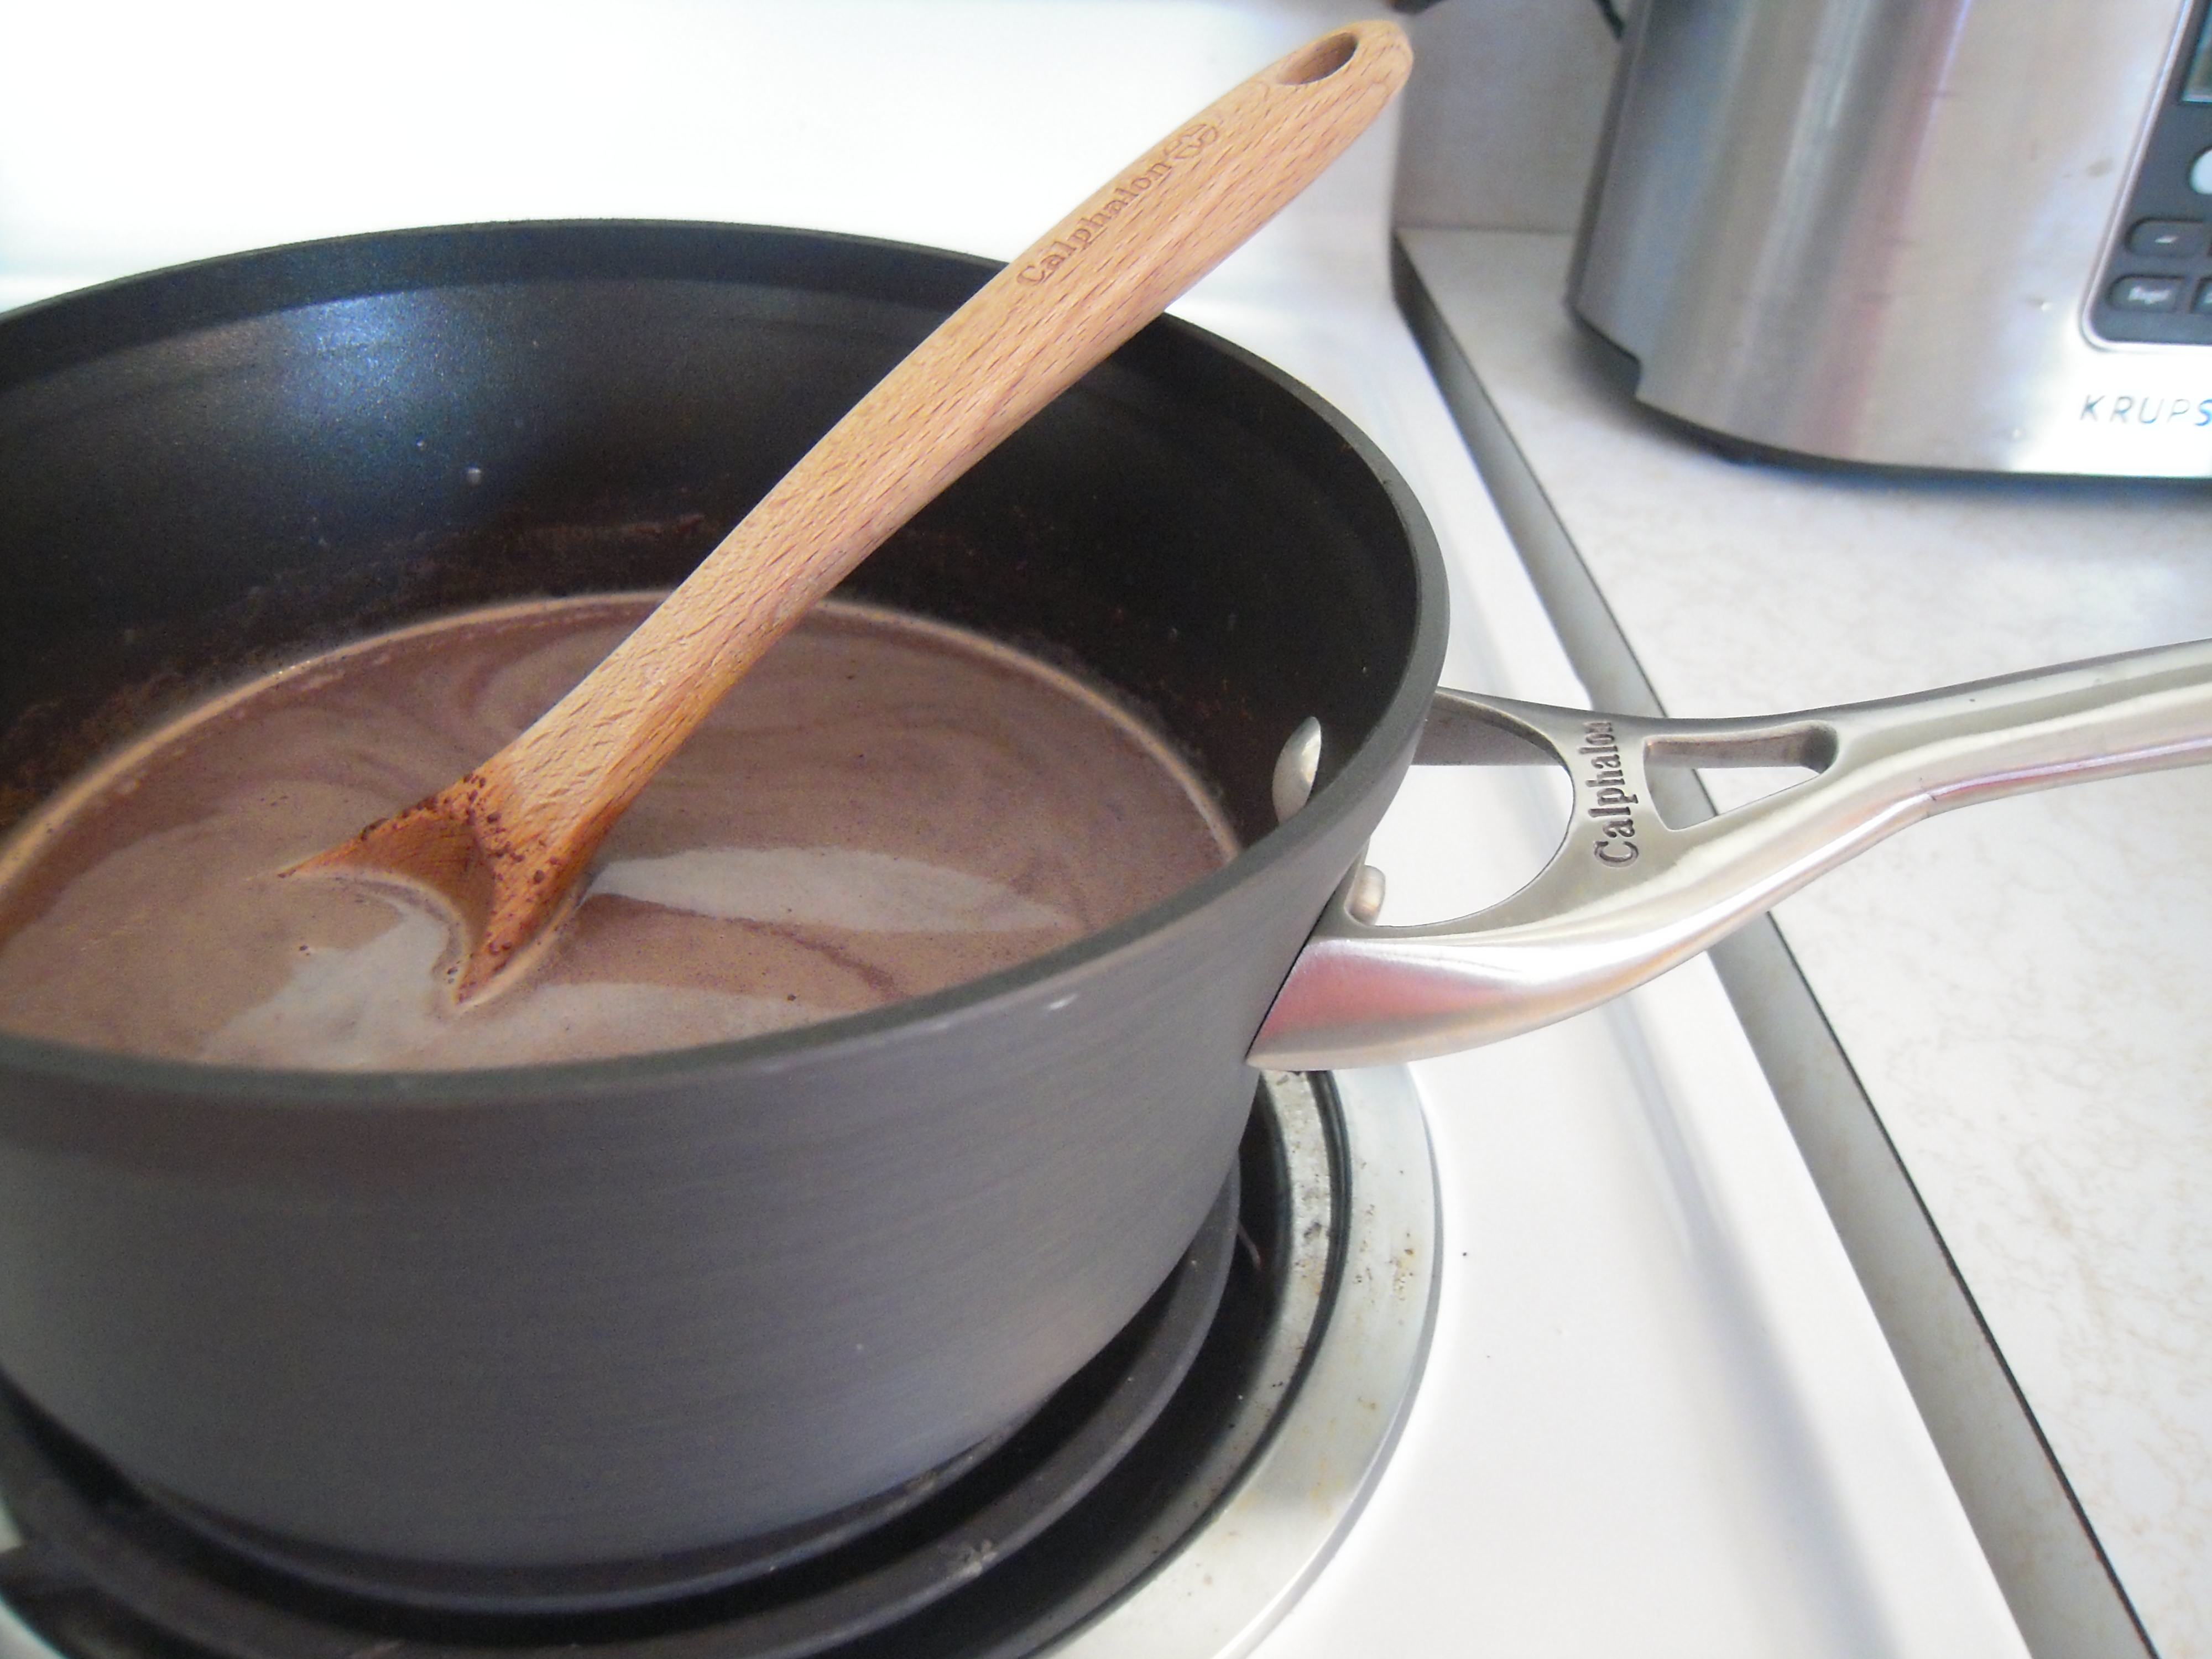
Next, heat the milk in a medium saucepan and add the chocolate to melt in the milk.

Add two 1.5-oz. shots of espresso.

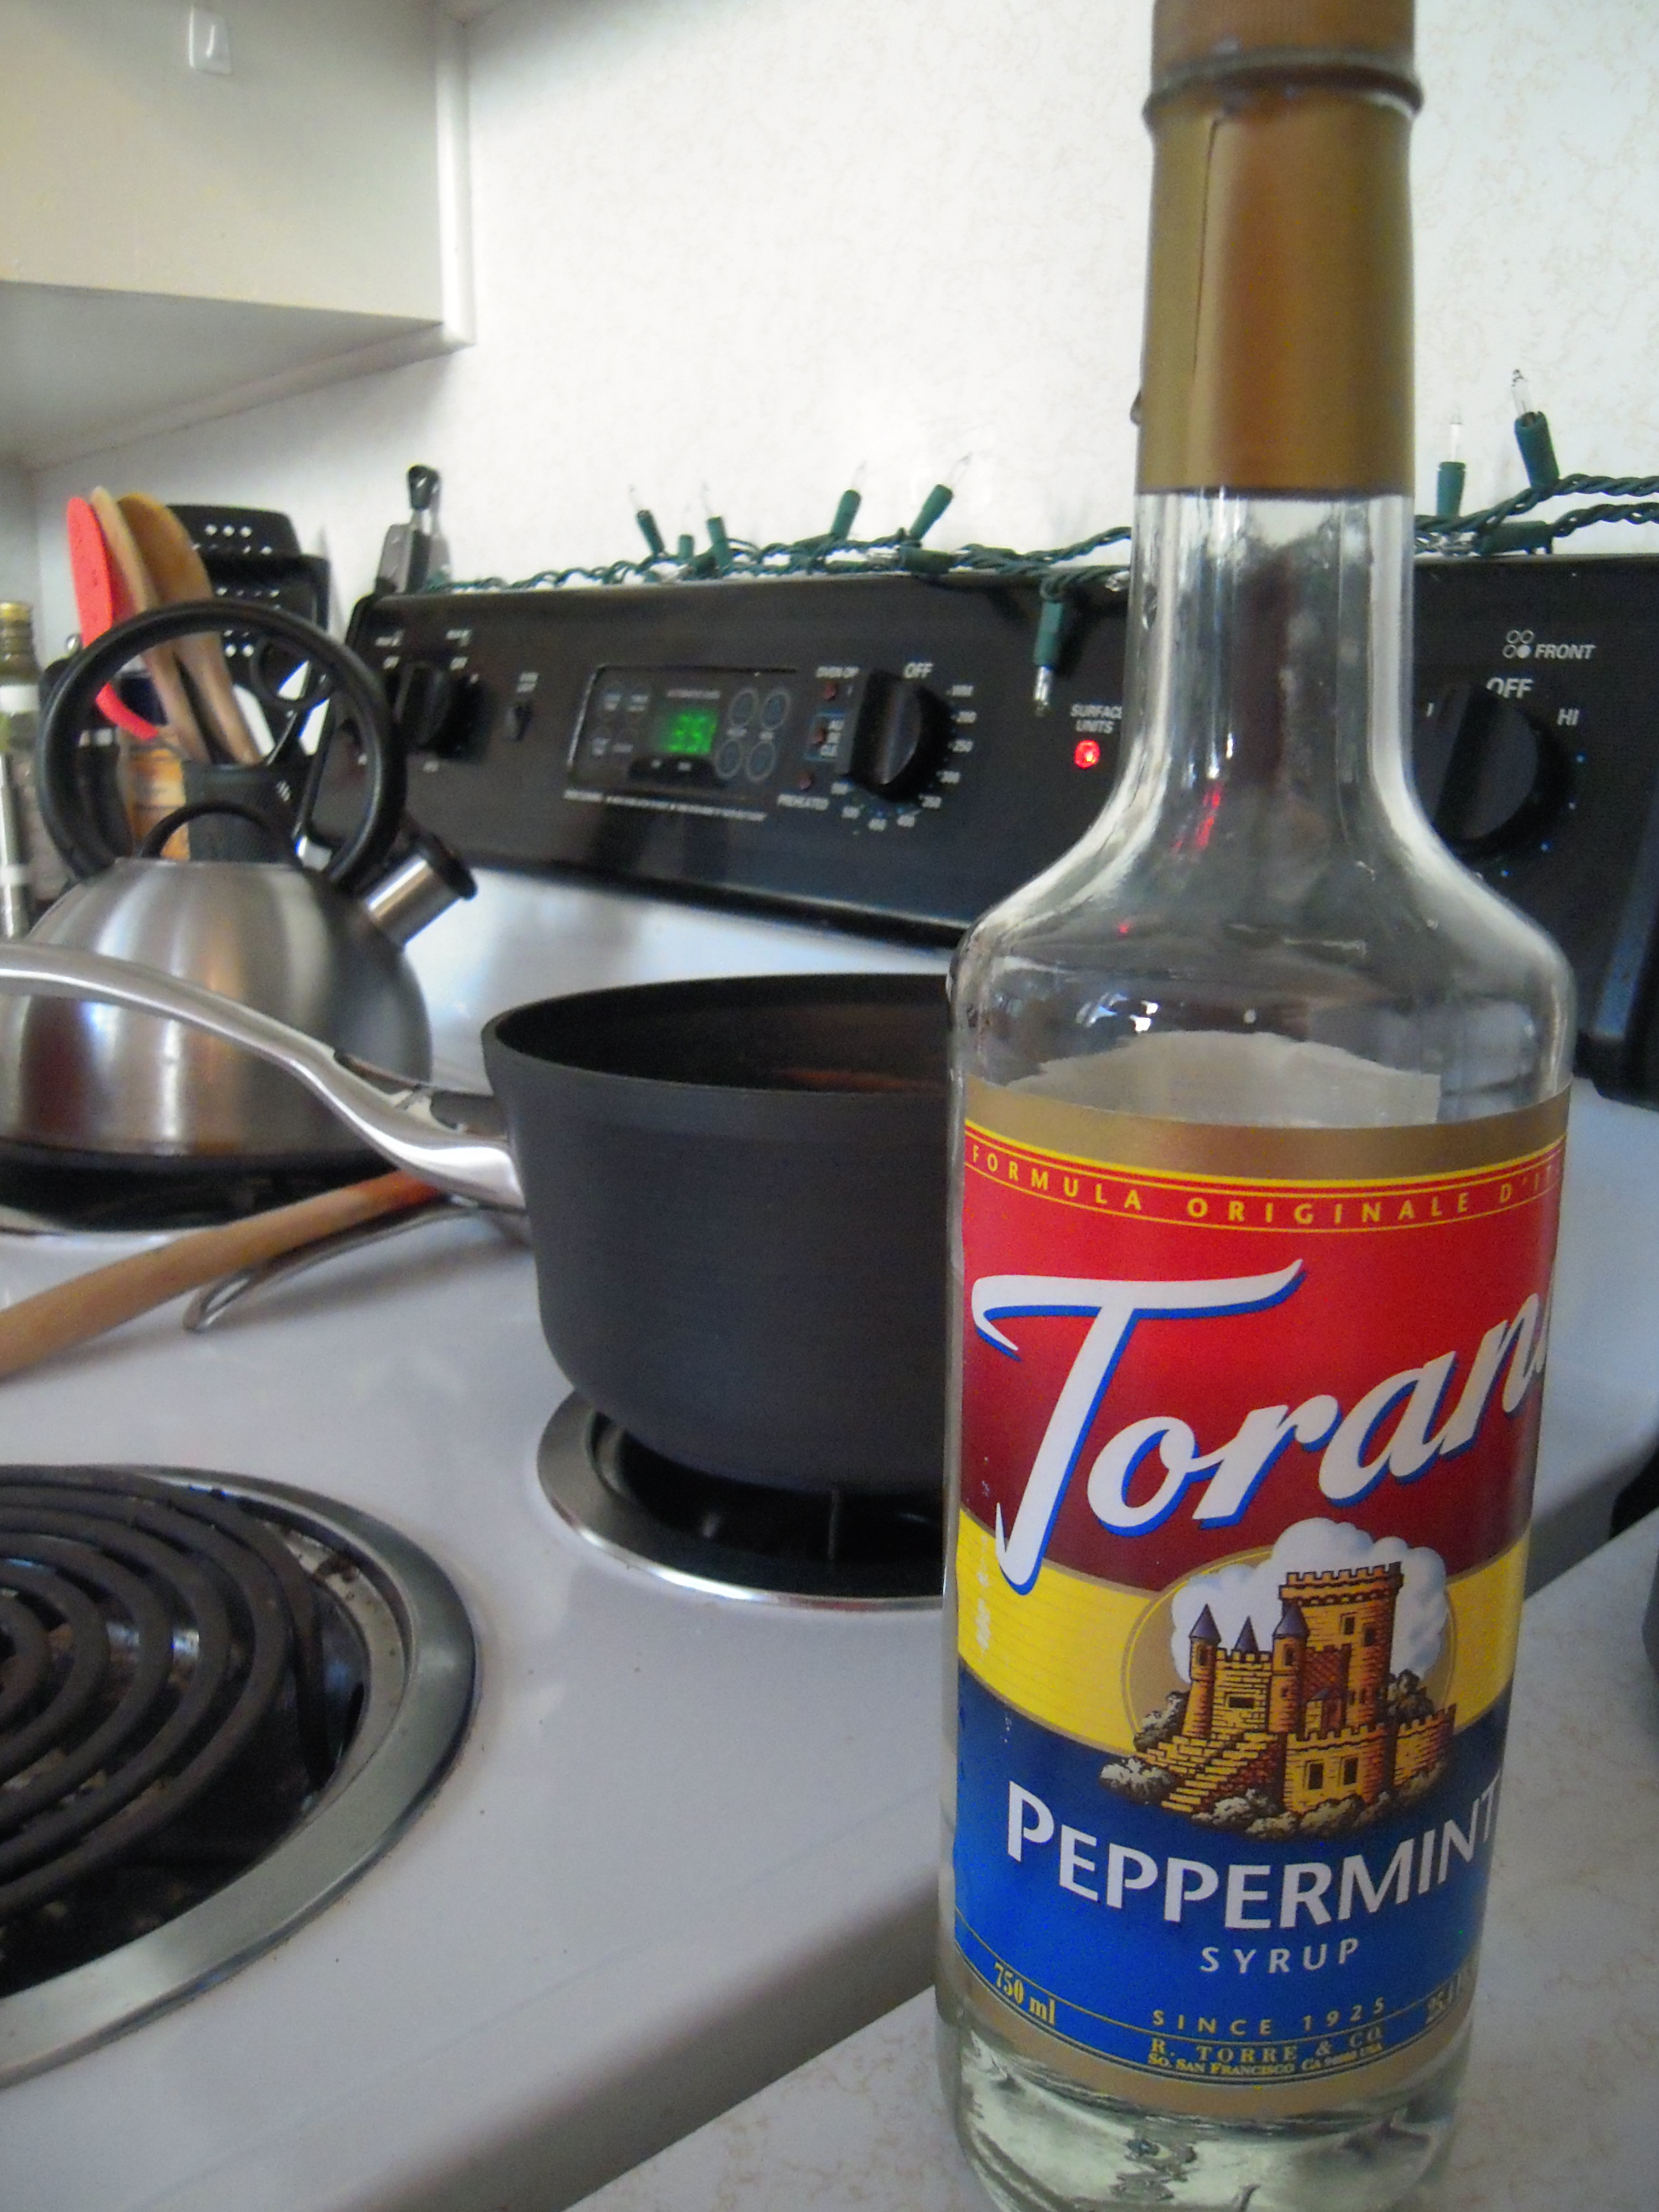
Stir in 3 tablespoons of peppermint syrup.

Top with whipped cream, chocolate shavings, and enjoy!

Ingredients:

3 cups milk

4-oz. semi-sweet baking chocolate, chopped

3 tablespoons peppermint syrup

3-oz. espresso

Preparation:

Heat milk in a medium saucepan over medium high heat. Do not boil. Add the chocolate and stir until combined. Turn heat down to low. Add syrup and espresso. Top with whipped cream and additional chocolate shavings. Serve hot.

Makes two large peppermint mochas.

Thanksgiving Review

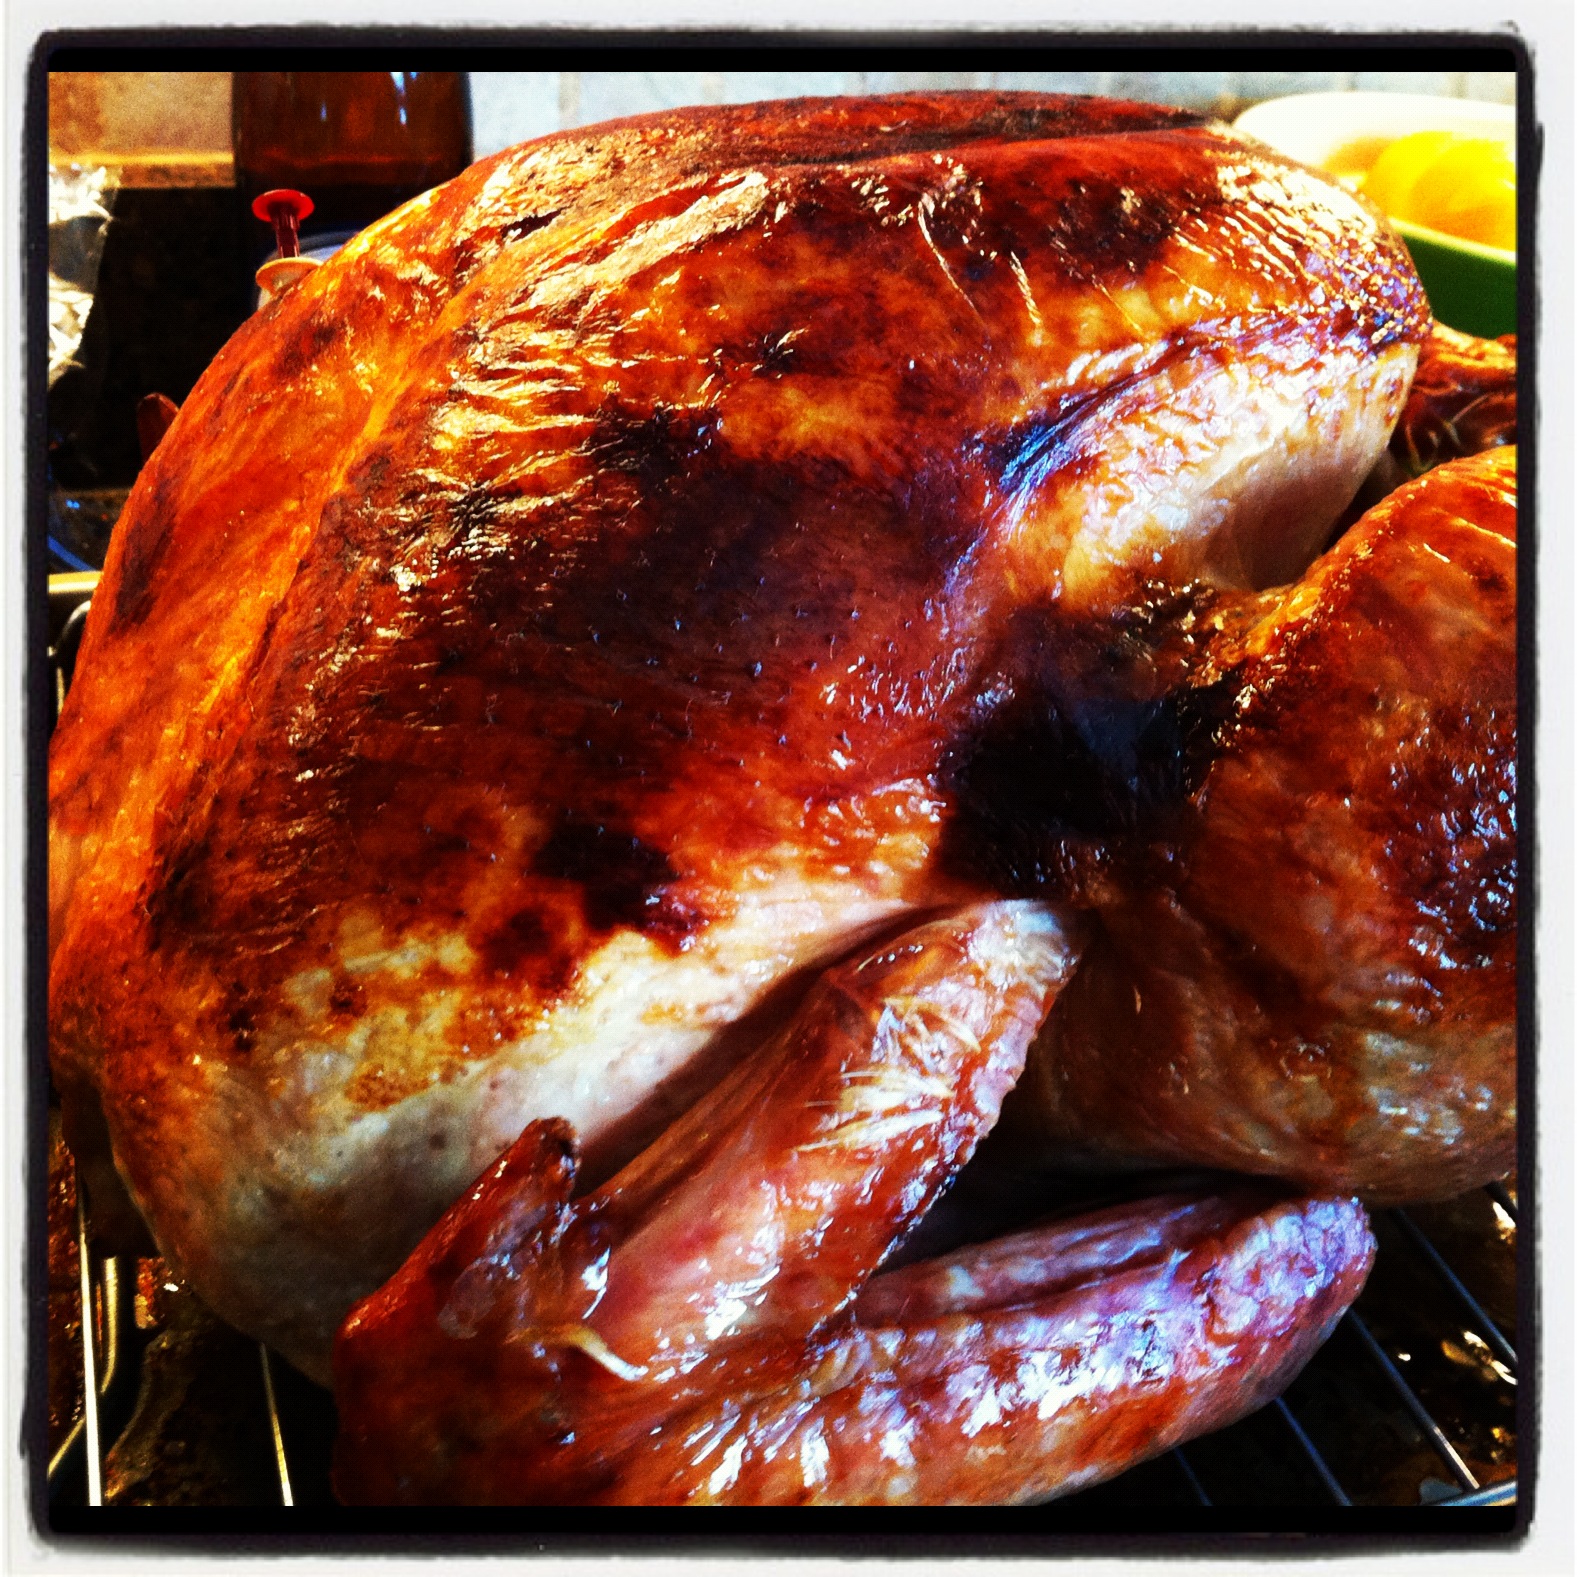
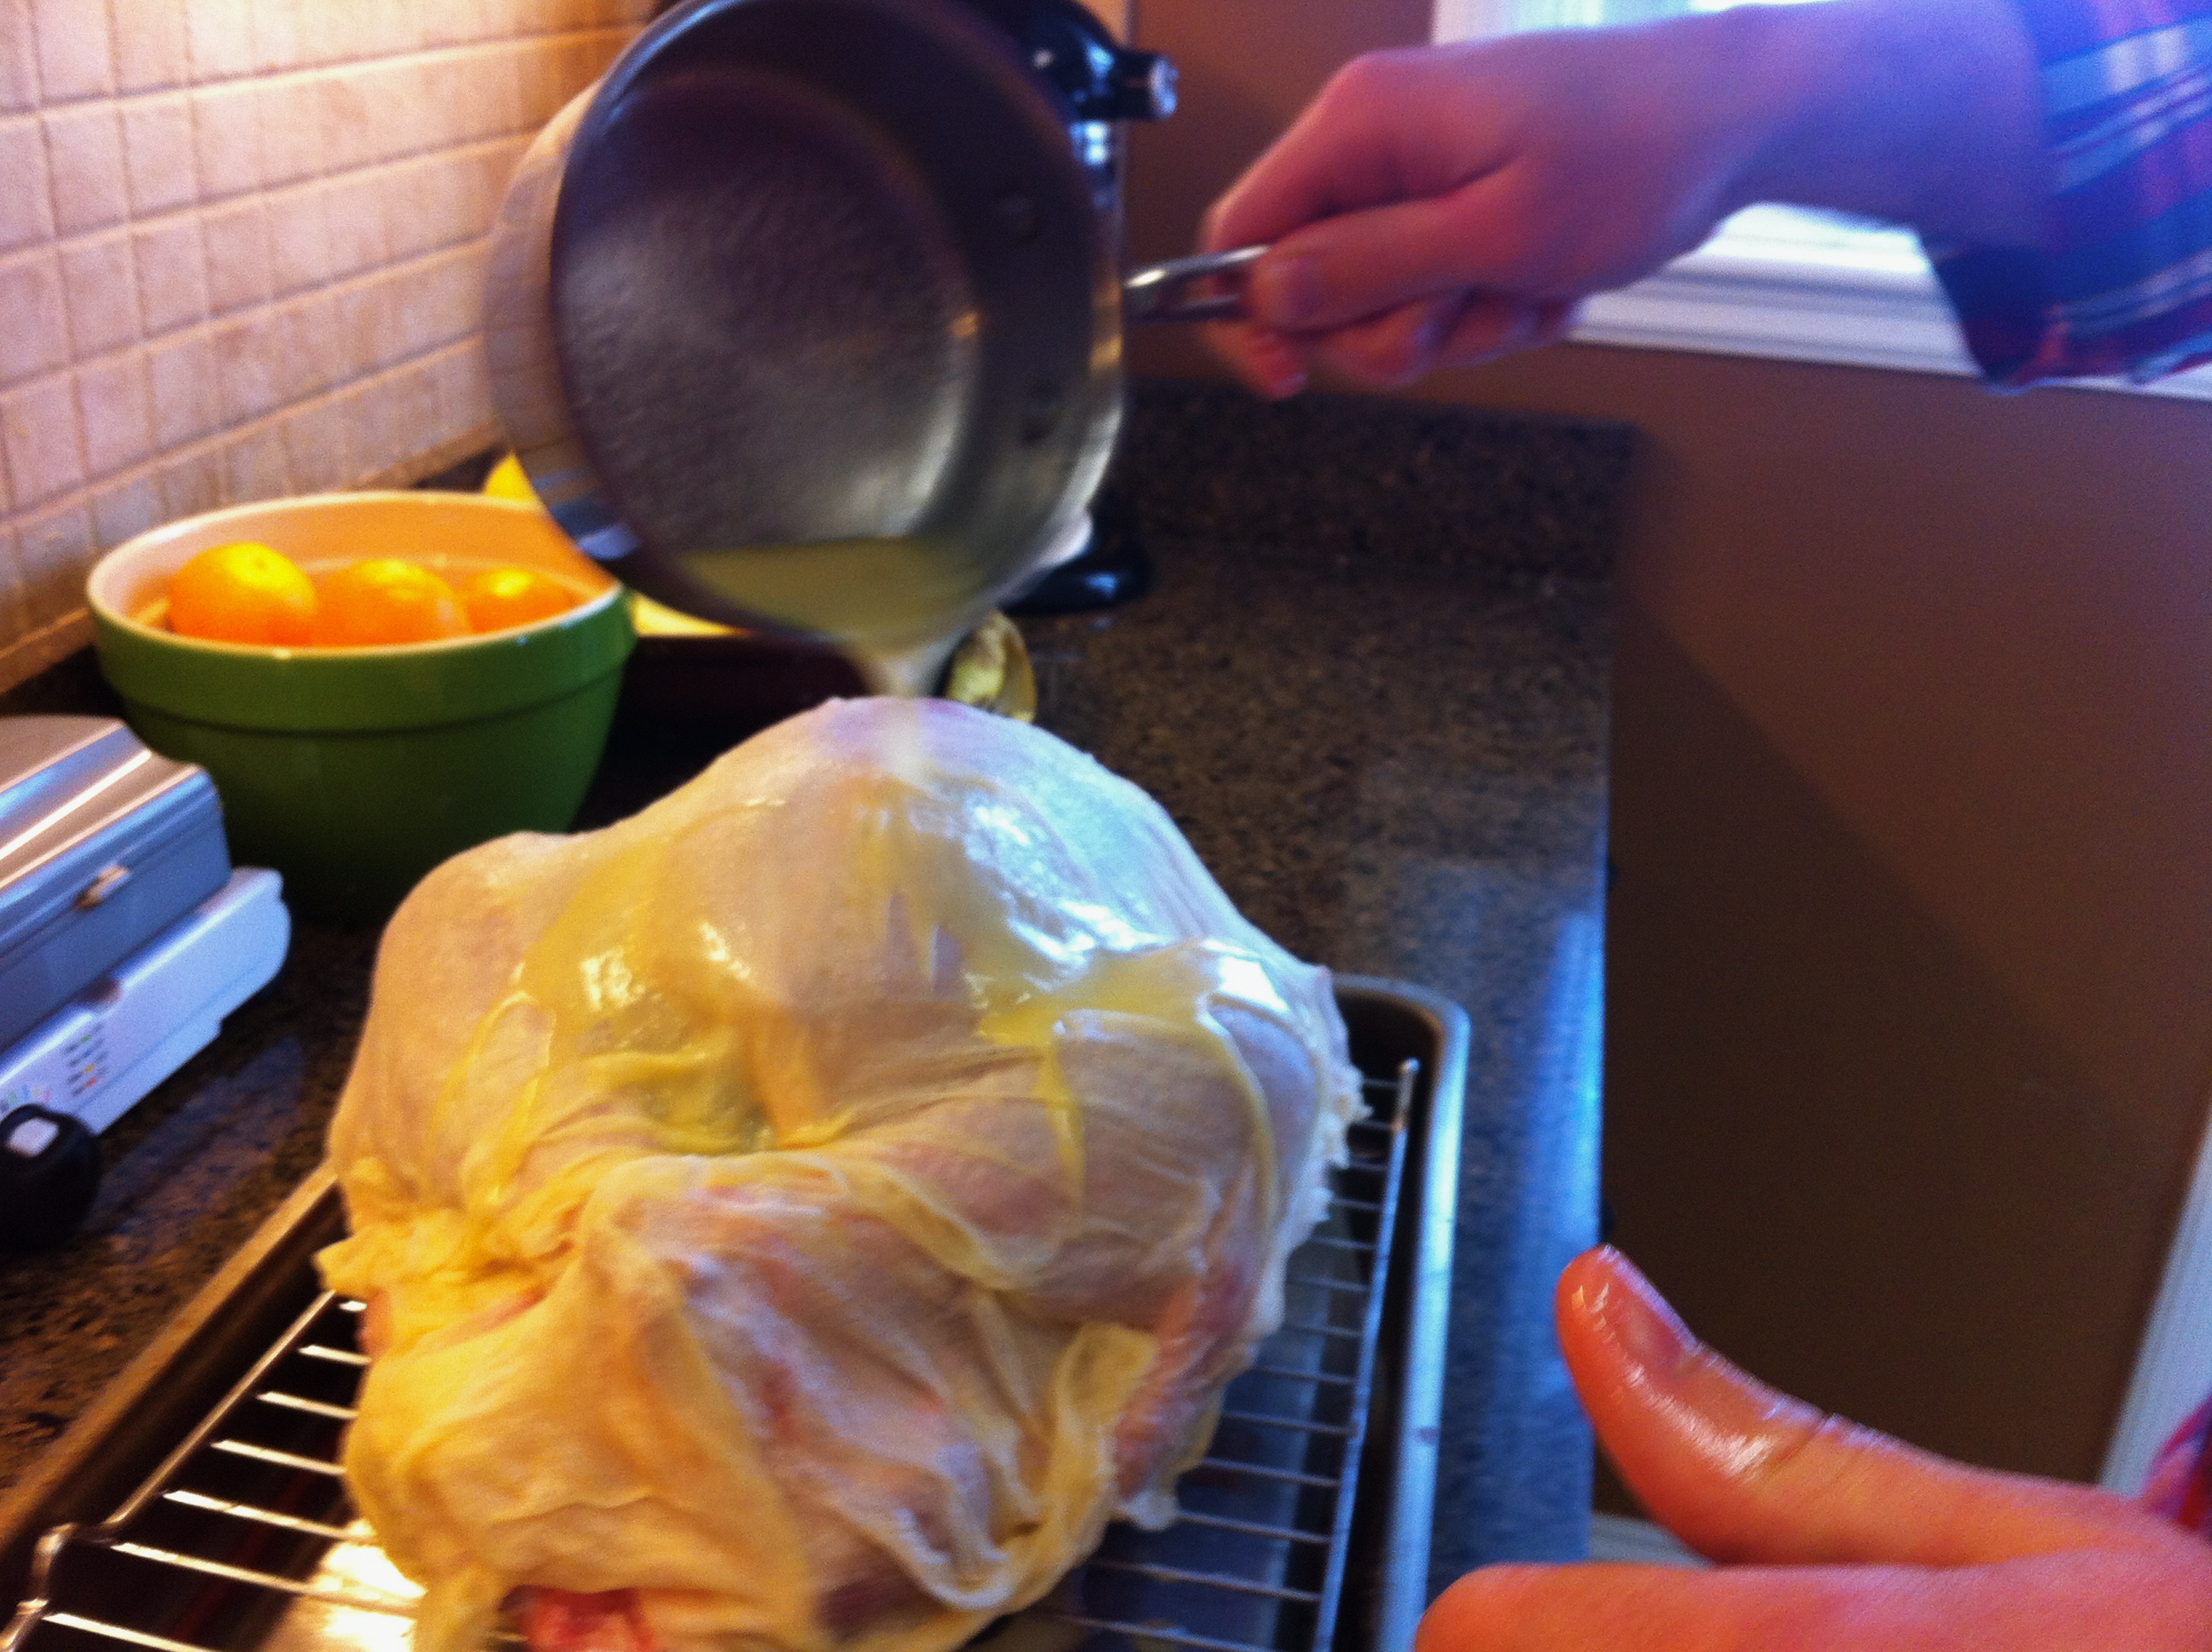
There it is. The main event. The bird! And MAN it was good. It wasn’t just the turkey that made the whole table go “woooah.” It was the entire spread of deliciousness that was aptly laid on the table. We traveled up to Baltimore this year for Thanksgiving, and cooked the meal with our dear sister and brother-in-law. Oh, and we had two adorable sous chefs ages three-and-a-half and one-and-a-half. For the turkey, we used Michael Symon’s recipe. Basically, we soaked cheesecloth in melted butter with sage and apple juice and covered the turkey with it before baking. It was perfect! Here is an action shot of pouring the extra butter over the turkey before it hit the oven:

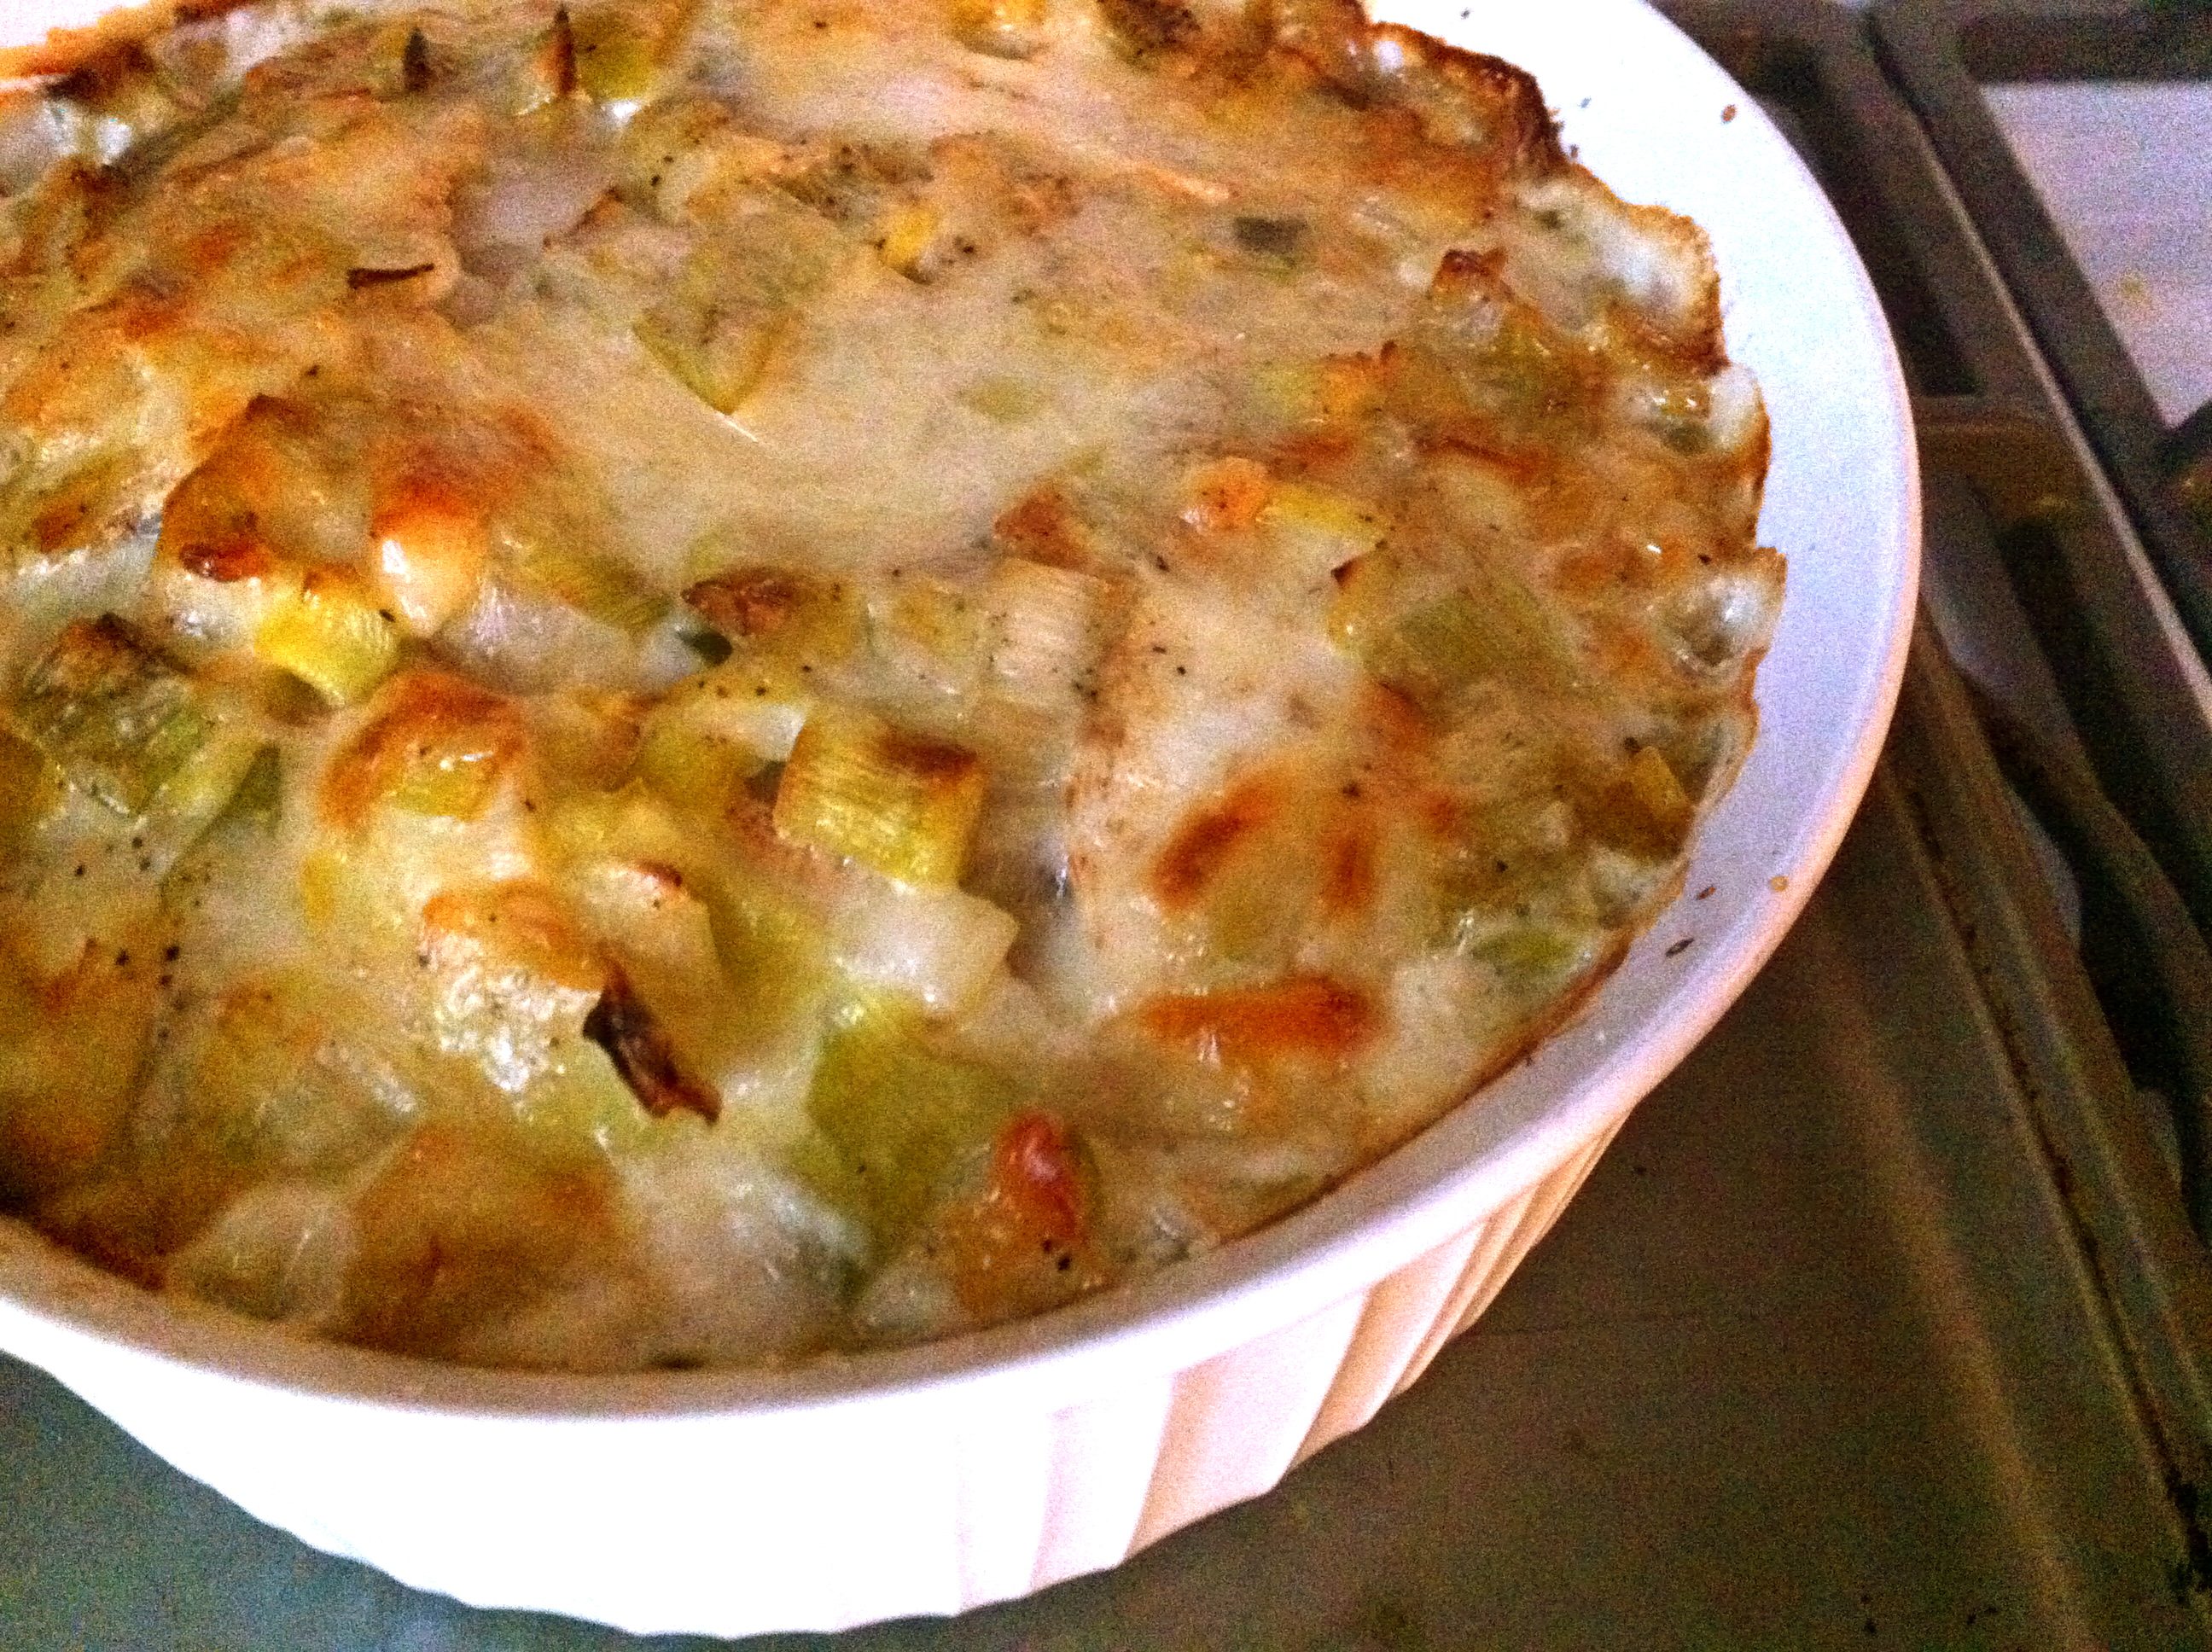
Neil also made an AMAZING gravy from scratch using the giblets! Another new recipe we tried this year was a potato and celery root gratin with leek from Bon Appétit. It was beautiful, creamy, and certainly a conversation piece, as few have had celery root before.

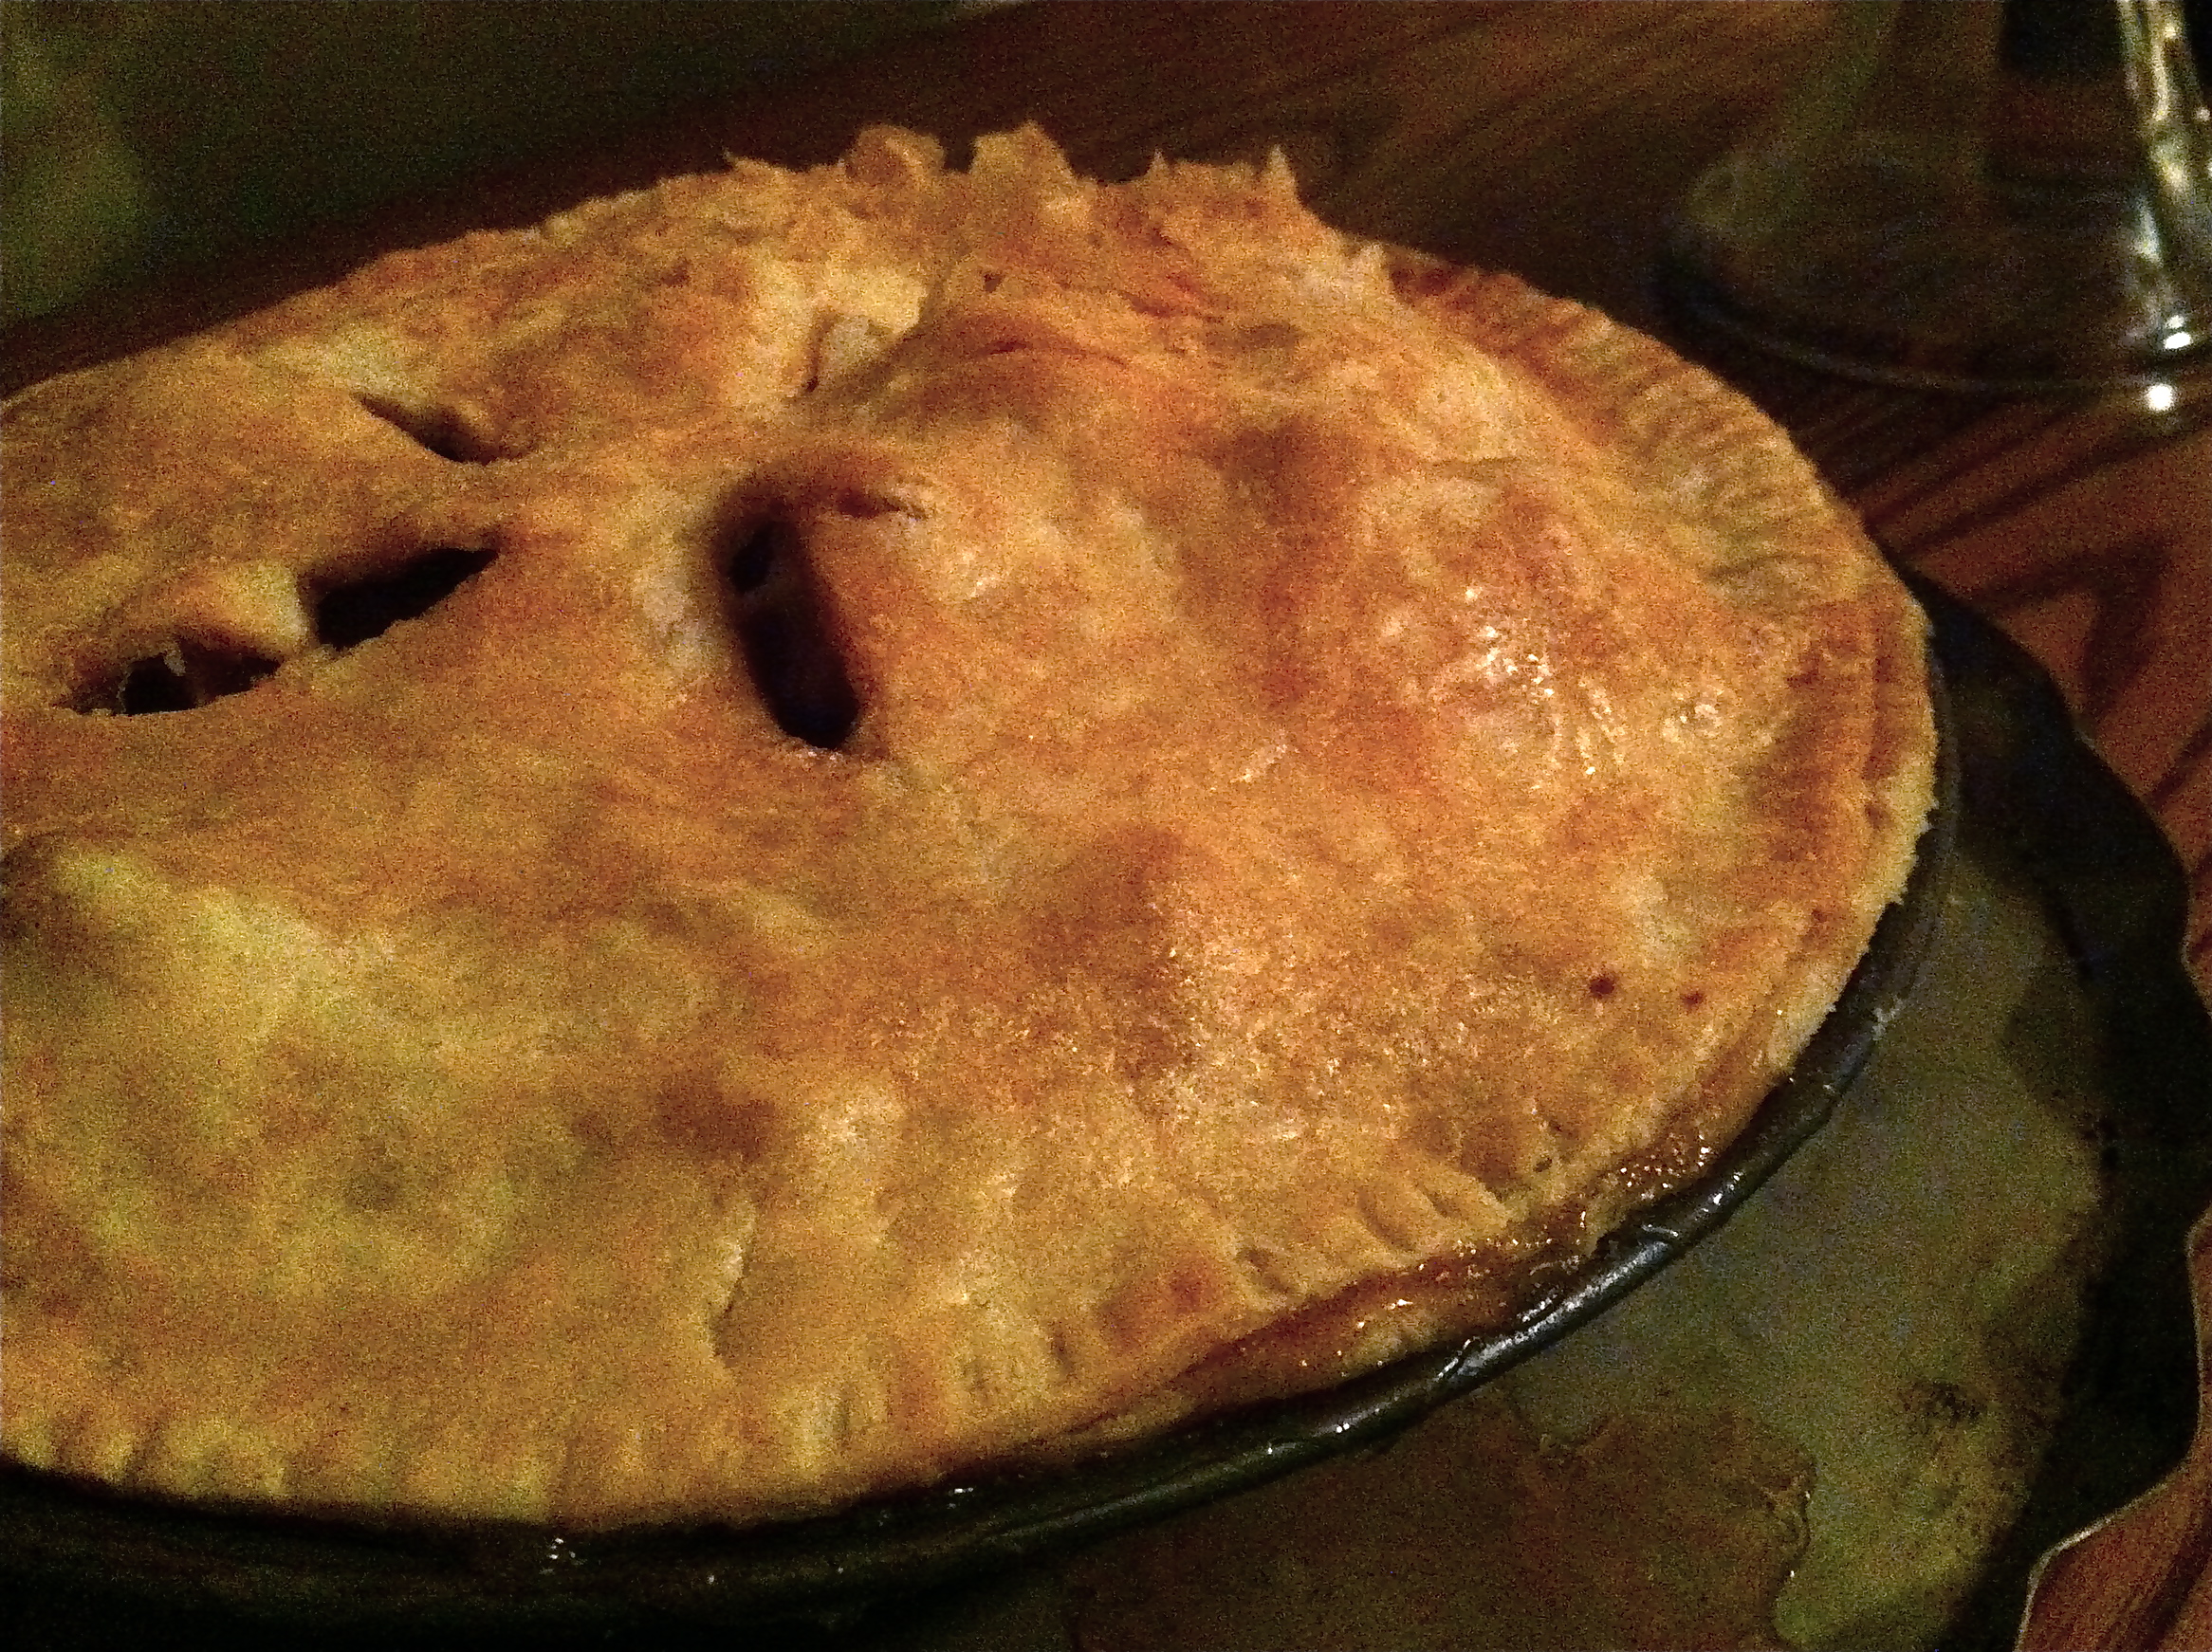
Our brother-in-law Matt makes THE BEST pies. Ever. We’ll be posting his pie dough recipe soon. He made four (FOUR!) pies the weekend we were there. Here is the apple pie that was apart of the dessert table.

Other delicious dishes we had:

Spinach-Artichoke Dip

Butternut Squash Soup

Mom’s Stuffing Recipe

Rosemary rolls

Double layer pumpkin cake with cream cheese frosting

Vamino Bars (AMAZING chocolate bars our brother-in-law’s side of the family frequently makes)

Chocolate Pie

Pumpkin Pie

Okay, yes, we had a lot of desserts… but we made it through No Sugar November all the way to Thanksgiving Day, so we had to indulge. The food was amazing, the weekend was full of love, and we can’t wait to share with you more family meals to come.

Top 10 Reasons You Should Own a Food Processor


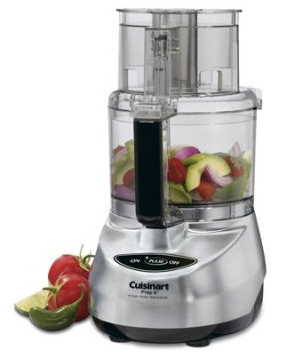
Photo Credit: www.momitforward.com

10. It saves time! Instead of chopping for half an hour, simply toss your raw fruits and vegetables into the processor, and boom- the work is done for you! Great for quick weeknight meals.

9. Dough is a snap to make with the dough blade!

8. You can use the food processor to slice and shred vegetables, again, saving you time and perhaps doing a more thorough job.

7. It’s easy to clean.

6. Dip, hummus, and other party dishes are ready in minutes before guests arrive.

5. Baby food and purees can be made from home.

4. A lot of recipes call for a food processor now a day.

3. It looks impressive.

2. Most have a 3-5 year warrenty, and by that time you’ll probably be drooling over the latest model.

1. It is used at least once a week in The Newlywed Chef’s household, and probably about half our recipes. We love ours!

Fall Mix

Fall Mix

Oh, yes. You know it’s officially autumn when this delicious snack pops up around our house. This is probably the most simple recipe on our blog, and one of our favorites.  Only three ingredients! Fill your favorite seasonal candy dish with this mouthwatering treat and guests will keep coming back for more.  Oh, and if you take one of each ingredient and eat them at the same time, it tastes remarkably like a Snickers bar!

Ingredients:

12.6 ounce (“medium”) bag of milk chocolate M&M’s

9 ounce bag of candy corn

8 ounces dry roasted peanuts

Preparation:

Mix 🙂

Chicken Stir – Fry with Peanut Sauce

Chicken Stir-Fry

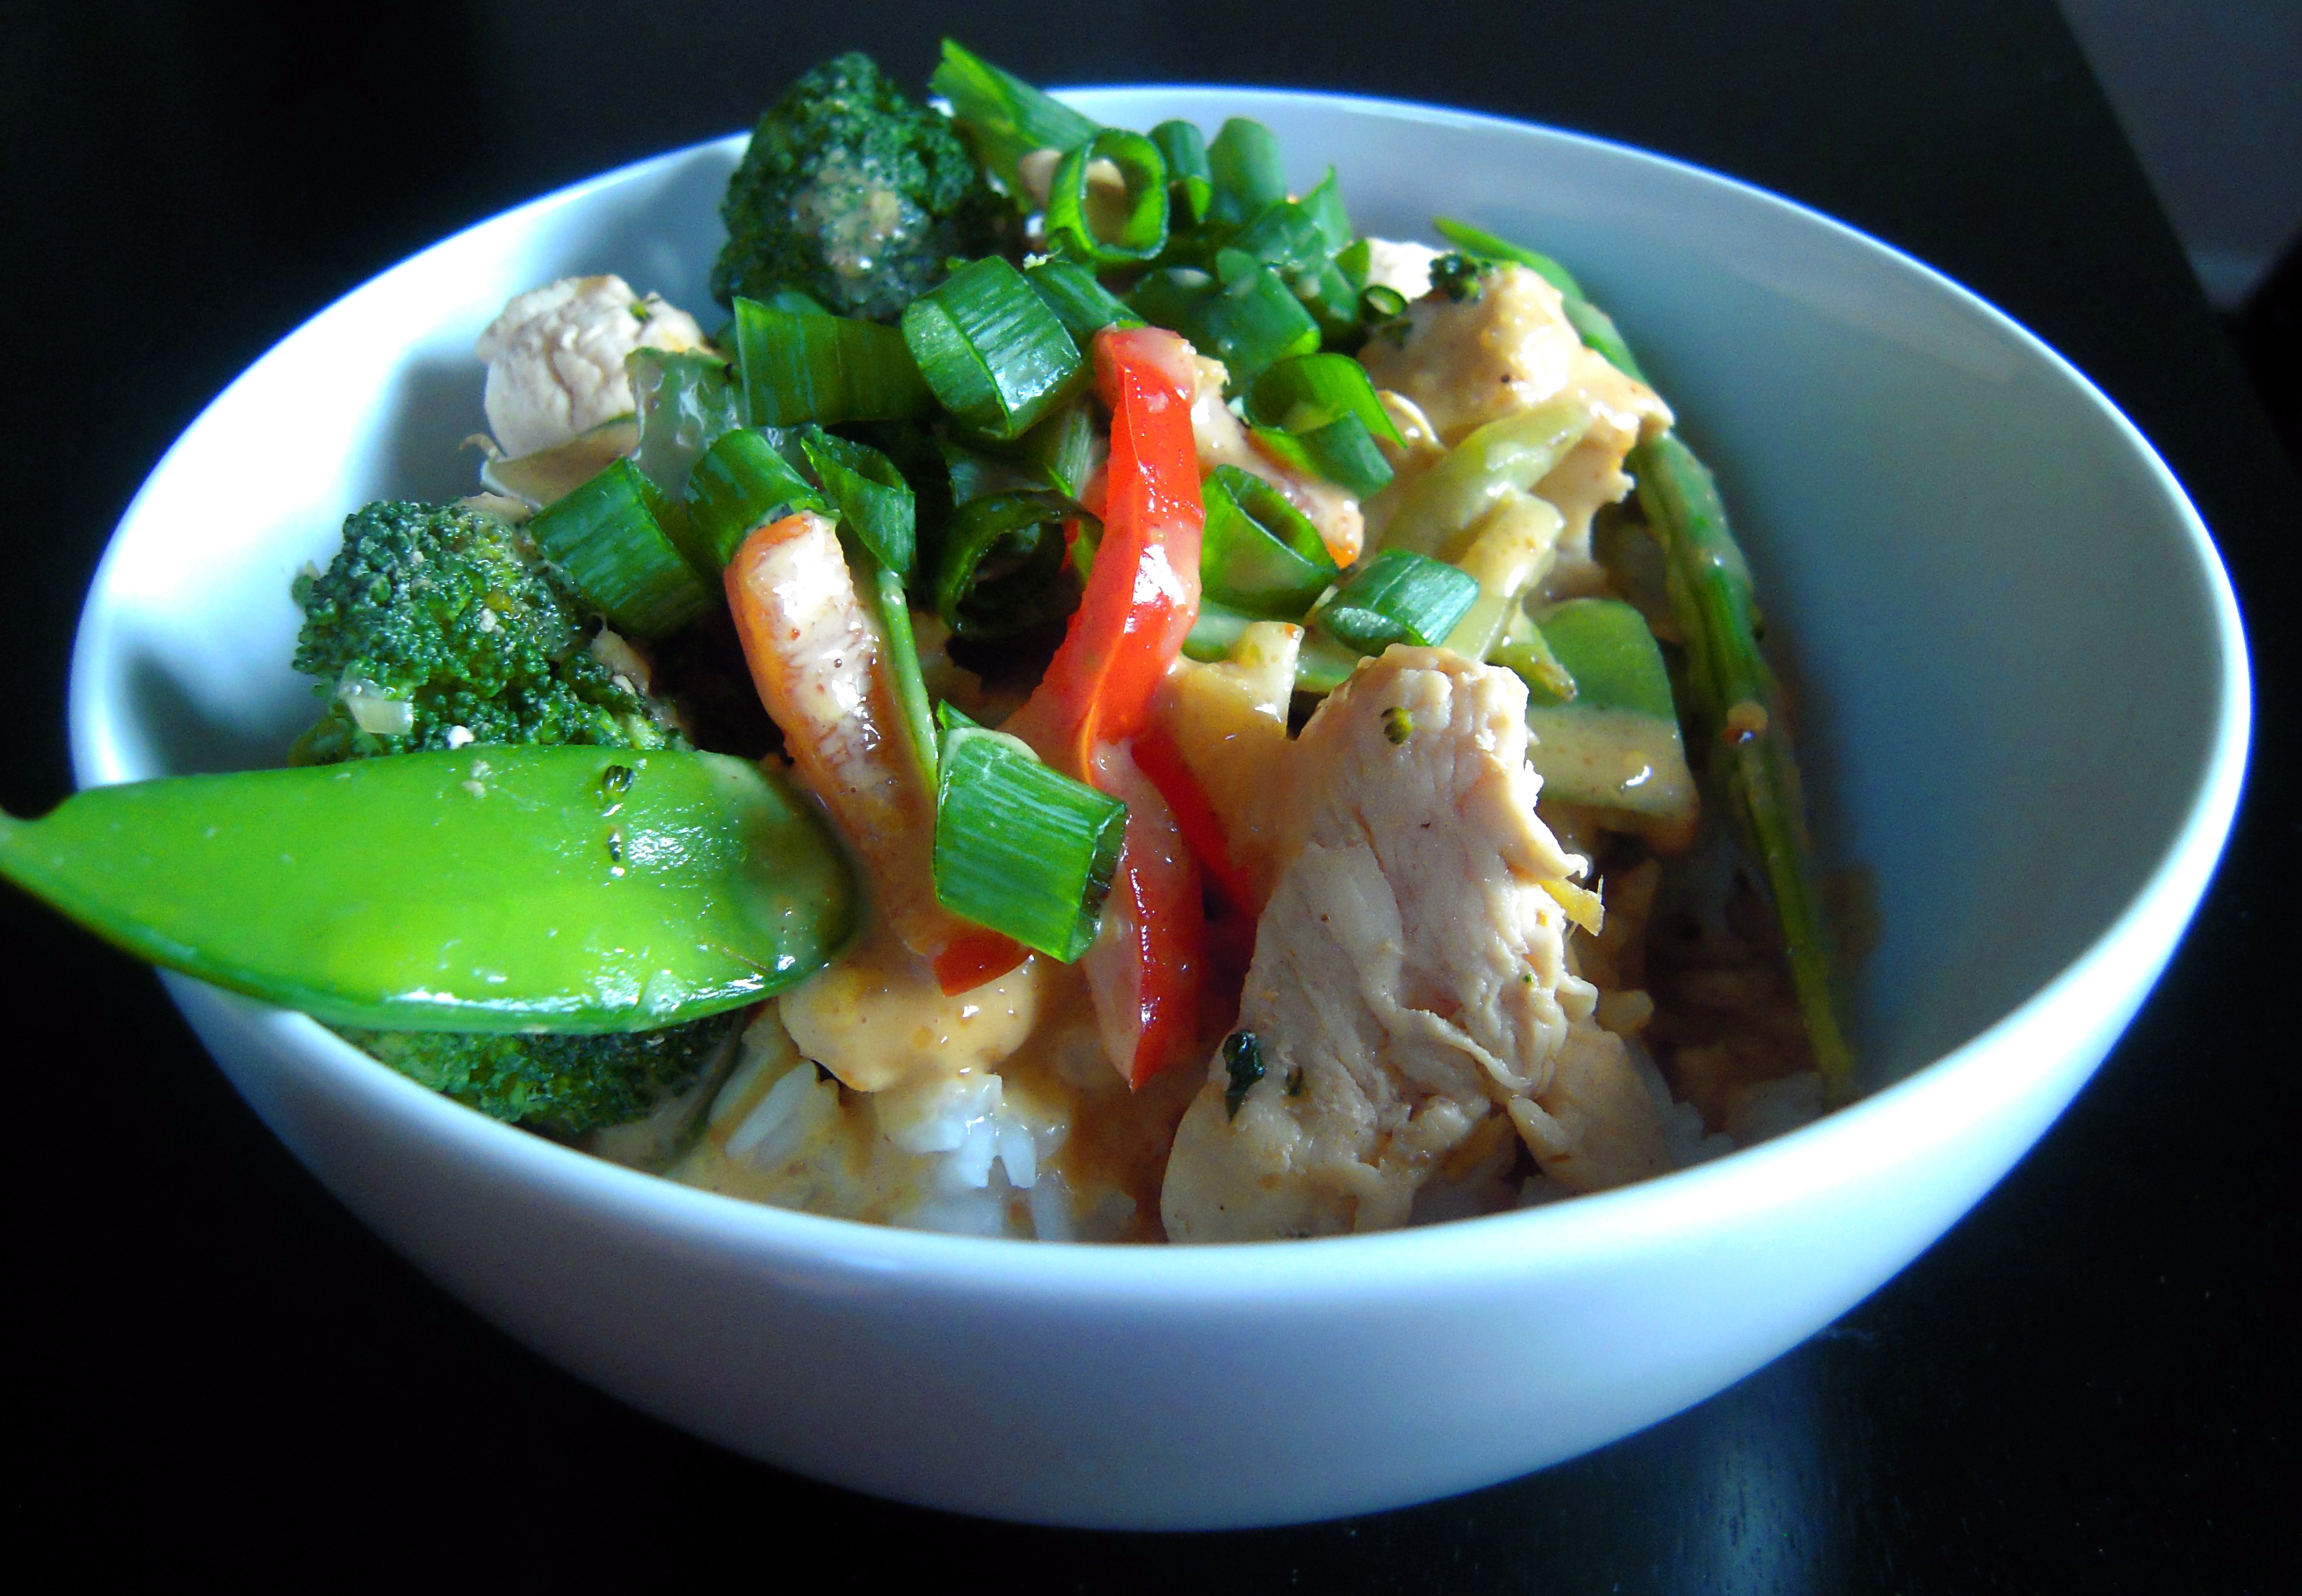
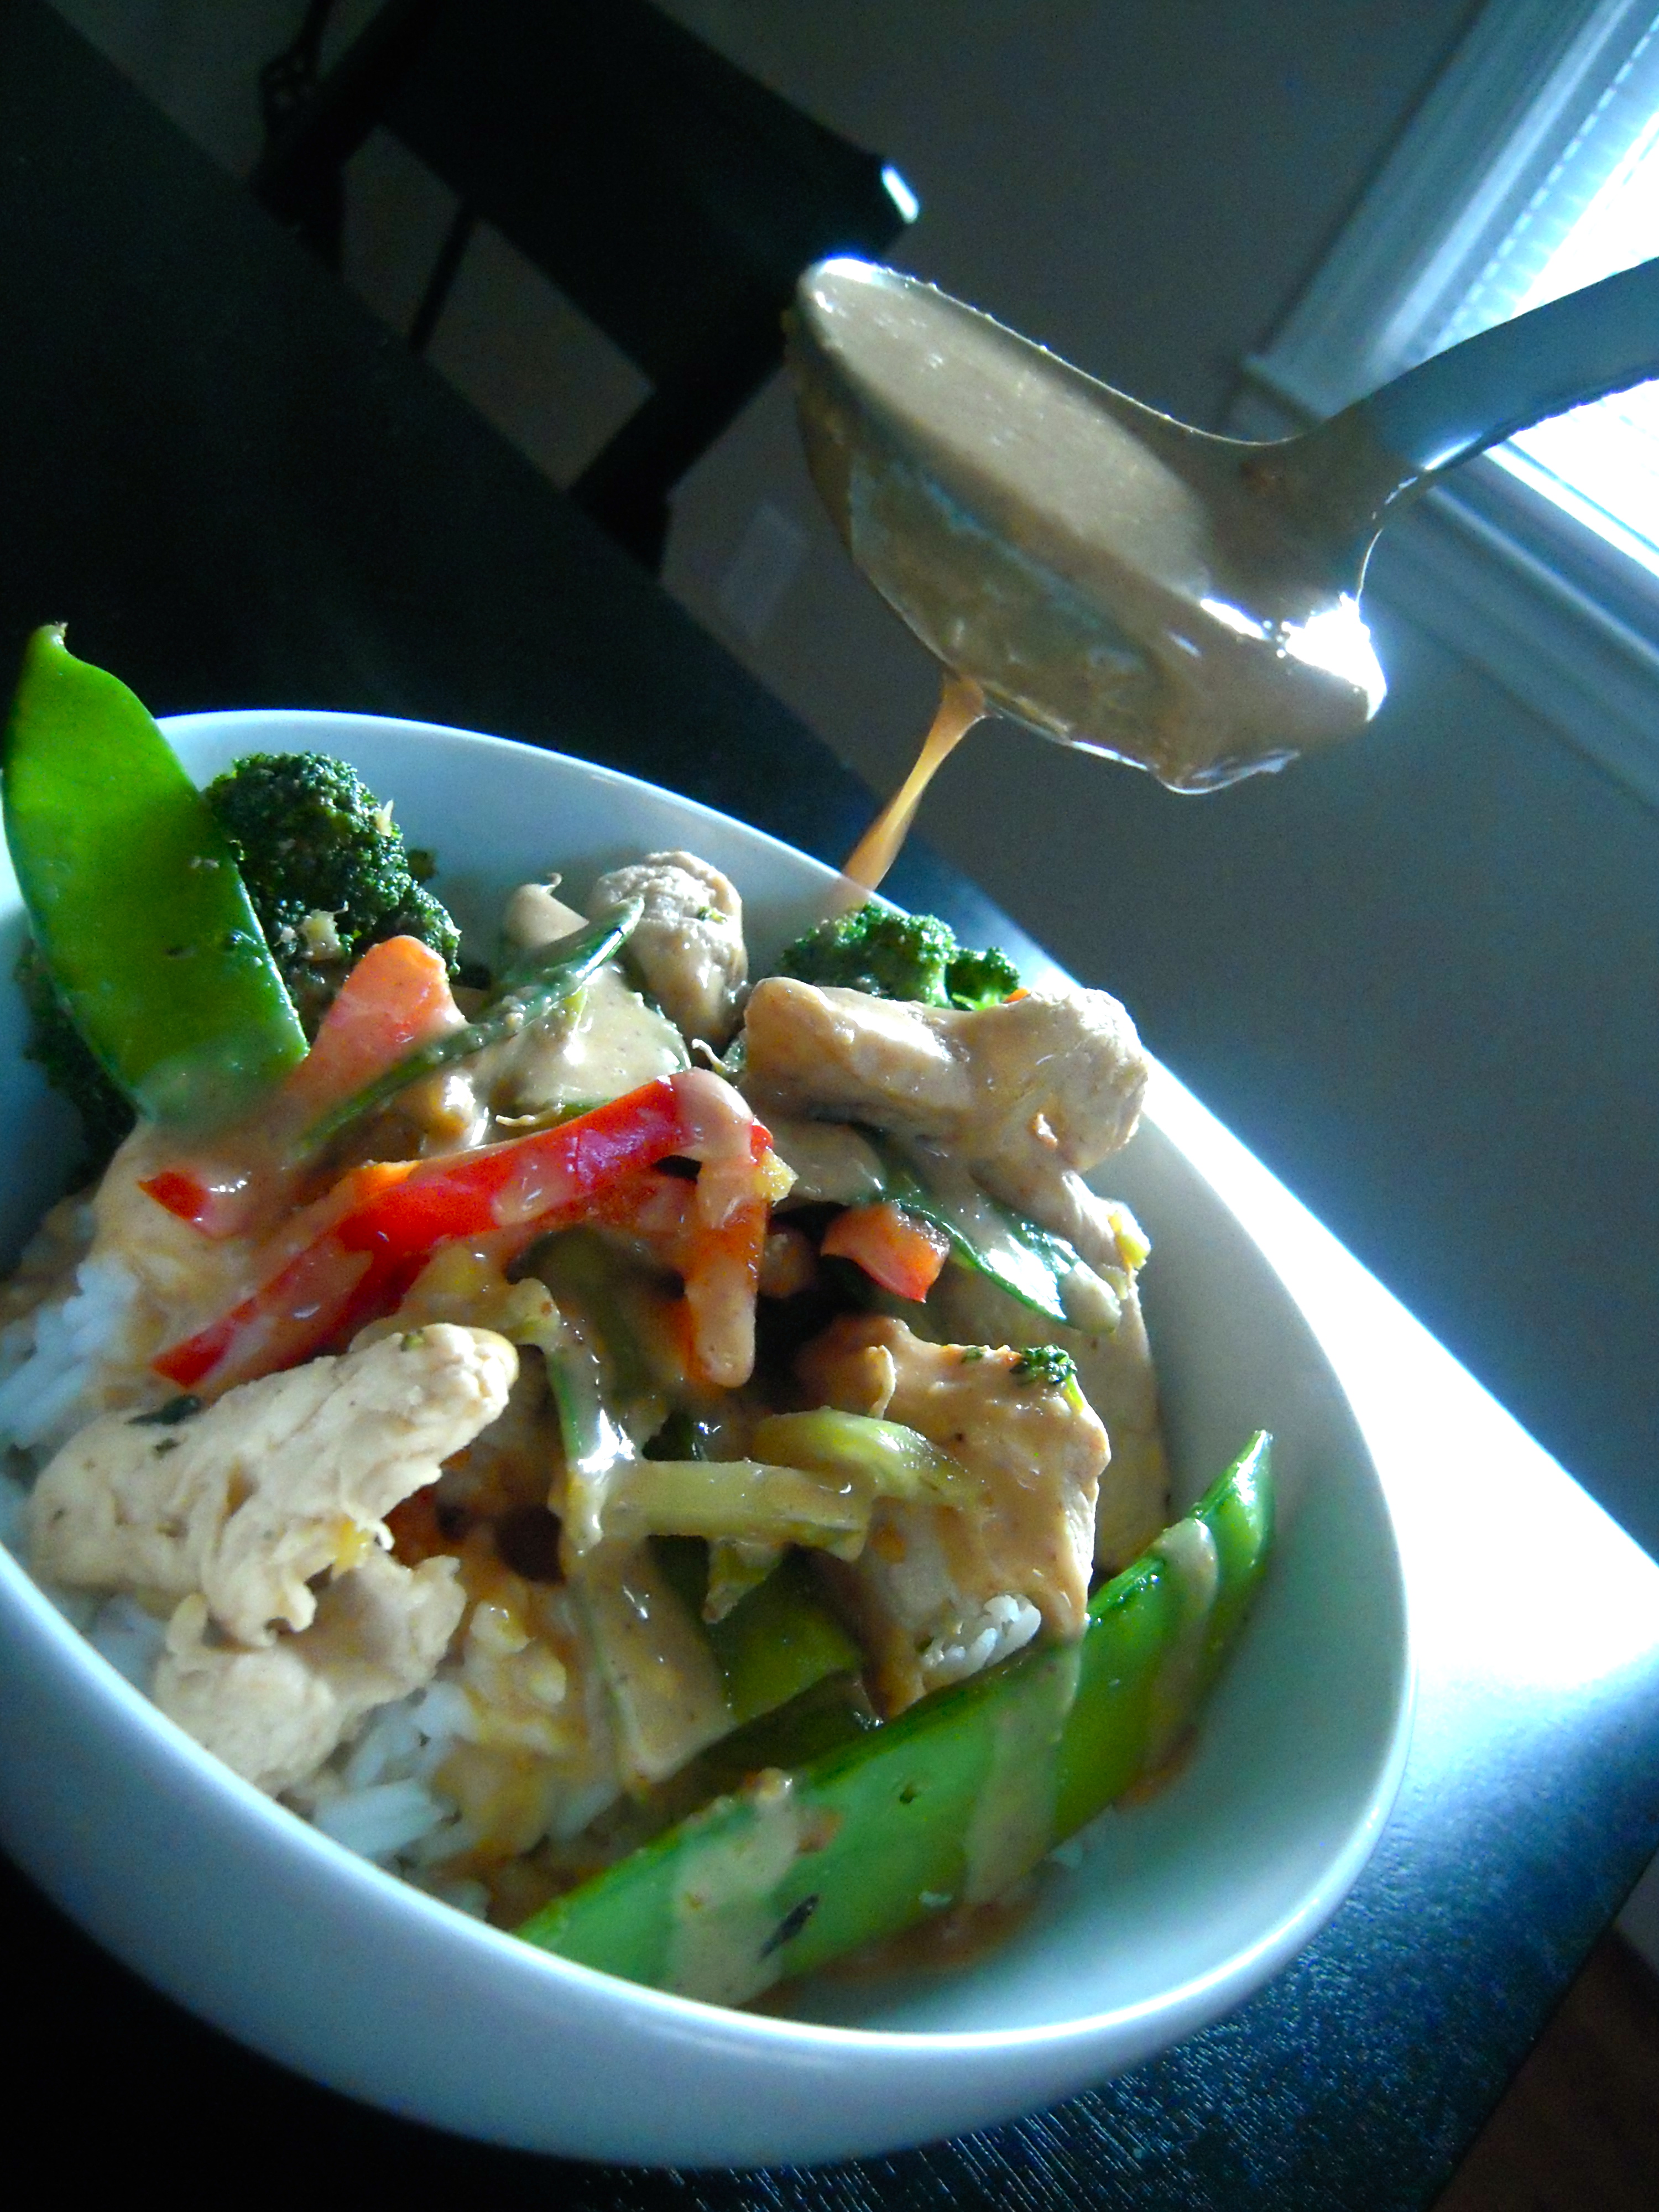
After returning home from the farmer’s market last week, we wanted to make a dish that would incorporate the many fresh vegetables we bought, and something that was relatively quick and easy to make. Soon, this recipe was born and we’ve made it a couple times to really perfect the heavenly peanut sauce. You’ll enjoy the rich and complex flavors, bright colors, and many textures of this one-bowl meal. It keeps well for leftovers, but we recommend making a fresh batch of rice to serve with it the next day. Enjoy!

Ingredients:

1 lb. boneless skinless chicken breasts, cut in 1/2″ wide and 3″ long pieces

1″ peeled ginger, finely chopped

3 garlic cloves, finely chopped

1 medium red pepper, julienned

1 handful snow peas

Florets from 1 medium broccoli head

1 medium broccoli stem, peeled and julienned

1 cup jasmine rice, cooked

Vegetable oil

For the Sauce:

1/2 cup smooth peanut butter

1 tablespoon soy sauce

1/2 teaspoon red pepper flake

1 lime, juiced

1 tablespoon light brown sugar

5 tablespoons hot water

Preparation:

Cook the rice according to directions on the bag and keep warm until needed.

In a small food processor, combine all ingredients needed for the peanut sauce except the water. Blend on low until smooth, then add hot water as needed for desired consistency. We have found using 5 tablespoons of water works well.

Coat the bottom of a wok with vegetable oil and bring to high heat. Add garlic and ginger, and stir for about 30 seconds. Next, add the red peppers, broccoli stem, broccoli florets, and snow peas. Toss to coat the vegetables with oil. Cook for about 2 minutes and add oil as needed to continue cooking process.

Add chicken to the wok and toss with a bit more soy sauce (about 1 teaspoon). Cook for about 6 minutes or until chicken is cooked through. Turn off heat and let stir-fry rest for 5 minutes.

Serve stir-fry atop warm rice and ladle the straight-from-heaven peanut sauce on it. Be generous.

Add green onions, cilantro, crushed peanuts, and more red pepper flakes as desired.

Serves 2-3 hungry friends.