The Farmer’s Market

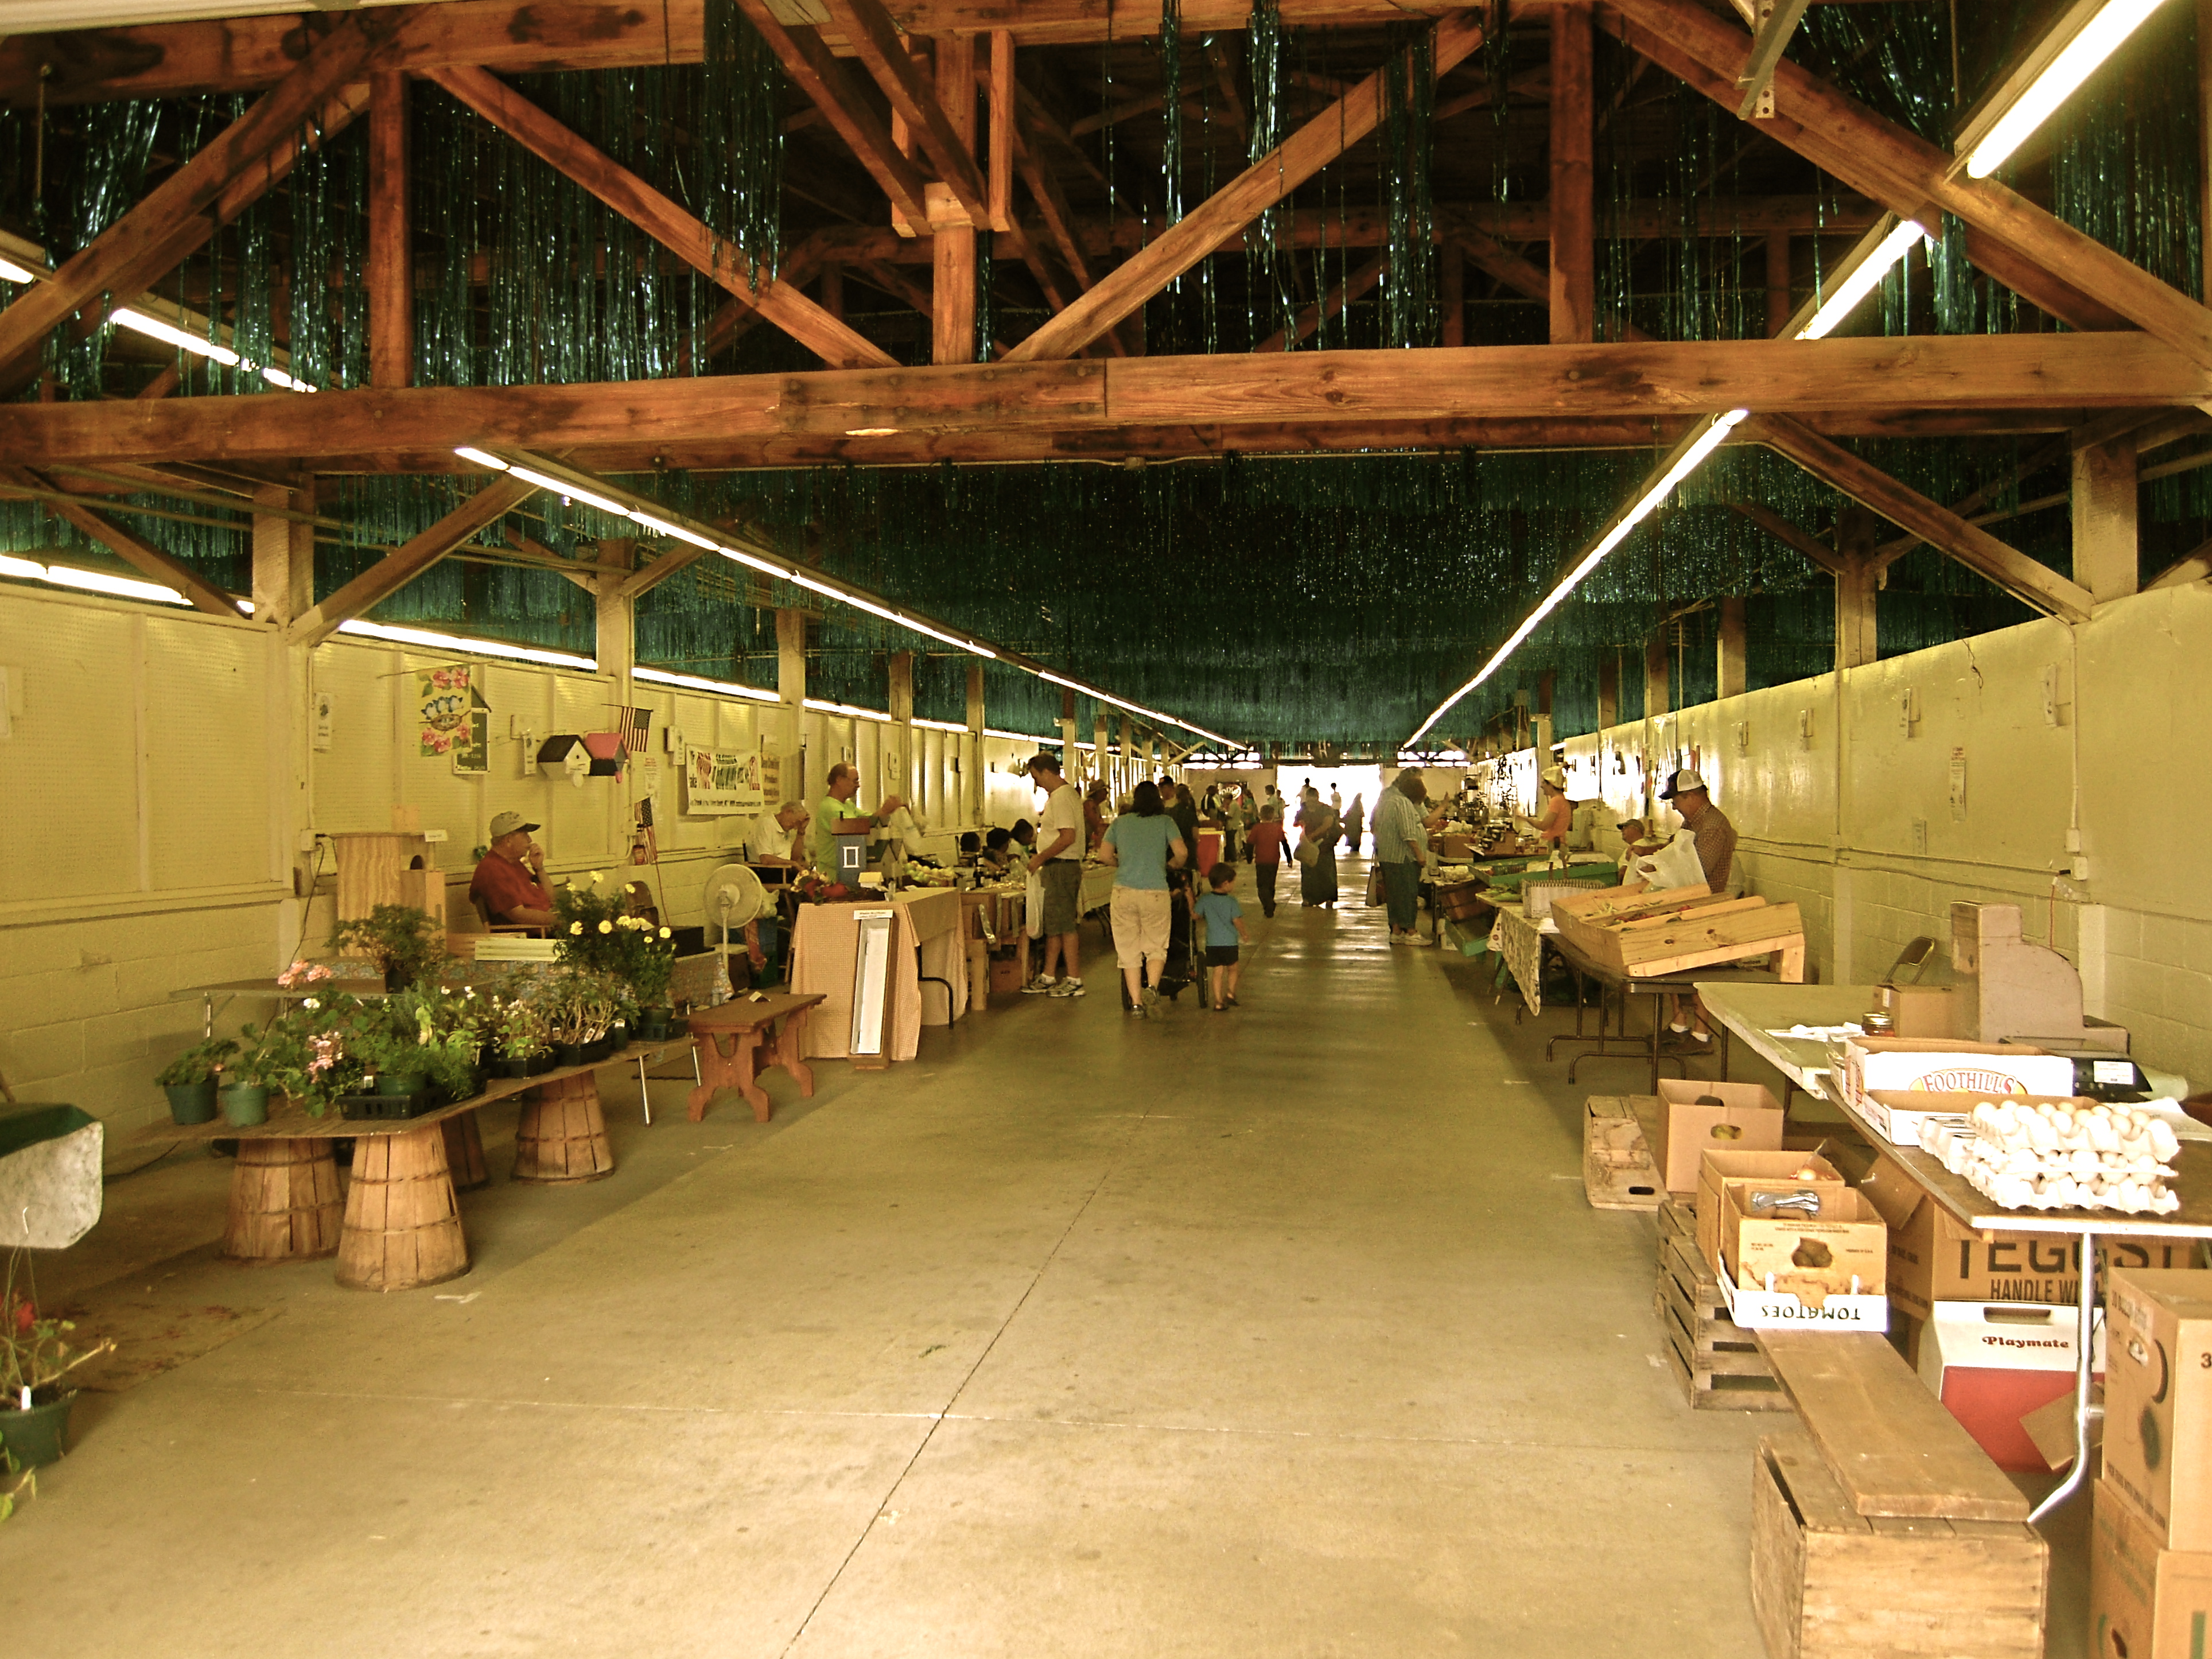
We love our new town. It’s full of friendly people, new places to discover, and great restaurants. One thing we really enjoy is heading to the Farmer’s Market on Saturday mornings. The farmers set up their tables year-round at a fairground. Of course, the earlier you get there, the better. There are tables and tables of produce, meat, cheese, breads, flowers, herbs, and more.

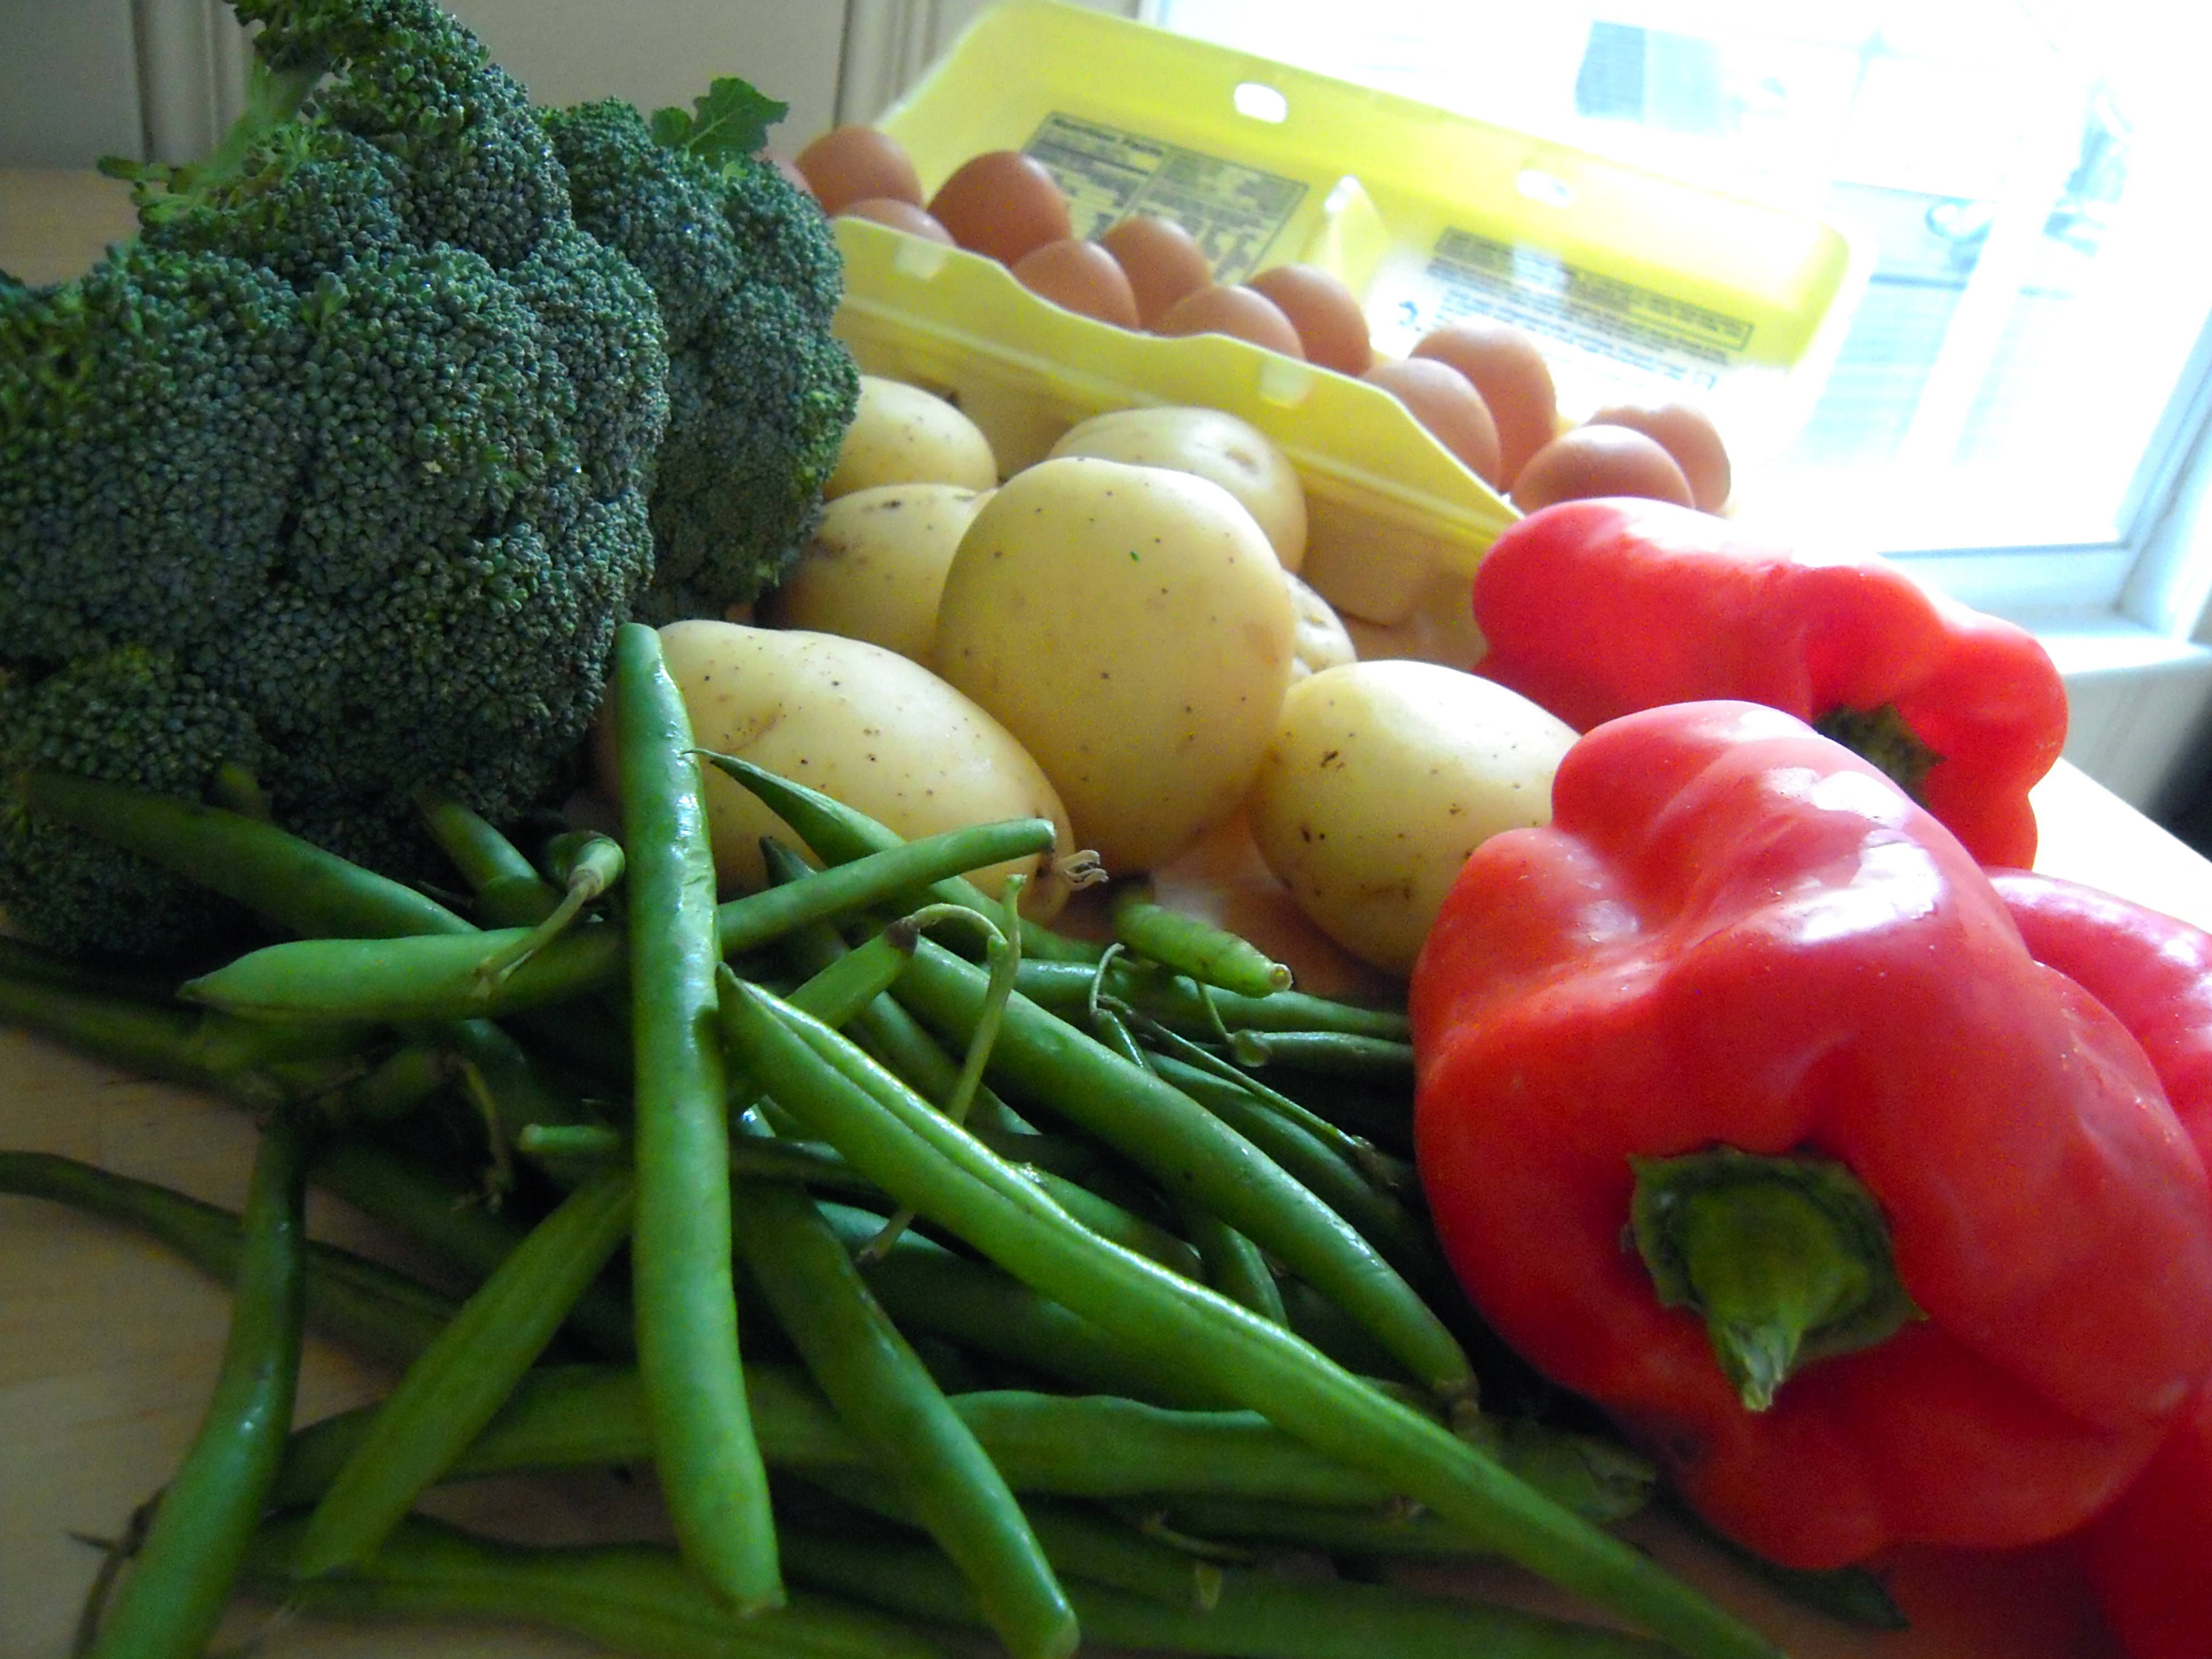
Supporting local farms while knowing that we are receiving nutritious, unprocessed food makes us feel good. Waking up to a “good morning” and a smile from each farmer as we peruse the fresh food will keep us coming back each week.

Chocolate Chip Zucchini Bread

Chocolate Chip Zucchini Bread

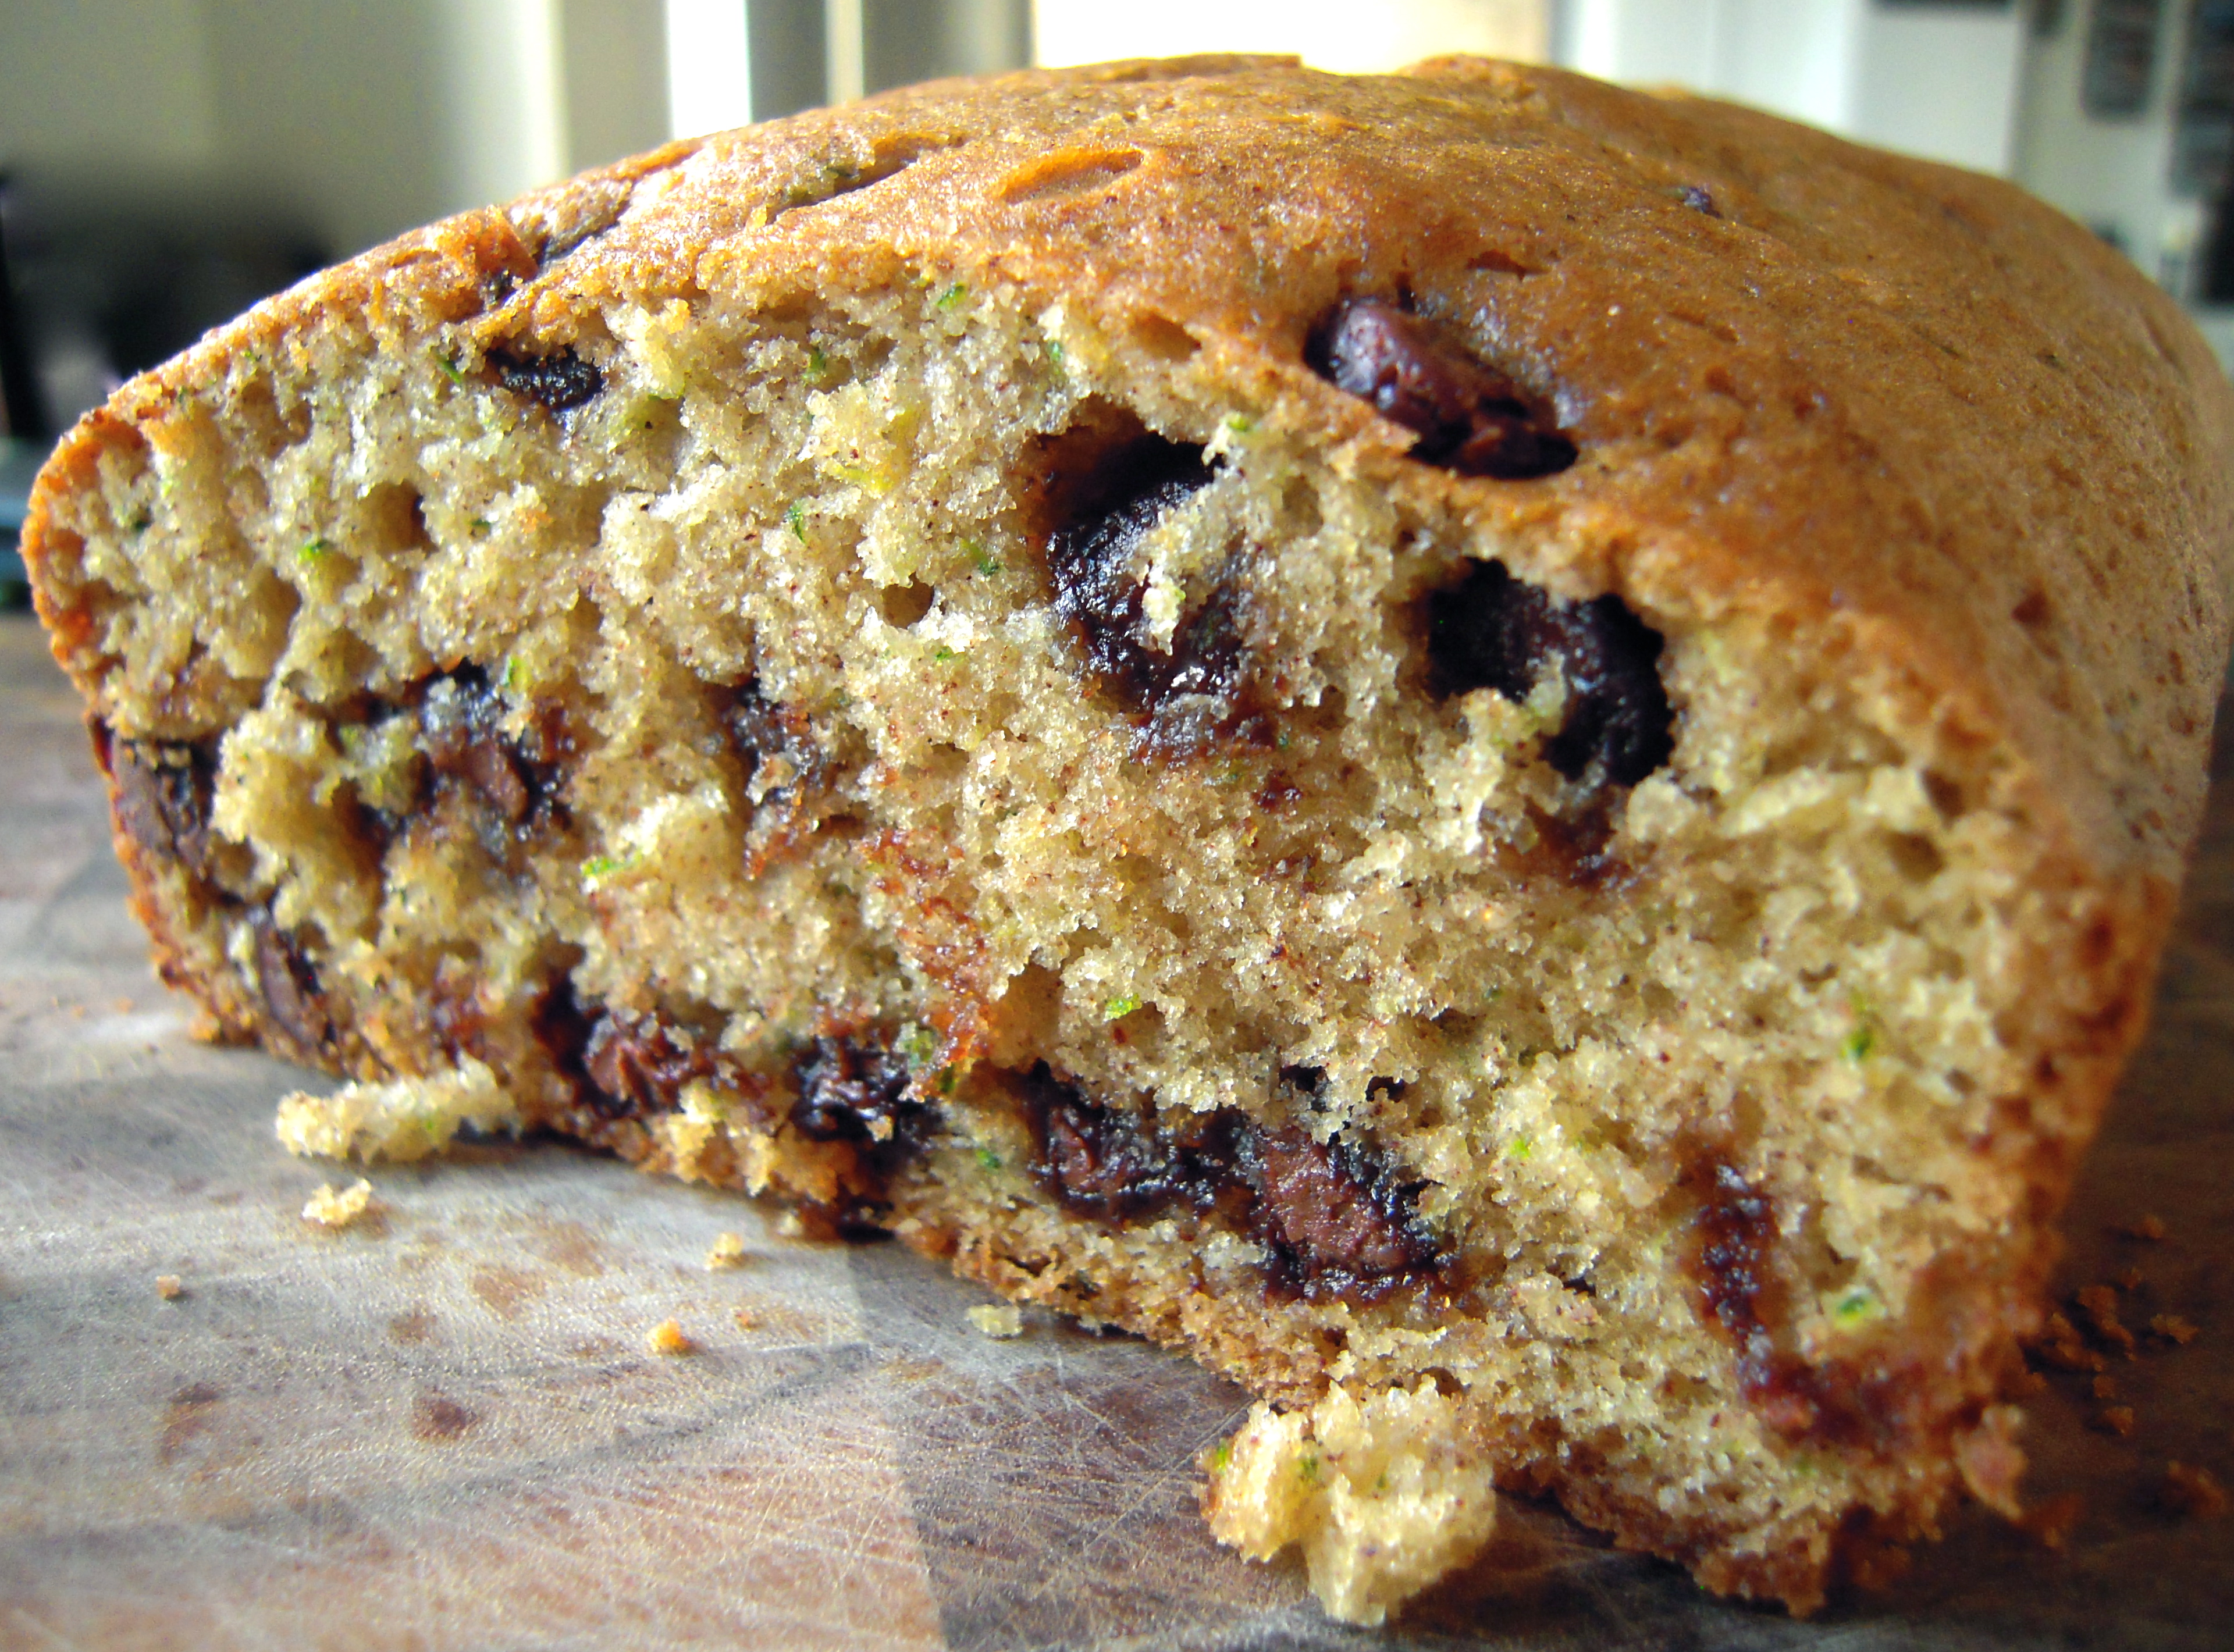
Mama always said to eat your vegetables! Neither of us grew up eating zucchini bread too often and were pretty hesitant to the idea of incorporating vegetables in a sweet bread (especially since Whitney doesn’t like carrot cake). And then it happened: we tried it…and we loved it. So, here is our version of zucchini bread. If you have zucchini growing in your backyard, this is a great opportunity to use them. It’s the perfect sweet bread for a summer dessert, garden party (does anyone have those?), or weekend breakfast.

Ingredients:

2 eggs

1/2 cup vegetable oil

1 cup sugar

1 cup finely grated zucchini (about one medium-sized zucchini)

1 teaspoon vanilla extract

1 1/2 cups all-purpose flour

1/2 teaspoon baking soda

1/4 teaspoon baking powder

1/2 teaspoon salt

1 teaspoon cinnamon

1 cup milk chocolate chips

Preparation:

Preheat oven to 350°. Butter and flour a 10″ loaf pan.

In a large bowl (or electric mixer), whisk together first five ingredients (egg/oil/sugar/zucchini/vanilla) until smooth. Set aside.

In a medium bowl, combine the next five ingredients (flour/baking soda/baking powder/salt/cinnamon).

Add 1/2 of the dry mixture to the wet mixture and stir until combined. Repeat with the rest of the dry mixture. Stir in the chocolate chips with a spatula and transfer batter to the loaf pan, spreading it evenly within the pan.

Bake at 350° for about 45 minutes, or until a toothpick comes out clean (except for the melted chocolate) from center. Transfer to a cooling rack and allow to cool for at least 15 minutes.

Makes one 10″ loaf.

Vanilla Crème Brûlée with Blackberry Compote

Crème Brûlée

Yes, it has a fancy name, but please don’t be scared. Crème Brûlée is super easy to make! You can do this. Our version combines a creamy sweet vanilla custard with a fruity blackberry compote that is sure to impress at any summer dinner party. Be sure to plan ahead as these are best chilled overnight. So go ahead and be fancy! You’ll wow your guests and they’ll never know how easy this really is…unless they read our blog…

Ingredients:

Crème Brûlée

2 cups heavy whipping cream
1 teaspoon vanilla extract
1/4 cup + 4 teaspoons granulated sugar
4 egg yolks

Blackberry Compote

6 ounces blackberries
1 tablespoon granulated sugar

Preparation:

Day One

Preheat oven to 300° and set 4 ramekins in a 2″ deep baking dish.

Combine cream, 1/4 cup sugar, and vanilla in a small saucepan and warm on low until sugar is dissolved. Once dissolved, remove from heat and cool.

While cream mixture is cooling, whisk egg yolks in a medium-sized bowl with a pouring spout (this spout will really come in handy later, but is not necessary if you don’t have one) and set aside.

Once cream mixture is lukewarm, add a spoonful of the cream to the eggs and whisk (here we are going to “temper” the mixture in case the cream is still too warm; we don’t want it to cook the egg yolk so we are adding a little bit at a time). Slowly add the rest of the cream mixture to the eggs and continue to whisk until combined.  Pour the mixture into the ramekins, dividing equally to four parts.

This next step is random but necessary: fill a tea kettle with water and bring to a boil. Once boiling, pour the water into the pan around the ramekins until it reaches halfway up the sides of the ramekins.

Cover with aluminum foil and bake for 25 minutes. Once the edges of the custard are set, remove from oven and allow custard to cool to room temperature.

Refrigerate overnight.

Day Two

About 30 minutes before you are ready to serve, prepare the blackberry compote. Combine blackberries and sugar in a medium-sized pan on stovetop over medium heat. Mash the blackberries with something you have around the kitchen (for example, we used a potato masher). Simmer on medium heat until sugar is dissolved, juices begin to reduce, and the compote becomes a thicker consistency.

Remove custard from refrigerator and dust each top evenly with about a teaspoon of sugar. Working in small circles, use a kitchen torch to caramelize the sugar to a light brown color. If you don’t have a kitchen torch, rumor has it you can place the ramekins under the oven broiler for a few minutes to create the same effect.

Top with blackberry compote and serve. You know you’ve succeeded when the tops are warm but the depths of the custard are cool.

Makes 4 6-oz. desserts

Fried Eggplant

Fried Eggplant

Here is our version of eggplant parmesan. The big difference is that we don’t layer the eggplant and bake it. This recipe is simple, quick, and attractive. I have fond memories of helping my dad cook this dish. By 7th grade, when people asked me what my favorite food is, I replied “fried eggplant,” and was confused by the funny looks I’d get in response. This really is a great recipe to make with the kids because it is so hands-on. They’ll love helping you dredge the eggplant in the egg wash and the bread crumbs. Enjoy!

Ingredients:

1 eggplant
2 eggs
4 cups Italian bread crumbs*
1/2 cup parmesan cheese, grated
2 cups tomato sauce
4 tablespoons butter
4 tablespoons olive oil

*For more crunch, try 2 cups bread crumbs, 2 cups Panko

Preparation:

Thinly slice the eggplant and set aside. Beat eggs in a medium sized bowl and set close by the eggplant. Place bread crumbs in another medium sized bowl and set next to the eggs. Your assembly line (eggplant + egg wash + bread crumbs) is now ready to rock.

With clean hands, work your way down the assembly line. One slice at a time, coat the eggplant in egg wash, then dredge in bread crumbs patting the crumbs down firmly on each side, and set on a plate.

Heat 2 tablespoons of butter and 2 tablespoons of olive oil in a non-stick pan. We recommend using a Presto electronic skillet, and heating it to around 350°. For all other pans, cook over medium heat.

Place eggplant in the hot pan and be sure not to overcrowd. The bigger your pan is the more you can cook at one time. Sauté the eggplant for 4-5 minutes on each side until golden brown, adding more olive oil and butter if needed.

Top with tomato sauce and parmesan cheese. Serve atop a fresh bed of pasta.

Serves 4

Chicken Stock

Chicken Stock

No plans this weekend? Might we offer something to try? Make your own chicken stock! Most recipes for a good homemade chicken stock are quite similar, but we’ve made some changes to make it our own. One thing that is essential in any stock recipe is time. And thyme. HA! Ours takes five hours, but is well worth the wait. We use this stock to kick up our dishes (like our Newlywed Risotto and Butternut Squash Soup) and the flavor is unmatched to any stock that has been sitting in a can or cardboard box for weeks on a shelf. Another added perk is that we now have a gallon of this stuff in our freezer for future use. So plan ahead: save the chicken carcases from your weeknight meals, and use them to create something that will last quite a while.

Ingredients:

3 chicken carcasses
1 medium yellow onion, medium chopped
3 carrots, medium chopped
3 celery stalks, medium chopped
7 springs of thyme
20 whole peppercorns
1 small bunch parsley
1 gallon cold water
2 teaspoons Kosher salt

Preparation:

Place chicken carcases in a large stock pot, and add water and salt. Bring to a simmer on medium low for 3 to 4 hours. Add onion, carrot, celery, thyme, parsley, and peppercorns and continue to simmer for another hour.  Be sure to skim the top as needed.

Next, strain the stock through a sieve.

Behold! Stock! Use immediately, or freeze and use later.

Puff Pastry Prawns

Puff Pastry Prawns

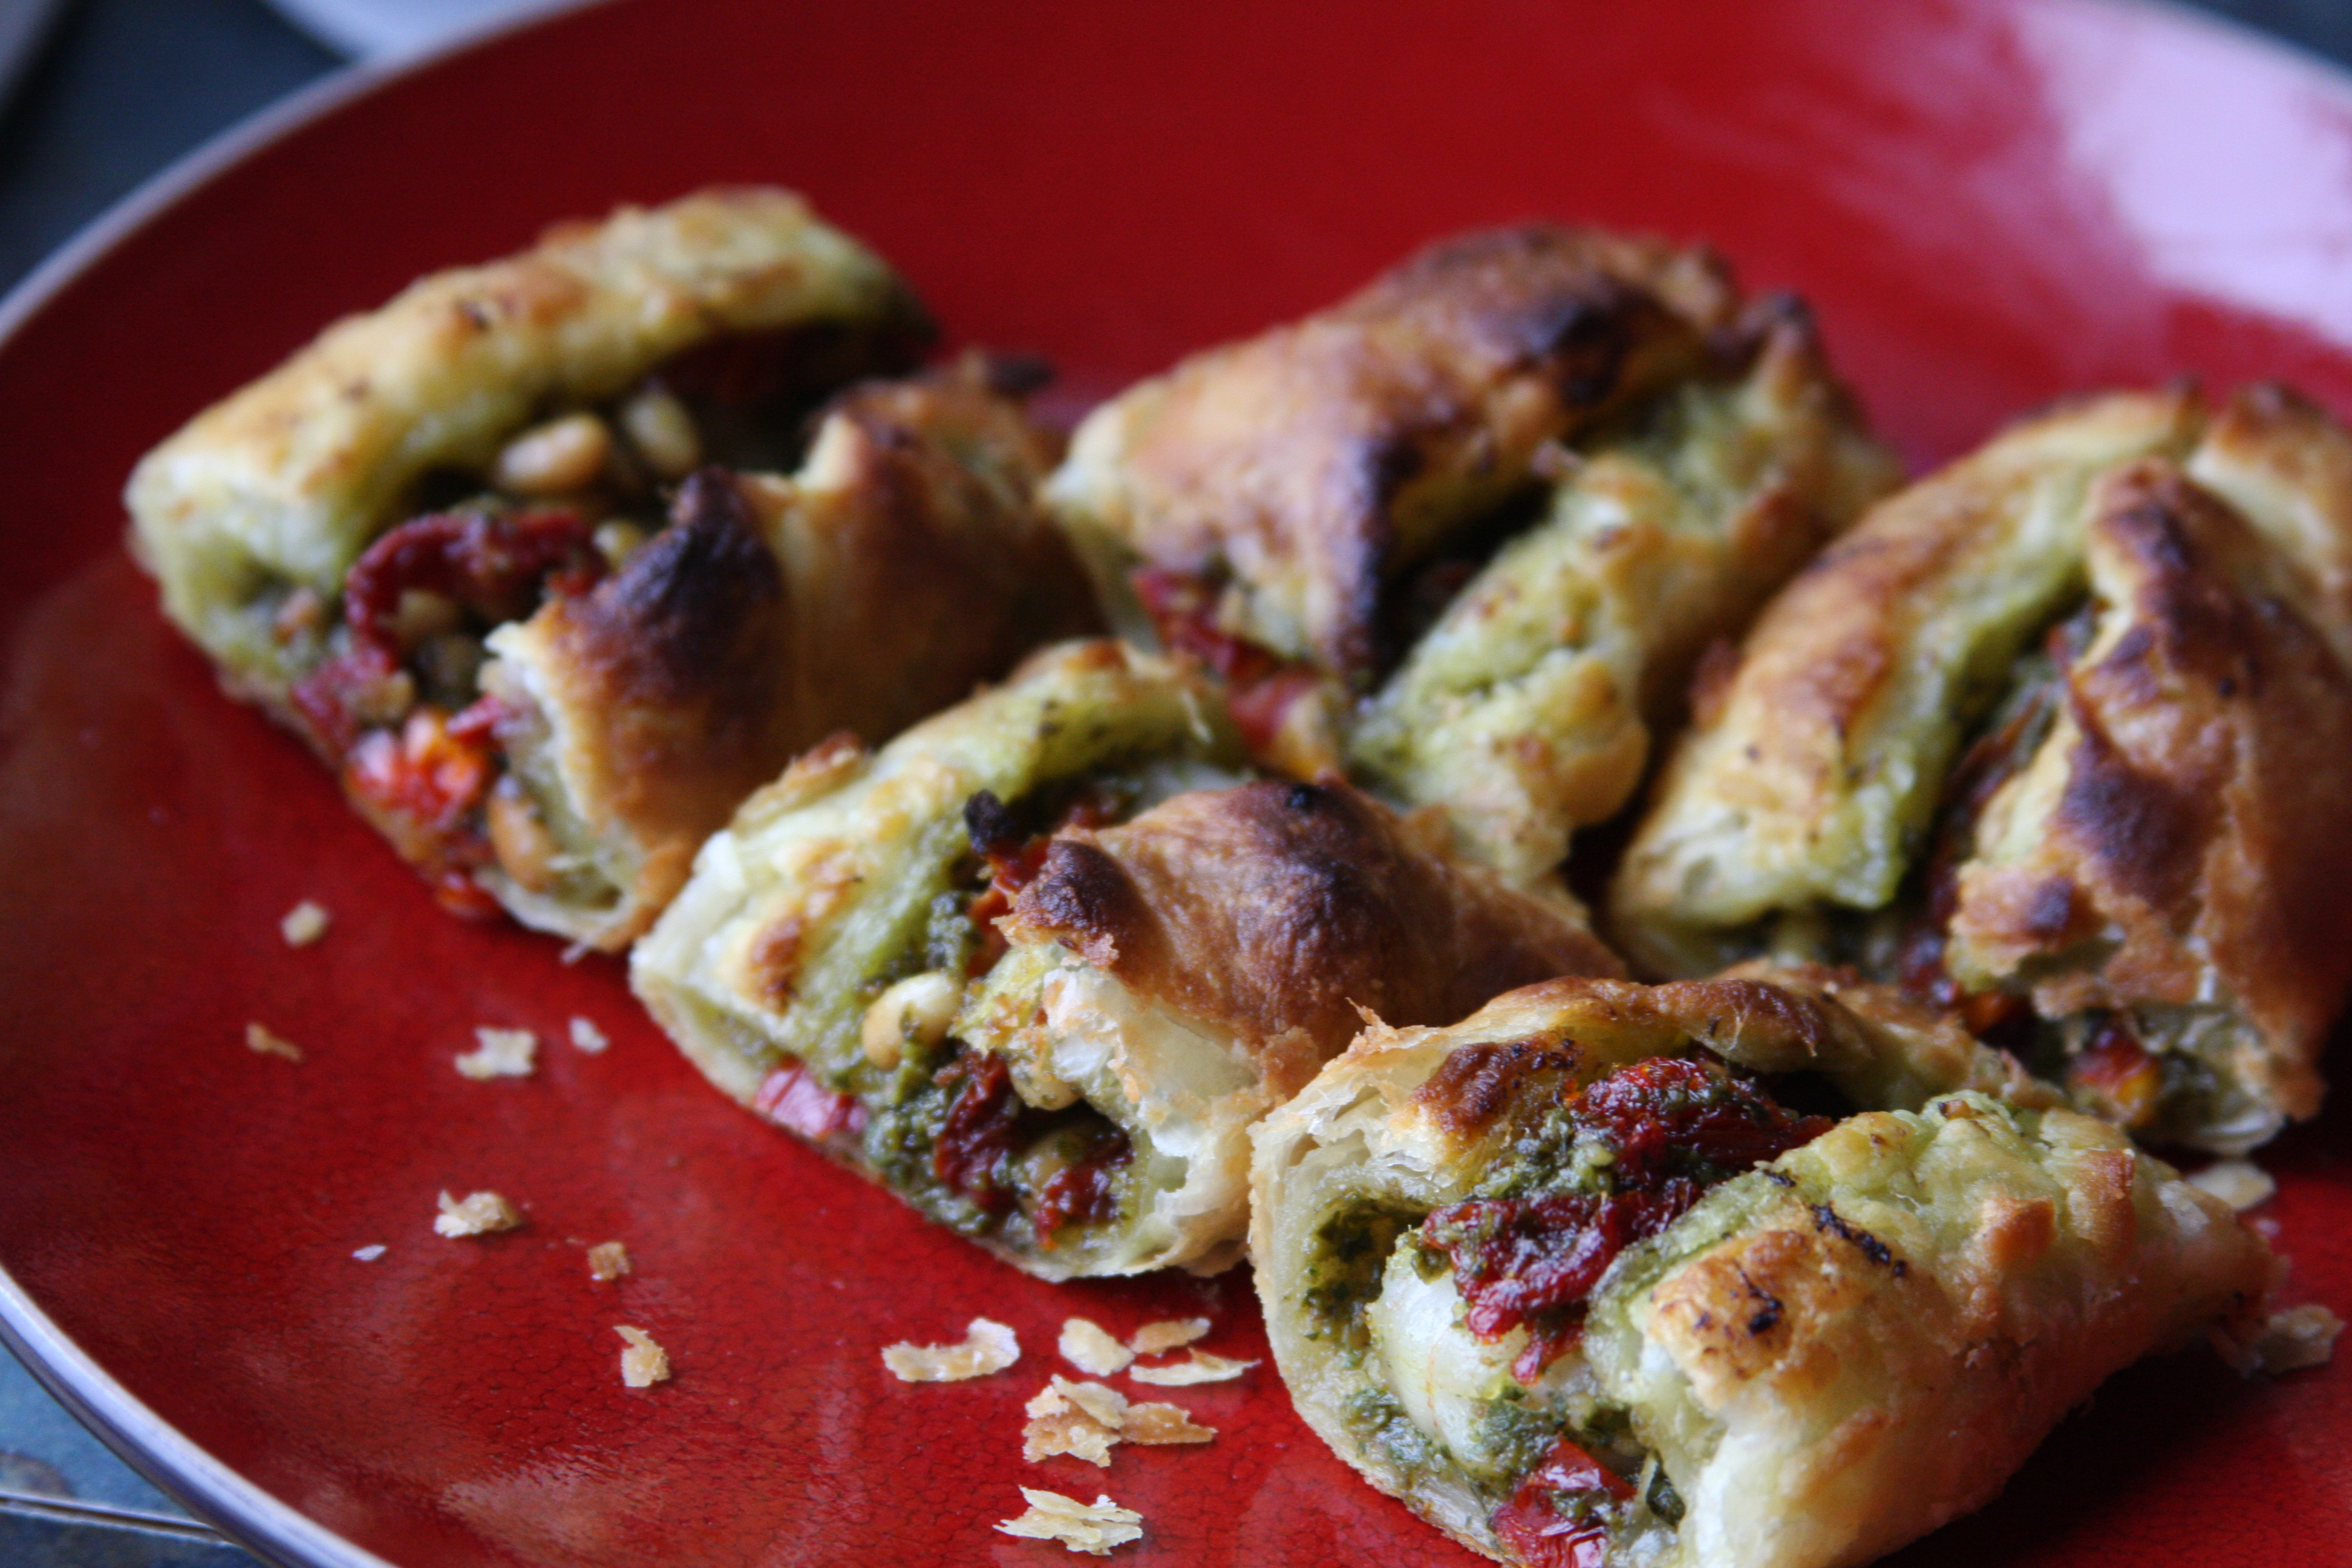
These elegant appetizers are perfect for any occasion. Whether it’s a dinner party, bridal shower, happy hour, or Tuesday night, these are sure to impress a crowd.  All props for this recipe go straight to Jim (Whitney’s dad, a.k.a.”Pacah”). He made these while we were visiting, and they were so good that we were compelled to share the recipe with the world. Pacah’s Puff Pastry Prawns are palatable, presentable, and praiseworthy. Oh, alliterations!

Ingredients:

15 medium-sized cooked shrimp or prawns (50/lb), thawed, tails off
1 sheet Pepperidge Farm puff pastry
6 tablespoons fresh basil pesto (Not from a jar; homemade or buy refrigerated)
1/4 cup toasted pine nuts
1/2 cup sun-dried tomato slivers

Preparation:

Preheat oven to 450°. Thaw pastry according to directions on box (about 40 minutes).

Cut pastry into 3 sections along perforated lines. Lay one section of pastry on a baking sheet to assemble. Spread 2 tablespoons of pesto onto the pastry. Next, space 5 shrimp evenly on top of the pesto. Sprinkle with slivers of sun-dried tomatoes and pine nuts.

Using your fingers, fold the sides of the pastry so they meet in the middle, and pinch to form a seal (although it will open while baking).

Bake one roll at a time, at 450° for 5 minutes, then lower oven heat to 375° and cook an additional 5-8 minutes until pastry is brown and puffed. Repeat assembly and baking process with remaining two pastry sheets.

Slice each roll into five pieces (one shrimp in each piece) and serve warm.

Makes 15 appetizers.