I literally did a summersault when I read the e-mail from Cuisinart asking us to be guest bloggers for a year. Cuisinart is one of our favorite brands. Whenever we have friends registering for wedding gifts, when we’re giving gifts, or just shopping for the latest and greatest addition to our kitchen, Cuisinart is our go-to, because of the continual positive experiences we have with their well-made products.
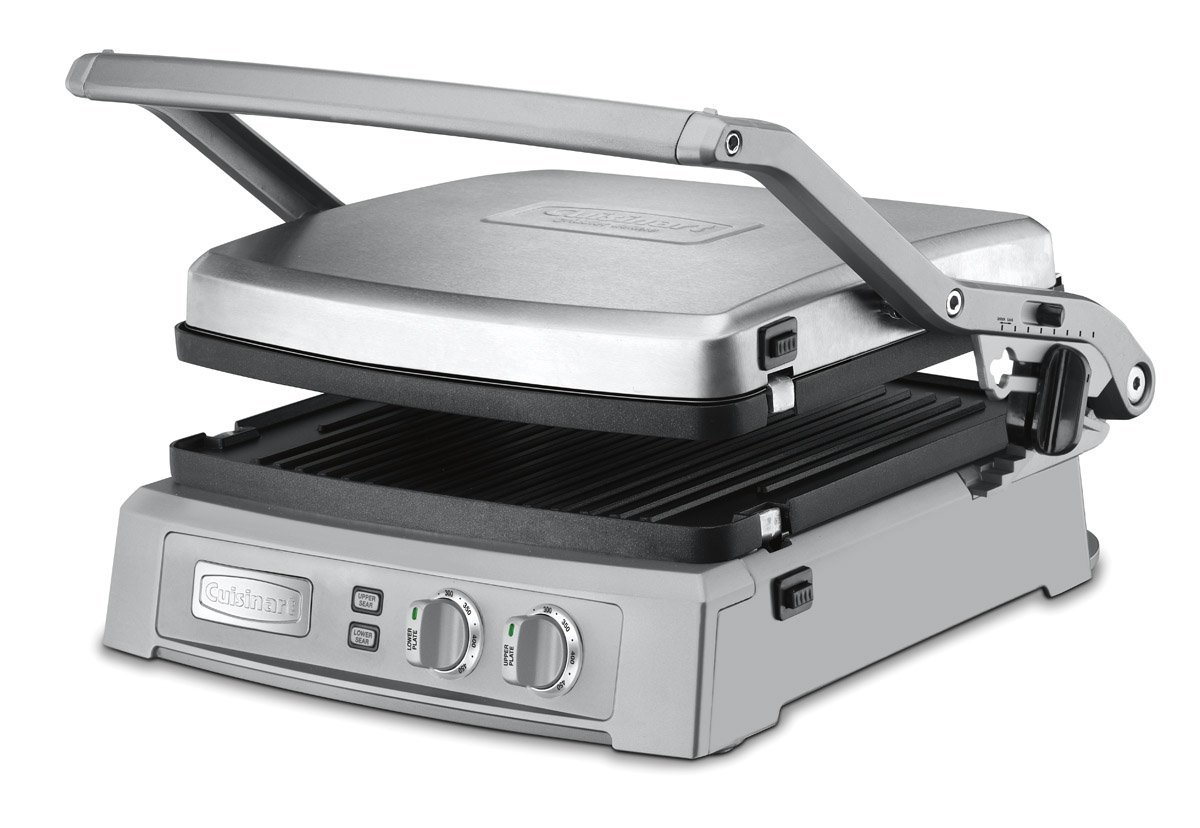
The Griddler® Deluxe by Cuisinart® does everything. It could practically write this blog post about itself. With six different cooking functions, the possibilities are endless. Grill, sear, cook on a flat top, press, and more with this versatile grill. I wish we would have discovered this product back when we lived in our 750 square foot loft in Kansas City. Although the box is big, it really doesn’t take up too much space on the counter. Perfect for a loft dweller to host a summer cook-out (or cook-in!).
To show off some of The Griddler’s cool features, we decided to take our jalapeño pimento cheese and use it in three different ways to give you an idea of what this baby can do! We even used The Griddler when making the jalapeño pimento cheese itself.

Using the griddle pans, cook the jalapeños until they are soft and blistered.

Simply combine the rest of the ingredients in a bowl and mix well. The pimento has a nice amount of smoky heat from the roasted jalapeños, thanks to The Griddler.
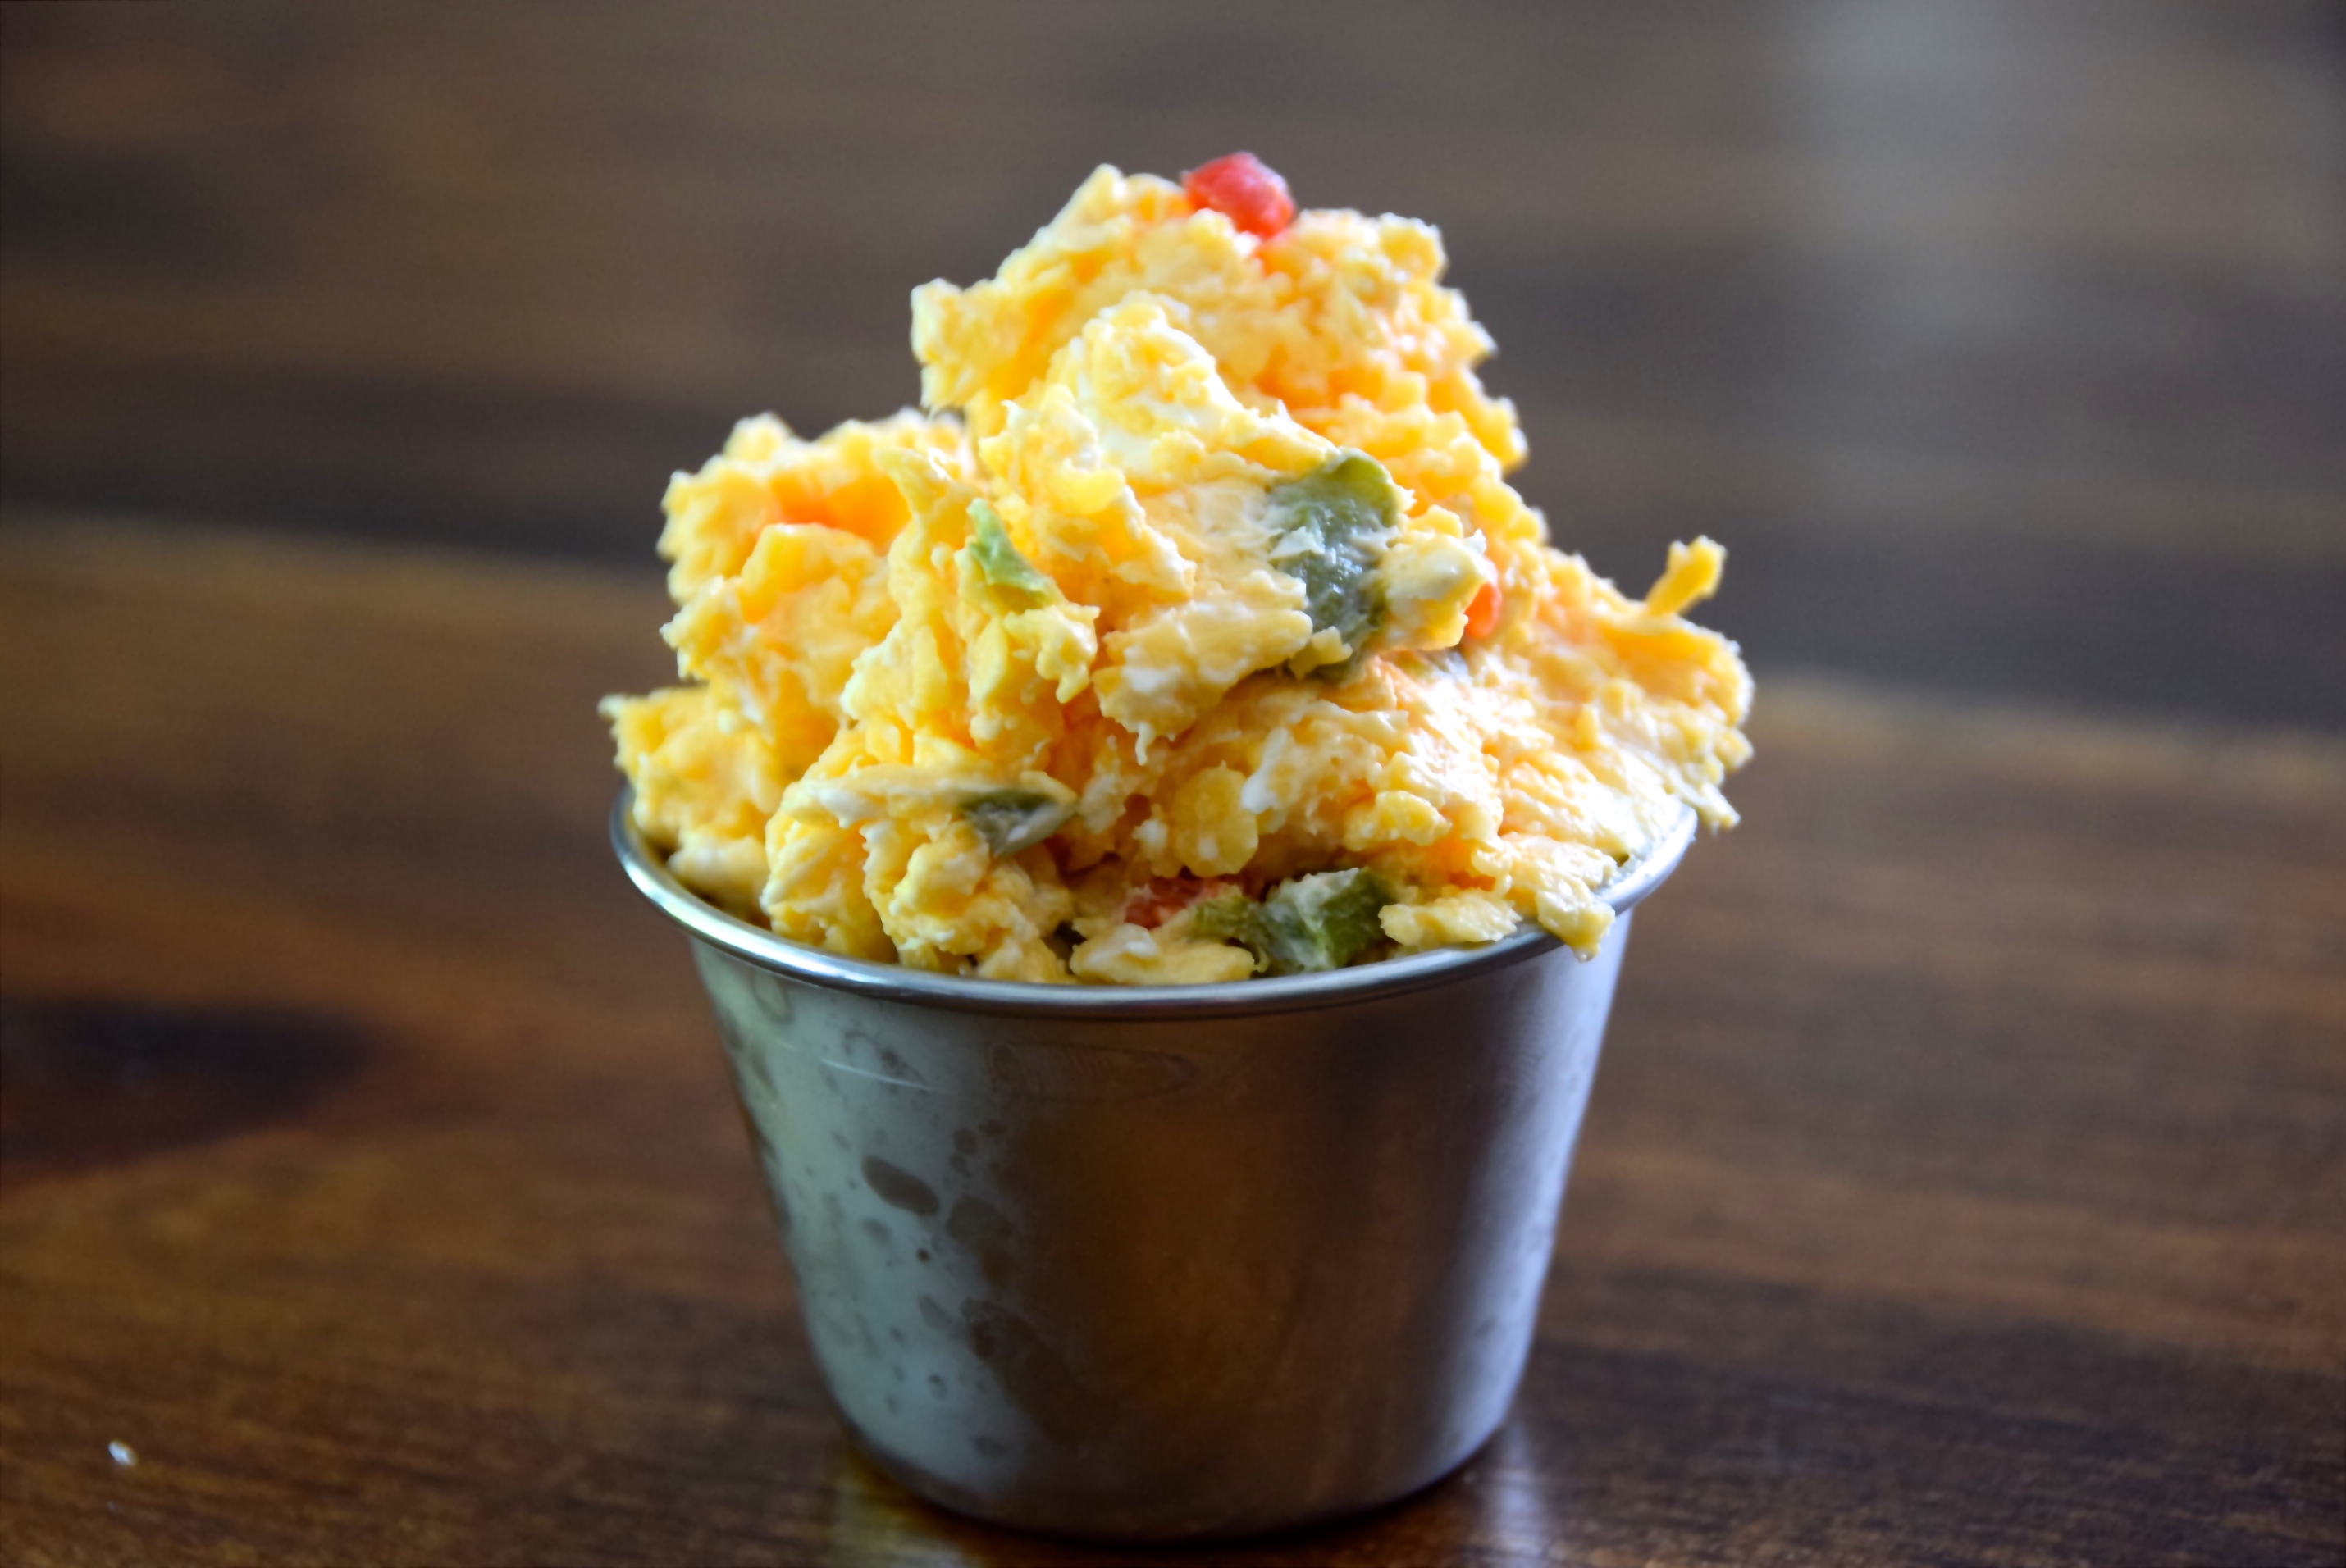
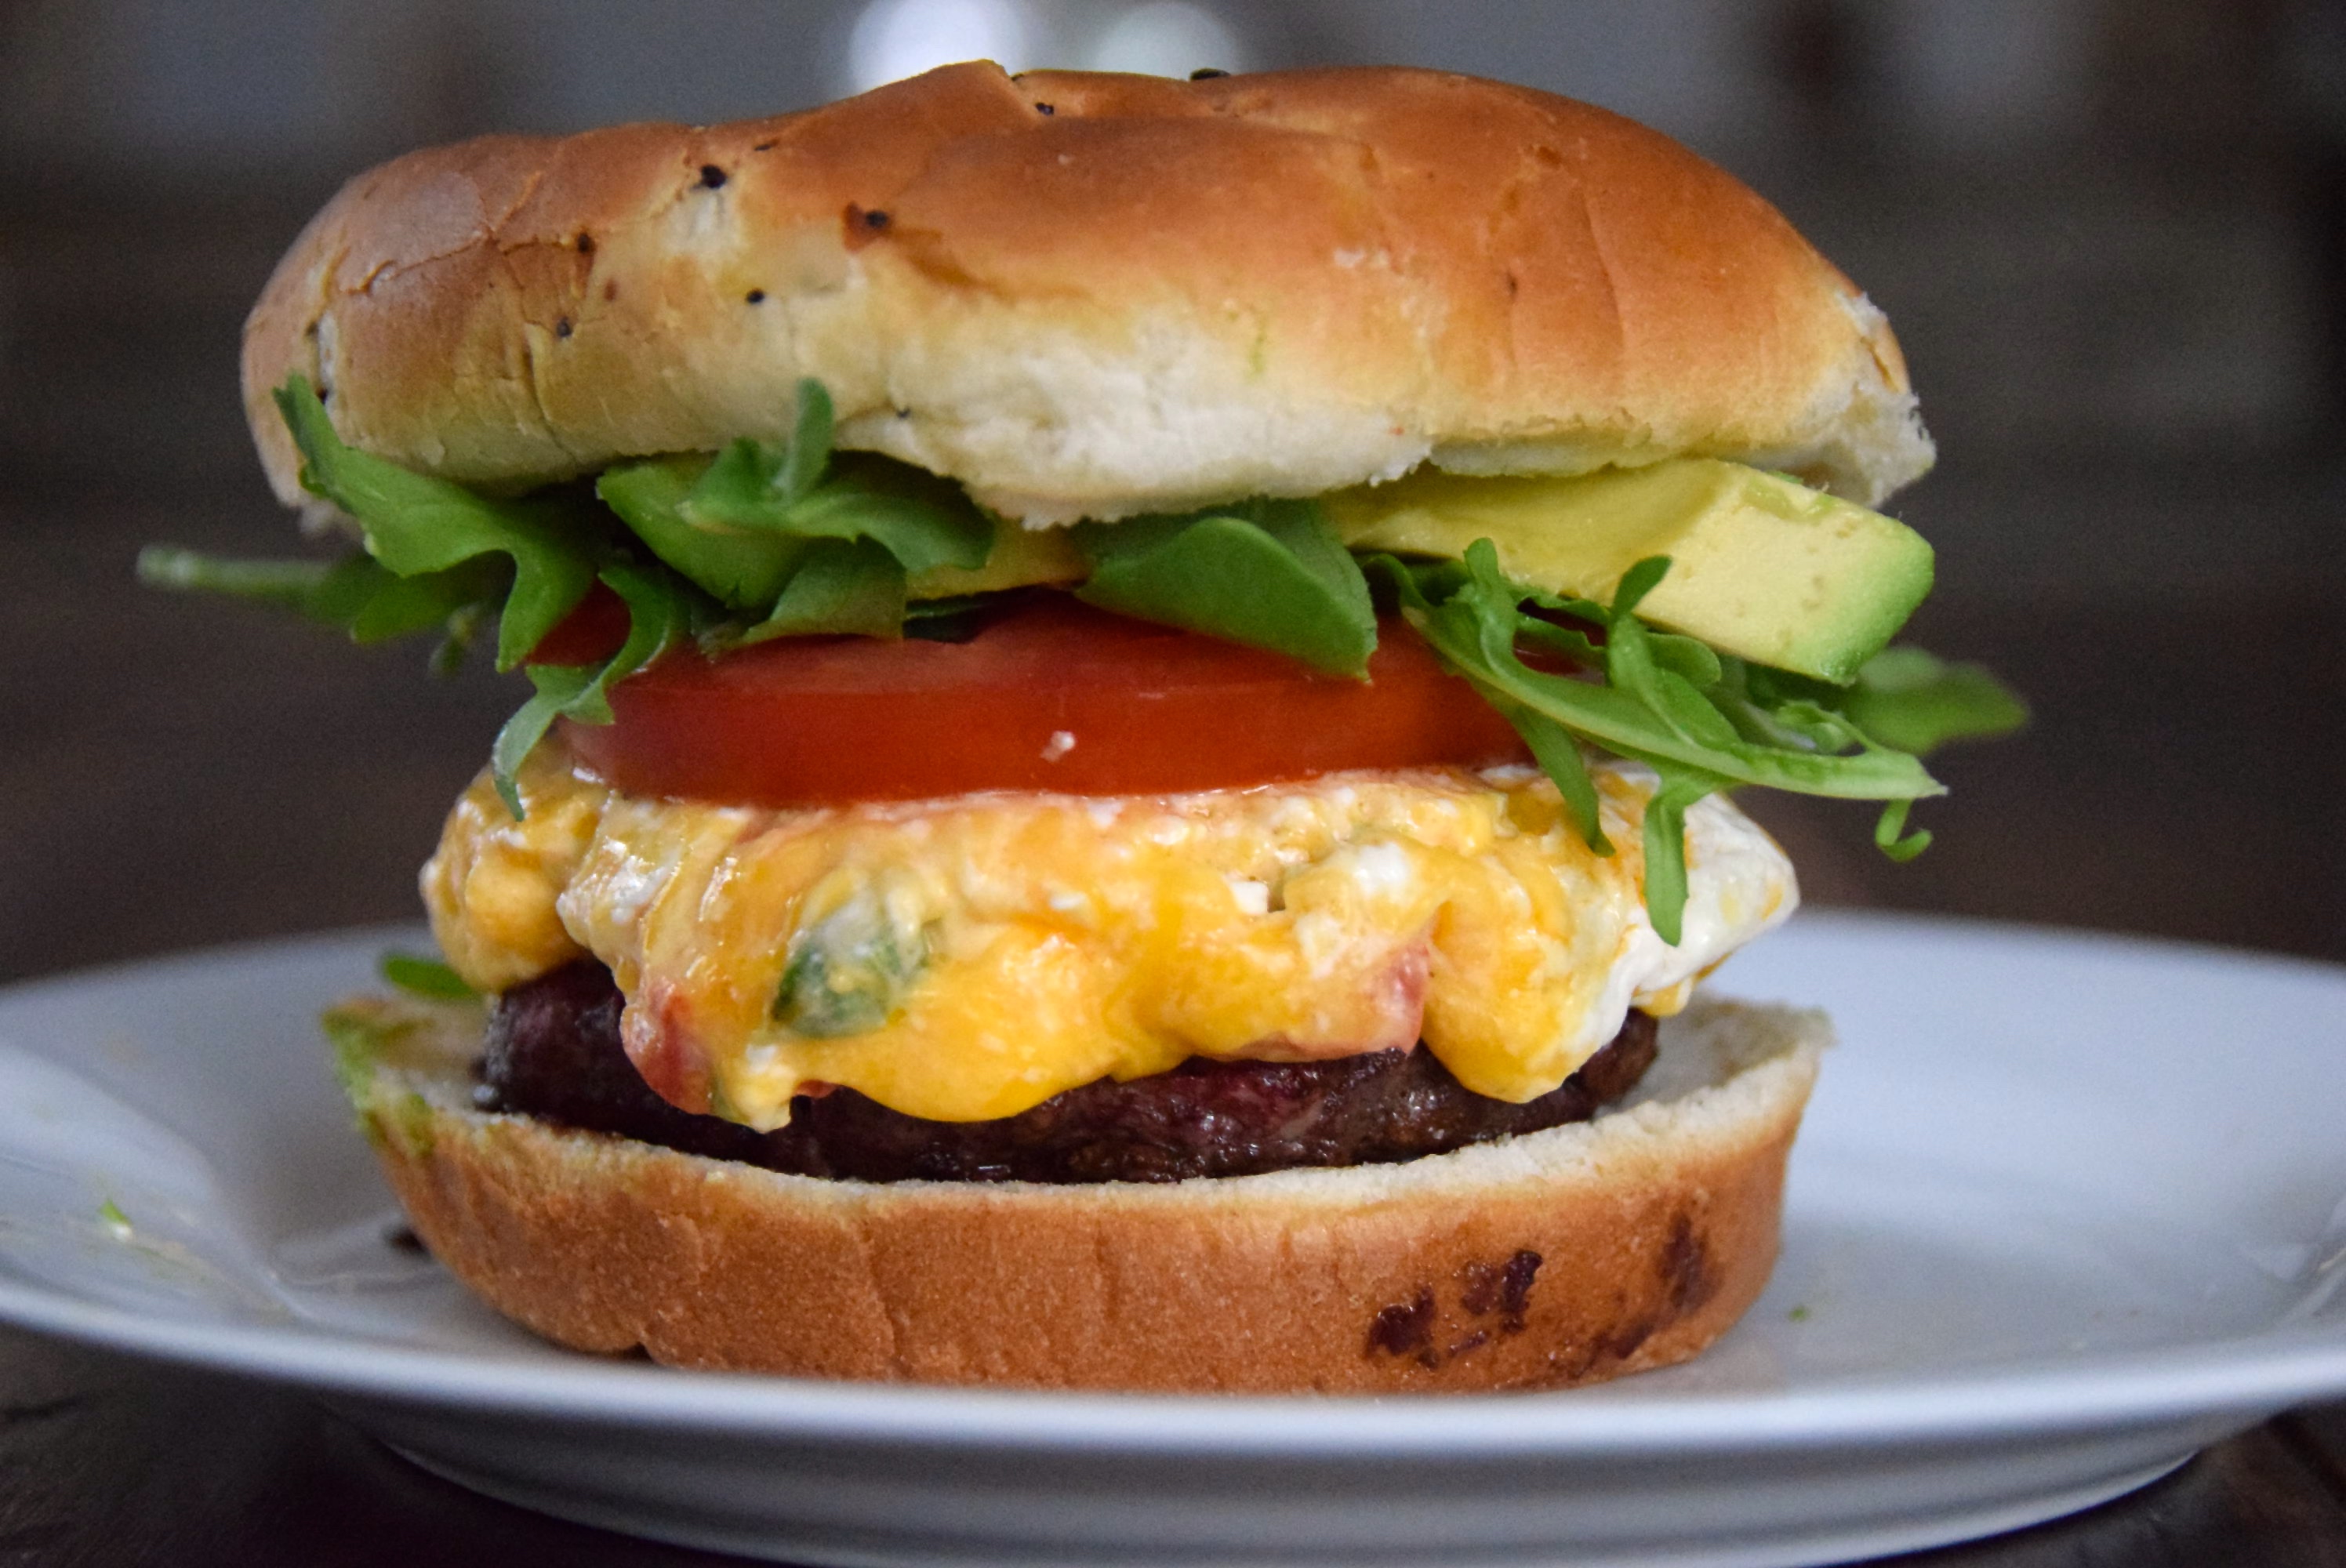
With a nice big bowl of this in the fridge, you can make a variety of dishes. Use the flat grill pans to make burgers! Be sure to top them with our pimento cheese and use the top melt to get the cheese gooey and delicious. You can warm the buns on the flat top as well!
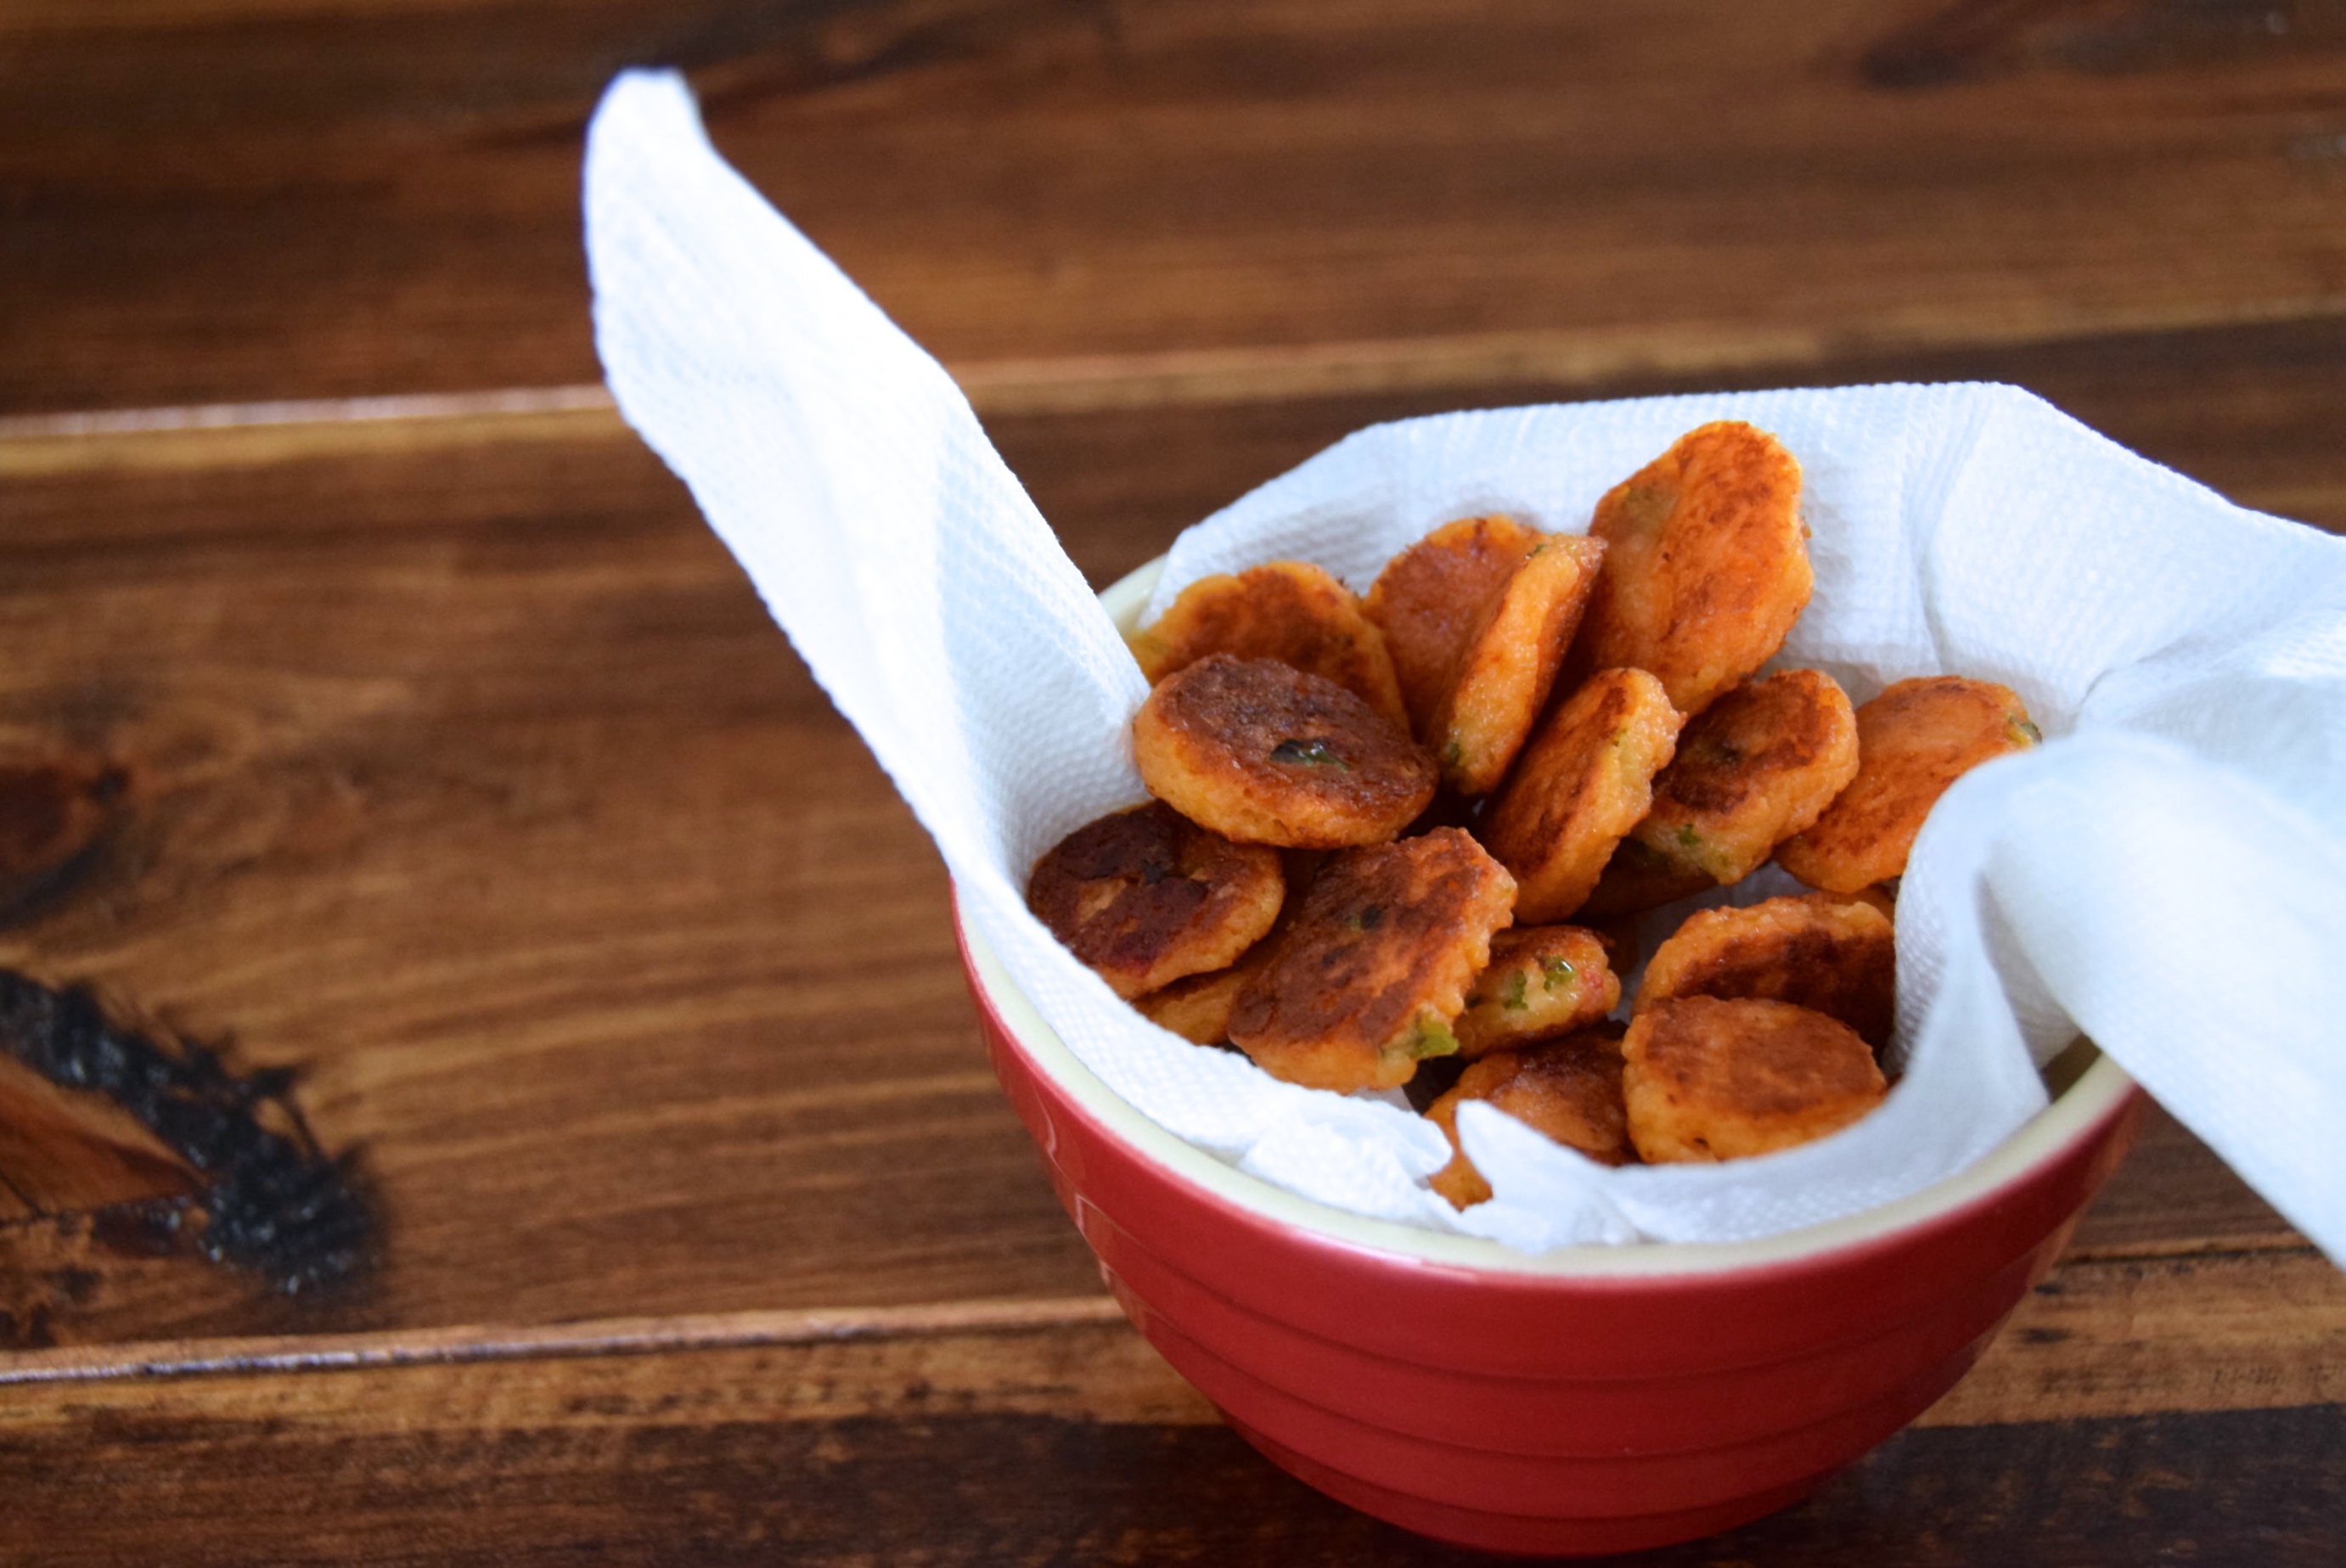
Another delicious dish you can make are pimento bites. Roughly the size of a chip and the consistency of a cheesey biscuit, these small discs make the perfect snack, or to accompany lox and bacon in the morning. To make the dough, combine 1 cup of our pimento cheese with 1/2 cup of flour. Roll into small balls and place on the heated flat grill. Then, press and cook until outside begins to turn golden brown and crispy.
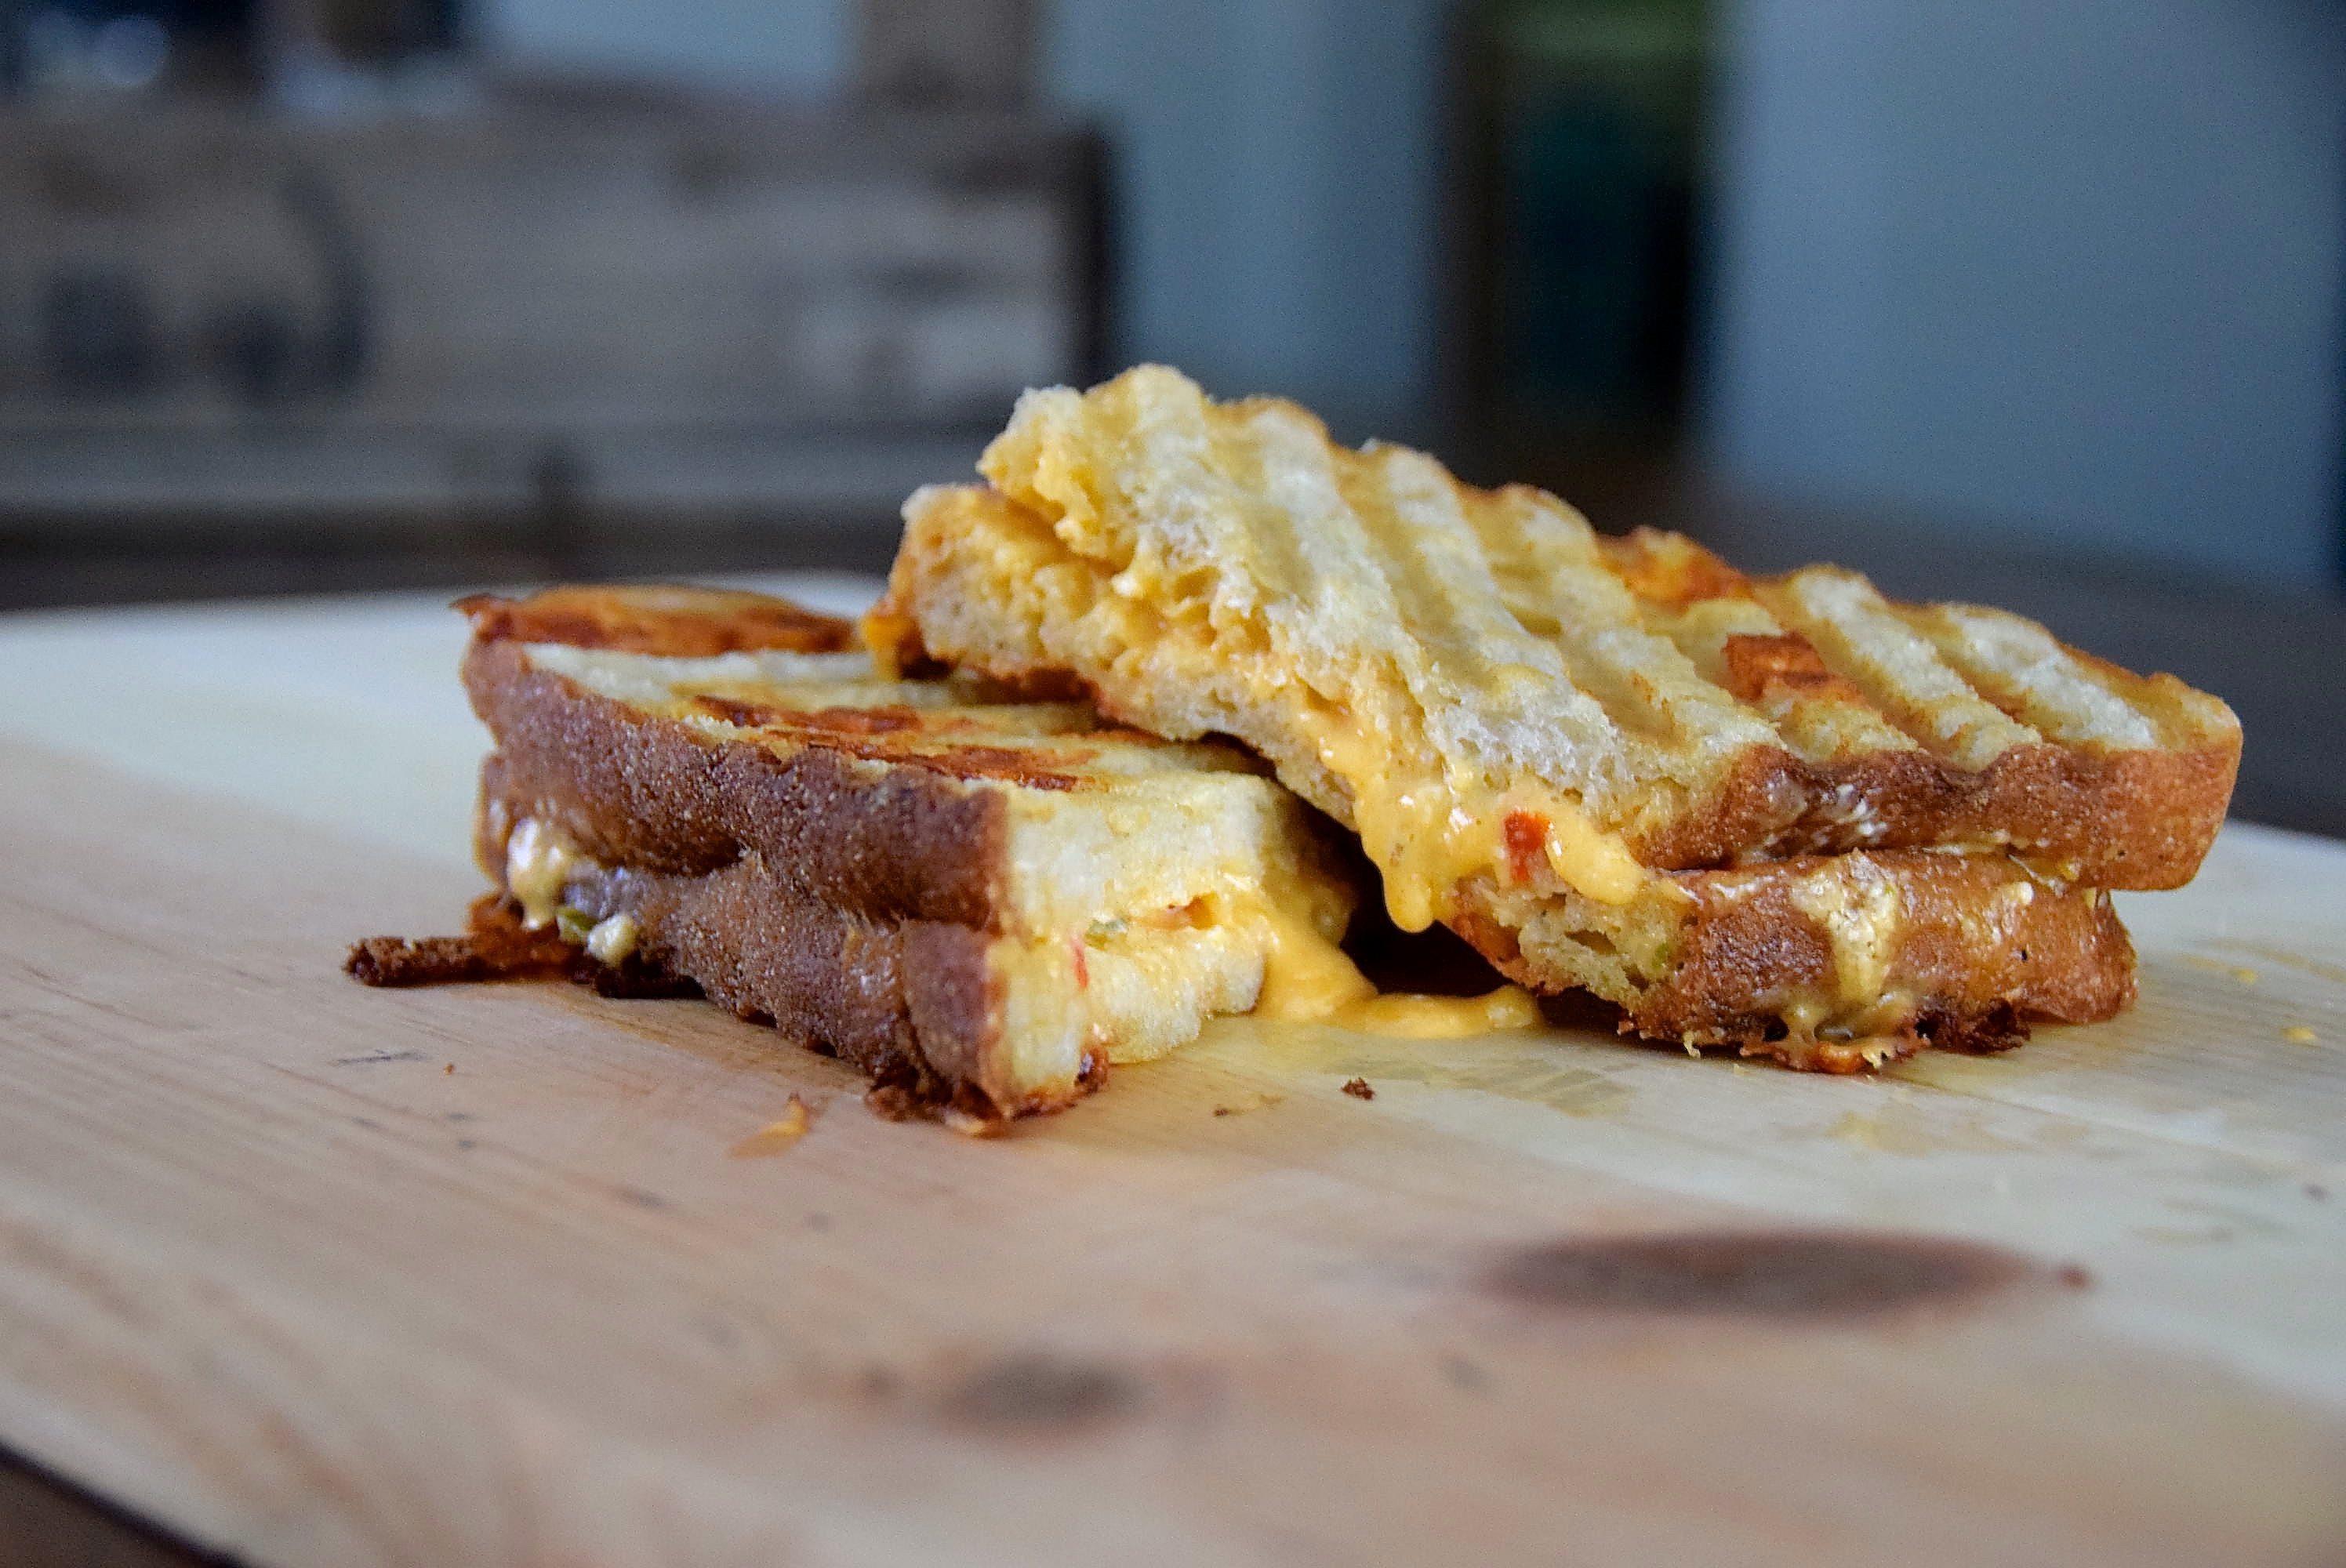
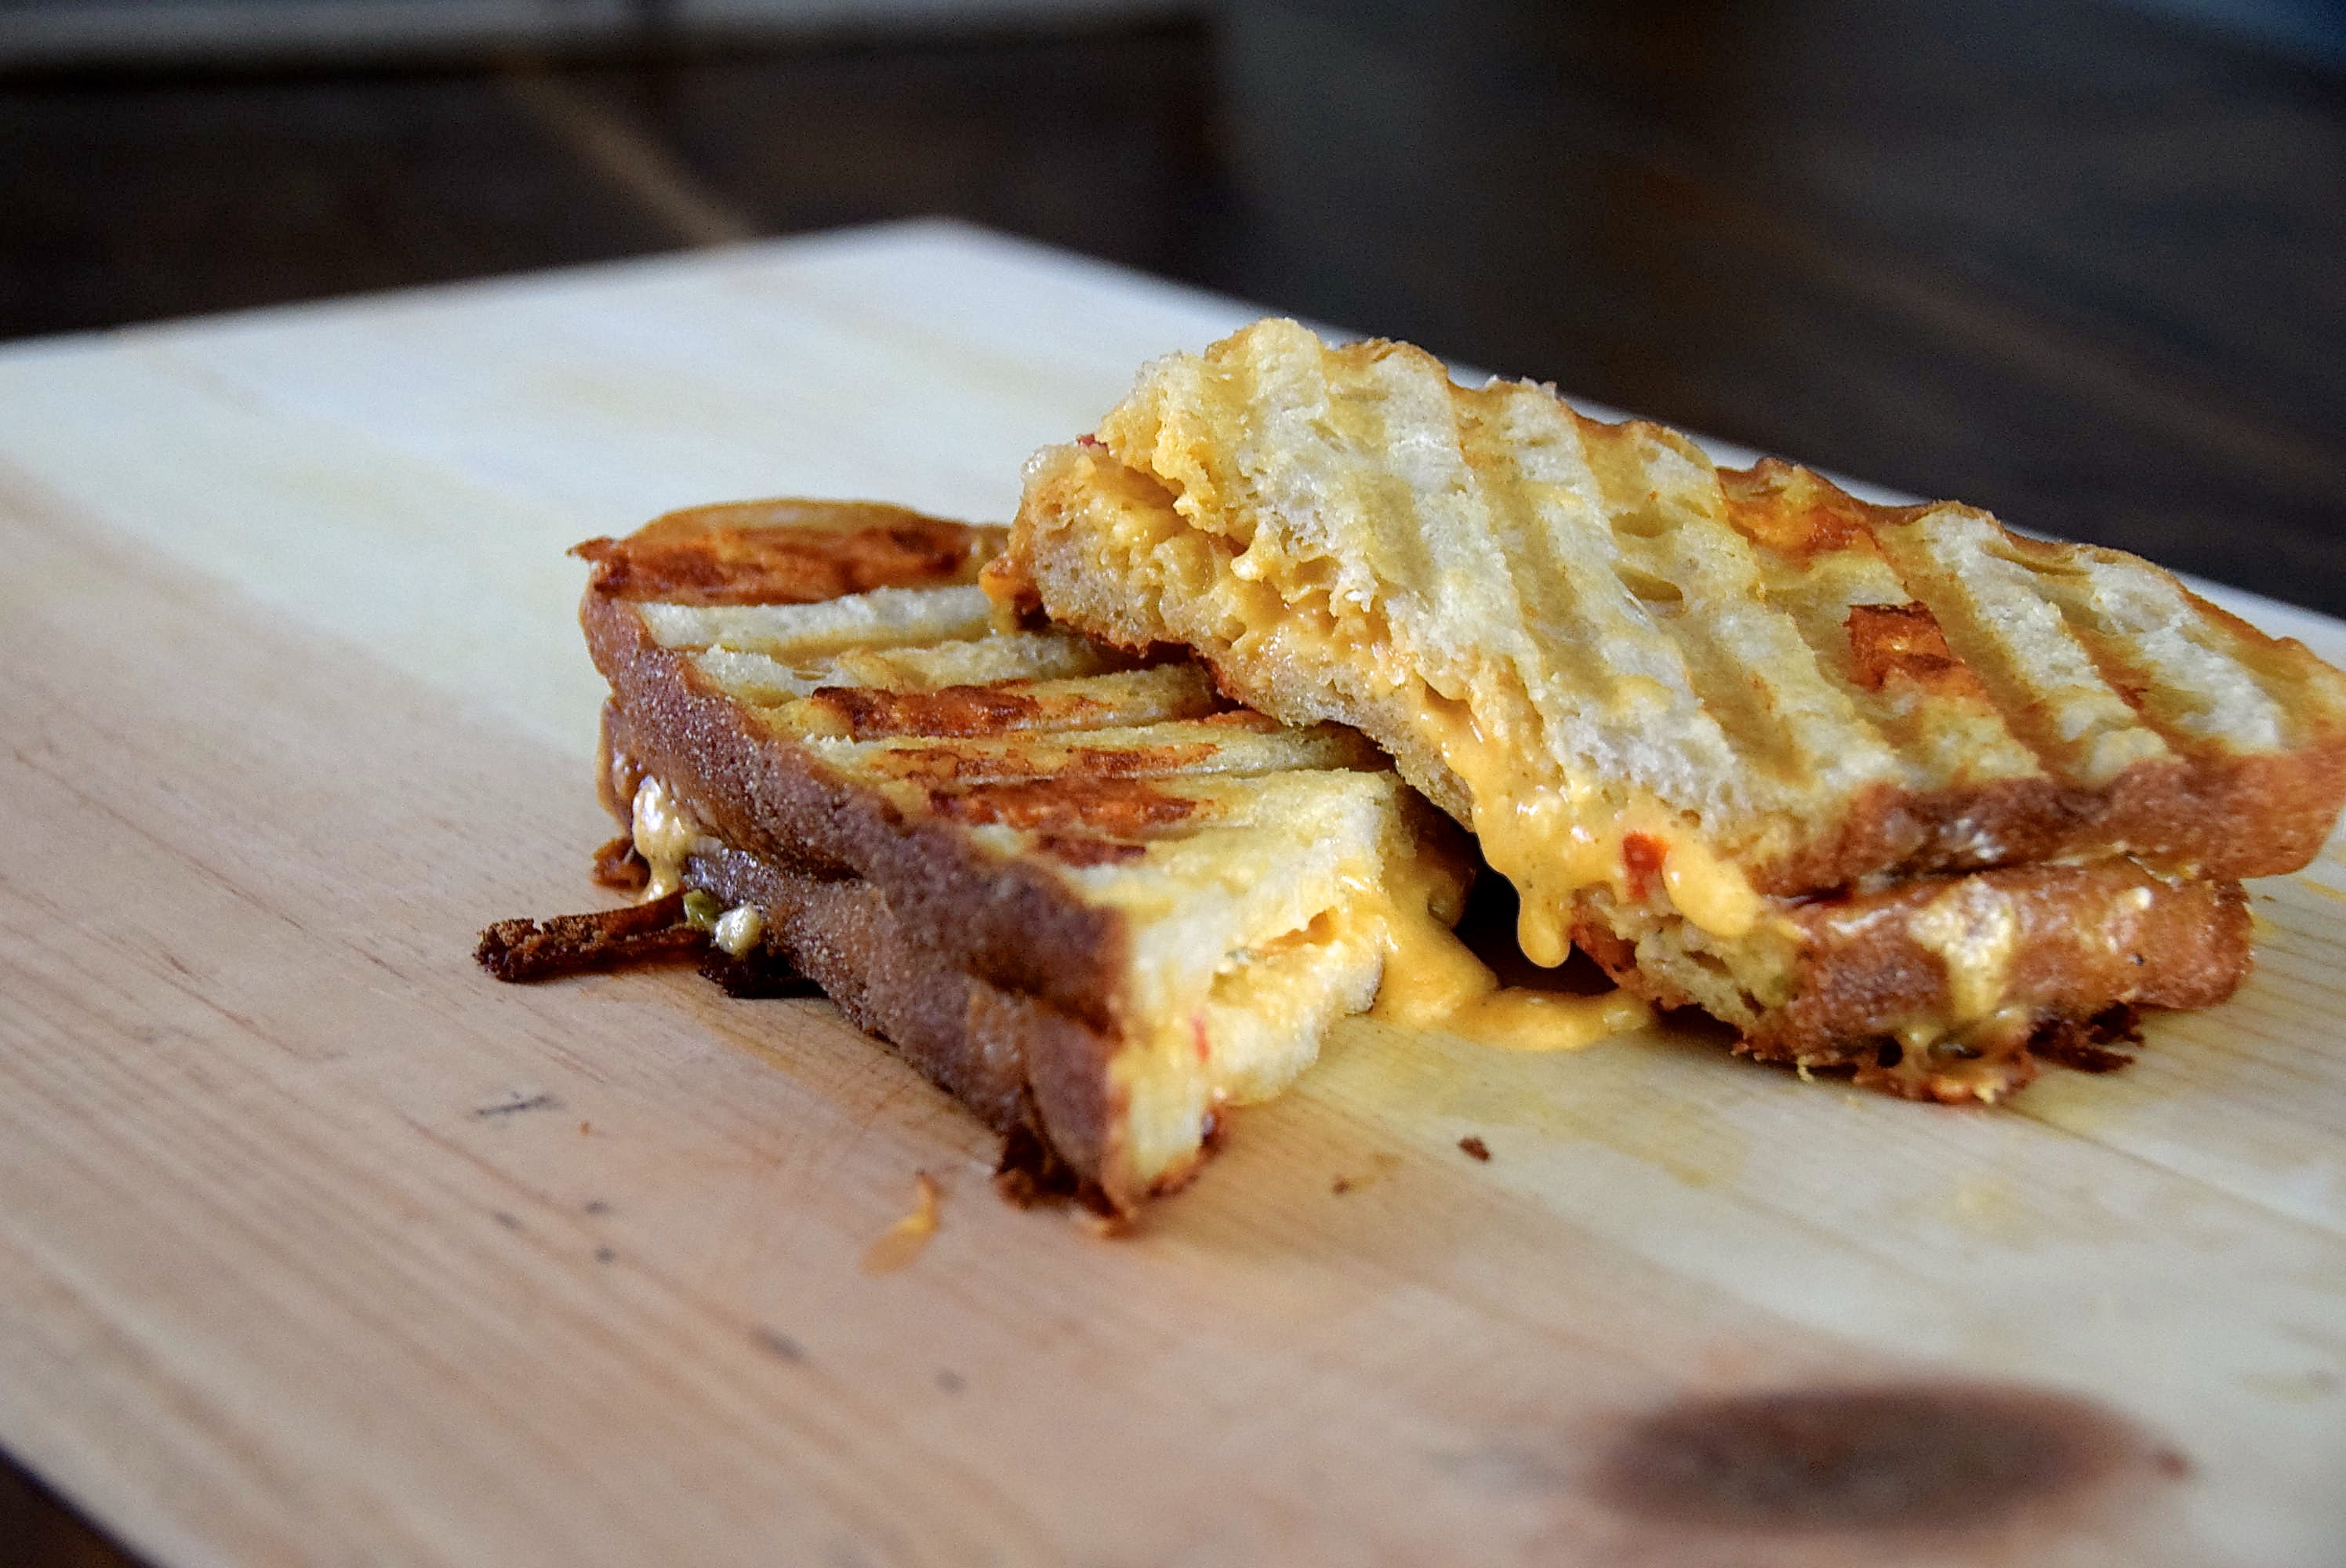
And of course, The Griddler has a panini function. Your mundane grilled cheese will get a major face lift thanks to using both griddler plates and the panini press. Pimento grilled cheese? Sign me up. Now.
Overall, we are blown away by The Griddler. Its versatility, sleek design, compact size, and impressive level of power are unmatched. We never knew what we were missing!
Grilled Pimento Cheese Sandwiches
Prep Time: 2 min. Cook Time: 7 min
Ingredients:
2 pieces crusty Italian bread
2-3 tablespoons Roasted Jalapeño Pimento Cheese (see recipe below)
2 tablespoons butter, melted
Preparation:
Place griddle pans on both top and bottom of The Griddler. Heat to 400°. Brush melted butter on one piece of bread, flip, and spread a generous portion of roasted jalapeño pimento cheese. Place on grill buttered-side down, then top with another piece of bread and brush again with melted butter. Close the top of The Griddler, and lightly press. Cook for 5 minutes.
If you desire a more dark bread with noticeable grill marks, turn The Griddler’s upper and lower sear function on. As it begins to heat, press the handle down with some pressure. Check often as this can quickly burn. Don’t sear for more than one minute.
Remove sandwich from The Griddler and slice in half. Serve warm, while cheese is still gooey.
Makes 1 sandwich.

Roasted Jalapeño Pimento Cheese
Prep Time: 15 min. Cook Time: 0 min.
Ingredients:
4 jalapeño peppers, halved, seeds and ribs removed
4 teaspoons yellow onion, grated
1/2 lb. mild cheddar cheese, finely grated
1/2 lb. + a pinch extra extra sharp cheddar cheese, coarsely grated
8 oz. cream cheese
1/4 cup + 1 tablespoon mayonnaise
1/4 cup tablespoons pimentos, drained and minced
Kosher salt and black pepper to taste
Preparation:
Place griddle pans on both top and bottom of The Griddler. Heat to 350°. Lightly coat the jalapeños in olive oil, then place them on the grill for 5-6 minutes, locking the top grill close to the jalapeños to provide additional heat for cooking. Then, flip and continue to cook for another 5-6 minutes, until grill marks appear and jalapeños are soft. Remove from The Griddler and turn The Griddler off.
Dice the jalapeños finely, and place in a large bowl. Add all other ingredients to the bowl and stir to combine.
Cuisinart sponsored this post, however, as always, all opinions are 100% our own.
We’re St. Louis food bloggers who love to cook! Join us on our culinary adventures as we keep a fresh outlook on life, love, and food.

My mouth is watering! The Griddler looks like an awesome appliance. Looks like the perfect wedding gift!
Thanks for the comment! YES, it would make a great wedding gift. I wish we would have registered for one back when we got married!
Another good recipe. I can’t wait to try it! I want to get a Cuisart Griddler. That’s why I love teaching summer school so much. Great kids, shorter days and the extra pay is always used for things I want or need, like a washer and dryer, vacation, one summer we bought a swimming pool. This year I’m using it for kitchen gadgets and I’m starting with the Griddler. As always guys…thanks for sharing! I’ll let you know how it turns out. I know it will be yummy, eye appealling and as tasty as it sounds and looks.
Thanks for the comment, Brenda! Extra cash is always nice! We love the Griddler, and hope you do too. You can use it for so many recipes. Check out Cuisinart’s website for more recipe ideas.
I certainly will. I’m going shopping Monday to get it, and making your recipe for dinner. Yumm yumm!